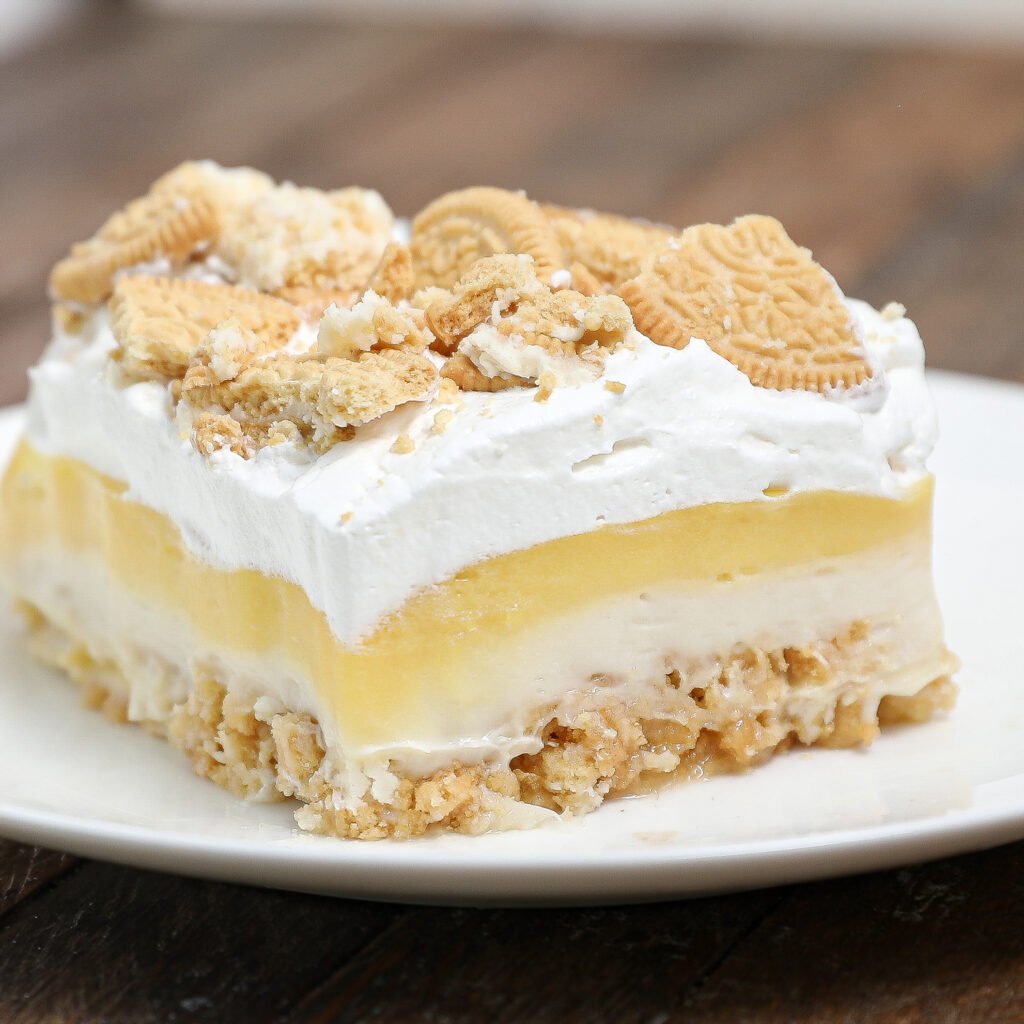
Vanilla Lush Pie
Calling all dessert lovers! This Vanilla Lush Pie is about to become your new BFF. It’s easy to make, seriously delicious, and perfect for any celebration, big or small. Birthday parties? Check. Potlucks? Double check. Random Tuesday night treat? You bet!
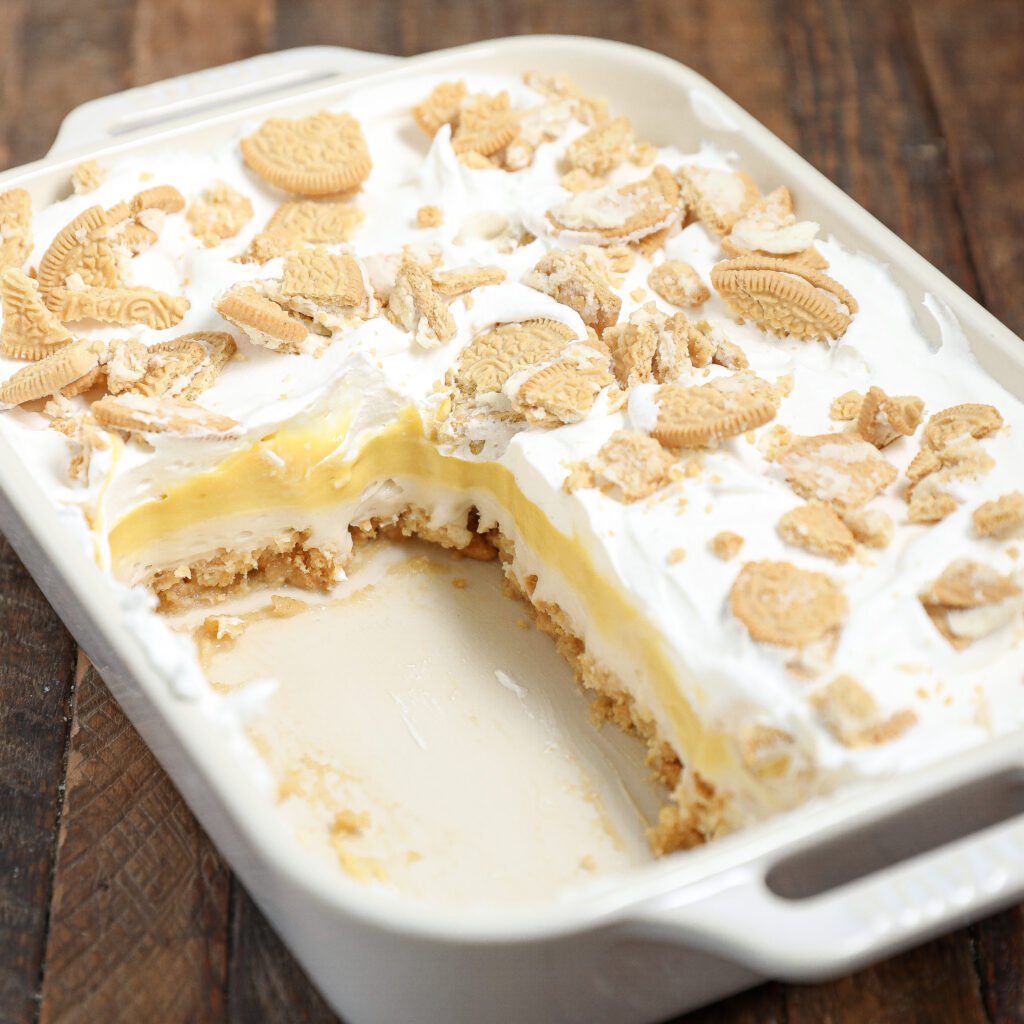
This pie is all about layers of creamy goodness. We’re talking a buttery cookie crust, a smooth and dreamy cream cheese layer, a light and fluffy vanilla pudding layer, and a dollop of whipped cream on top. Plus, it’s a no-bake dessert, which means minimal time in the kitchen and maximum time enjoying the yummy results. Sounds pretty amazing, right?
As an Amazon Associate I earn from qualifying purchases.
Why You’ll Love Vanilla Lush Pie
- Easy-peasy: No fancy equipment or baking skills required! This pie comes together in just a few simple steps, making it perfect for beginner bakers or busy schedules.
- Totally Delicious: The combination of textures and flavors in this pie is pure heaven. The buttery crust, the creamy cheese layer, the light pudding, and the fluffy whipped cream – it’s a party in your mouth!
- Super Customizable: Feel free to get creative and add your own personal touch! We’ll share some fun variations later in the post.
- Make-Ahead Magic: This pie actually tastes even better the next day, so it’s perfect for prepping ahead of time for a party or event.
- No-Bake Bliss: Ditch the oven and keep your kitchen cool with this no-bake dessert. It’s ideal for those hot summer days.
Ingredients Needed To Make Vanilla Lush Pie
- Golden Oreos (you’ll need some extra for the topping!)
- Butter (melted)
- French vanilla pudding mix
- Milk
- Cream cheese (softened to room temperature)
- Powdered sugar
- Vanilla extract
- Whipped cream topping
How To Make Vanilla Lush Pie
- Grab those Oreos and get ready to unleash your inner crumbler! You can use a food processor for a super quick and easy crumble, or grab a rolling pin and a plastic bag and get creative. The goal is to turn those cookies into fine crumbs.
- In your casserole dish, combine the crushed Oreos with the melted butter. Mix it all together until it resembles a wet sandcastle consistency. Now comes the fun part – press the crumb mixture into the bottom of the dish to create your pie crust.

- In a separate bowl, whip up the cream cheese, powdered sugar, and vanilla extract until it’s smooth and creamy. This will be your next layer of deliciousness, so spread it evenly over the top of the Oreo crust.

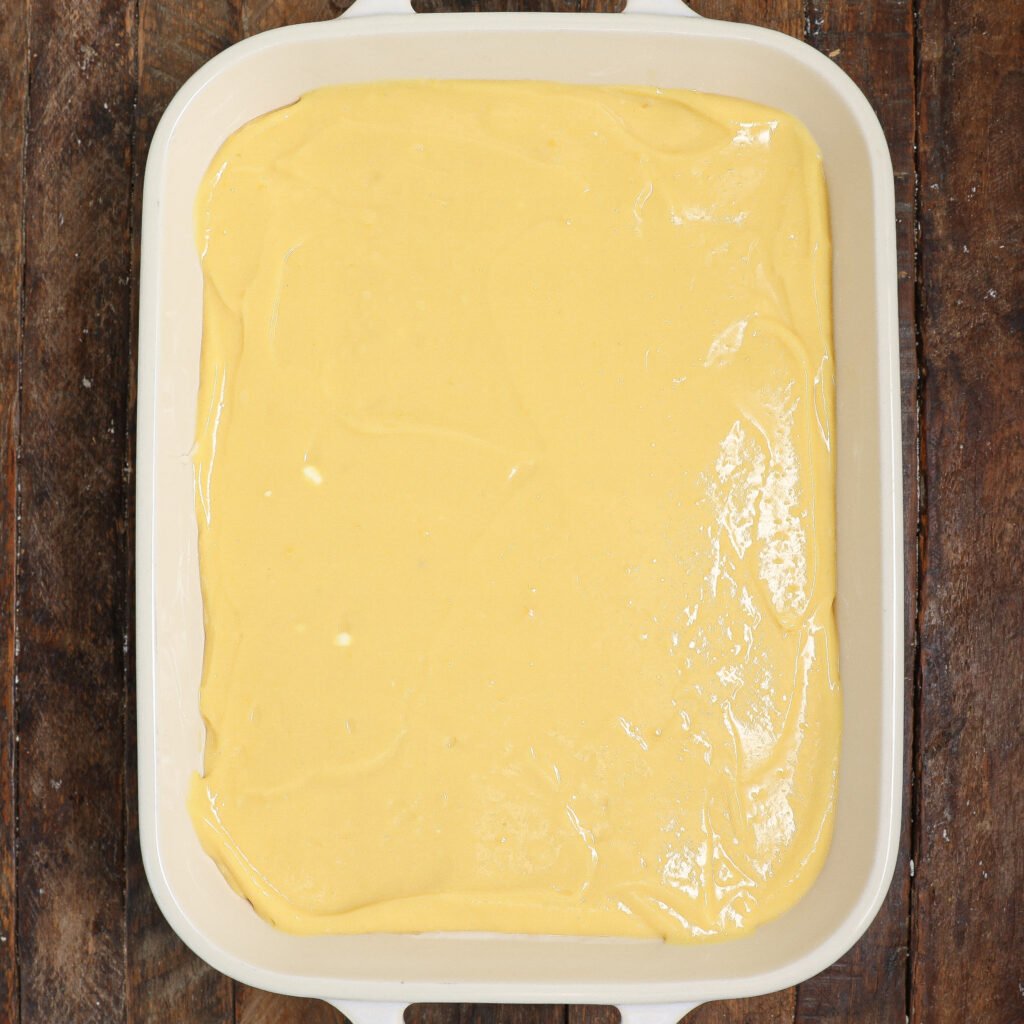
- In another bowl, whisk together the French vanilla pudding mix with the milk according to the package instructions. Tip: If you’re using dairy-free milk, a hand mixer can be your best friend to help achieve a smooth consistency. Once the pudding is thickened, pour it over the cream cheese layer.
- Spread the whipped cream topping evenly over the pudding layer.
- Remember those extra Oreos you crushed up? Now’s their time to shine! Sprinkle the reserved Oreo crumbs over the top of the whipped cream for an extra bit of cookie goodness.

- The final step is probably the hardest – chilling! This pie needs to set up in the fridge for at least 2 hours before you can slice and enjoy it. But trust us, the wait is totally worth it!
Variations & Substitutions
- Pudding Party: Not a fan of French vanilla? No problem! Swap it out for regular vanilla pudding mix or white chocolate pudding mix for a different flavor profile. Chocolate lovers, this is your chance to shine!
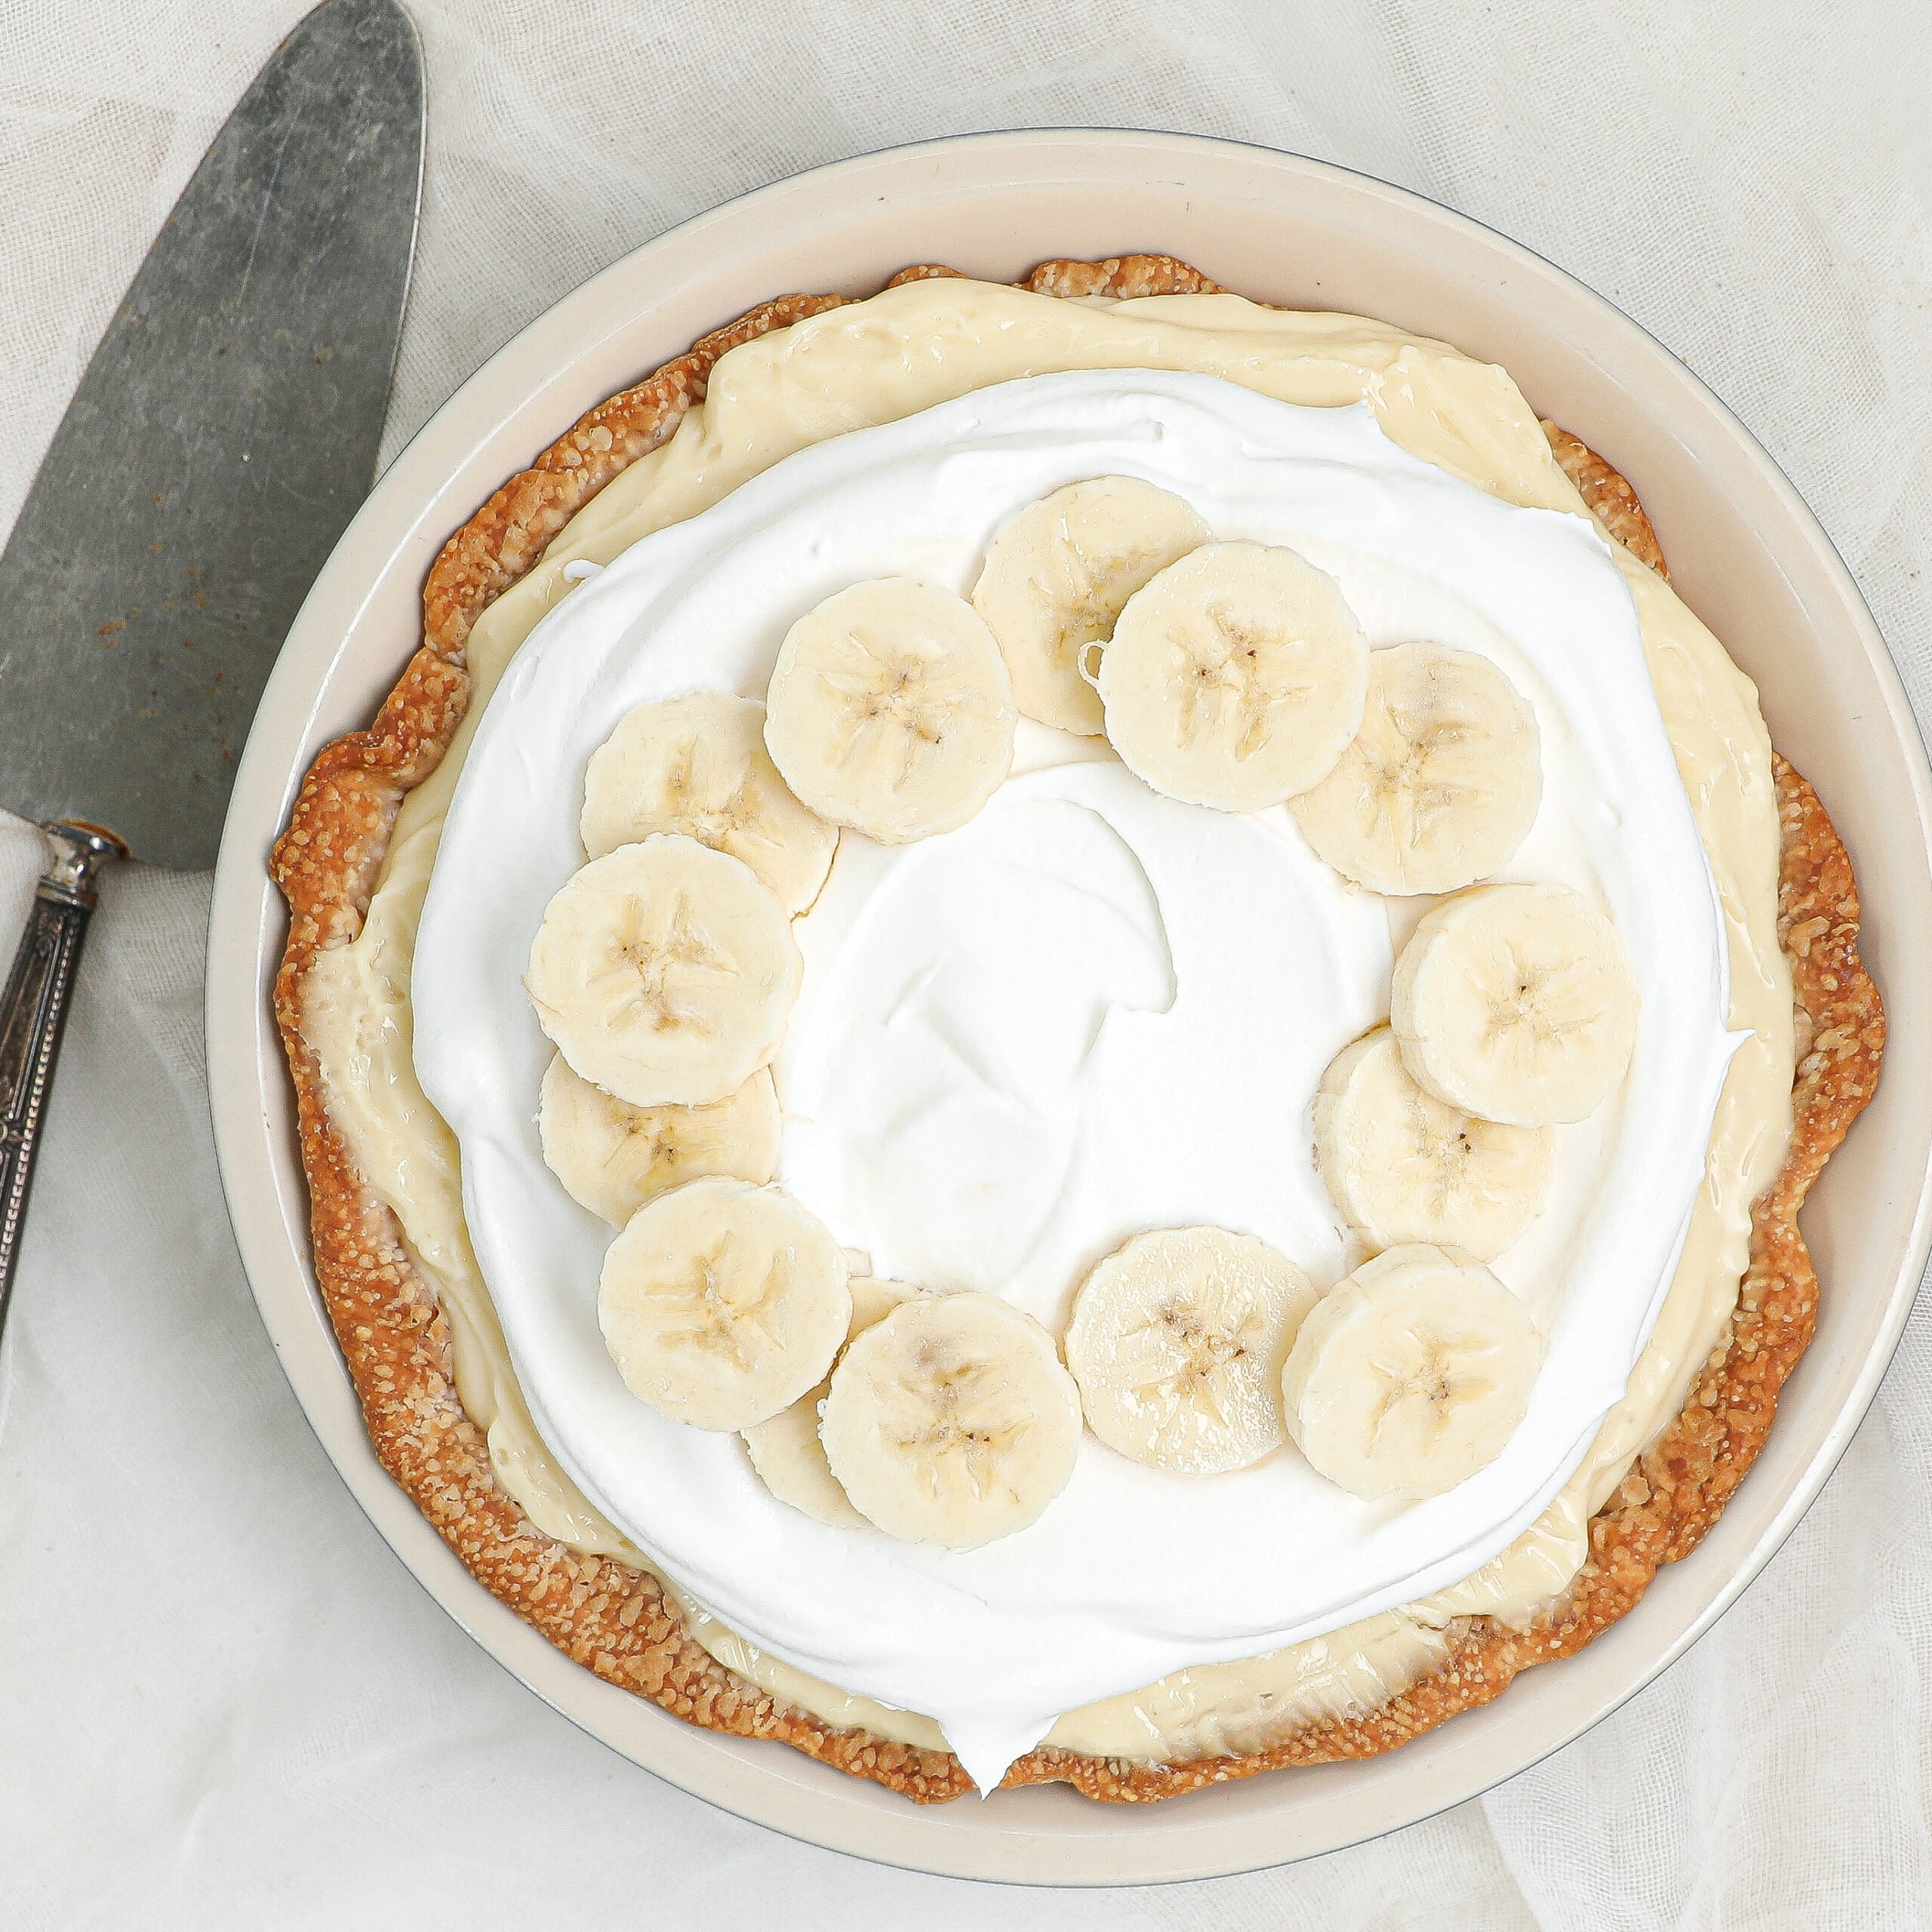
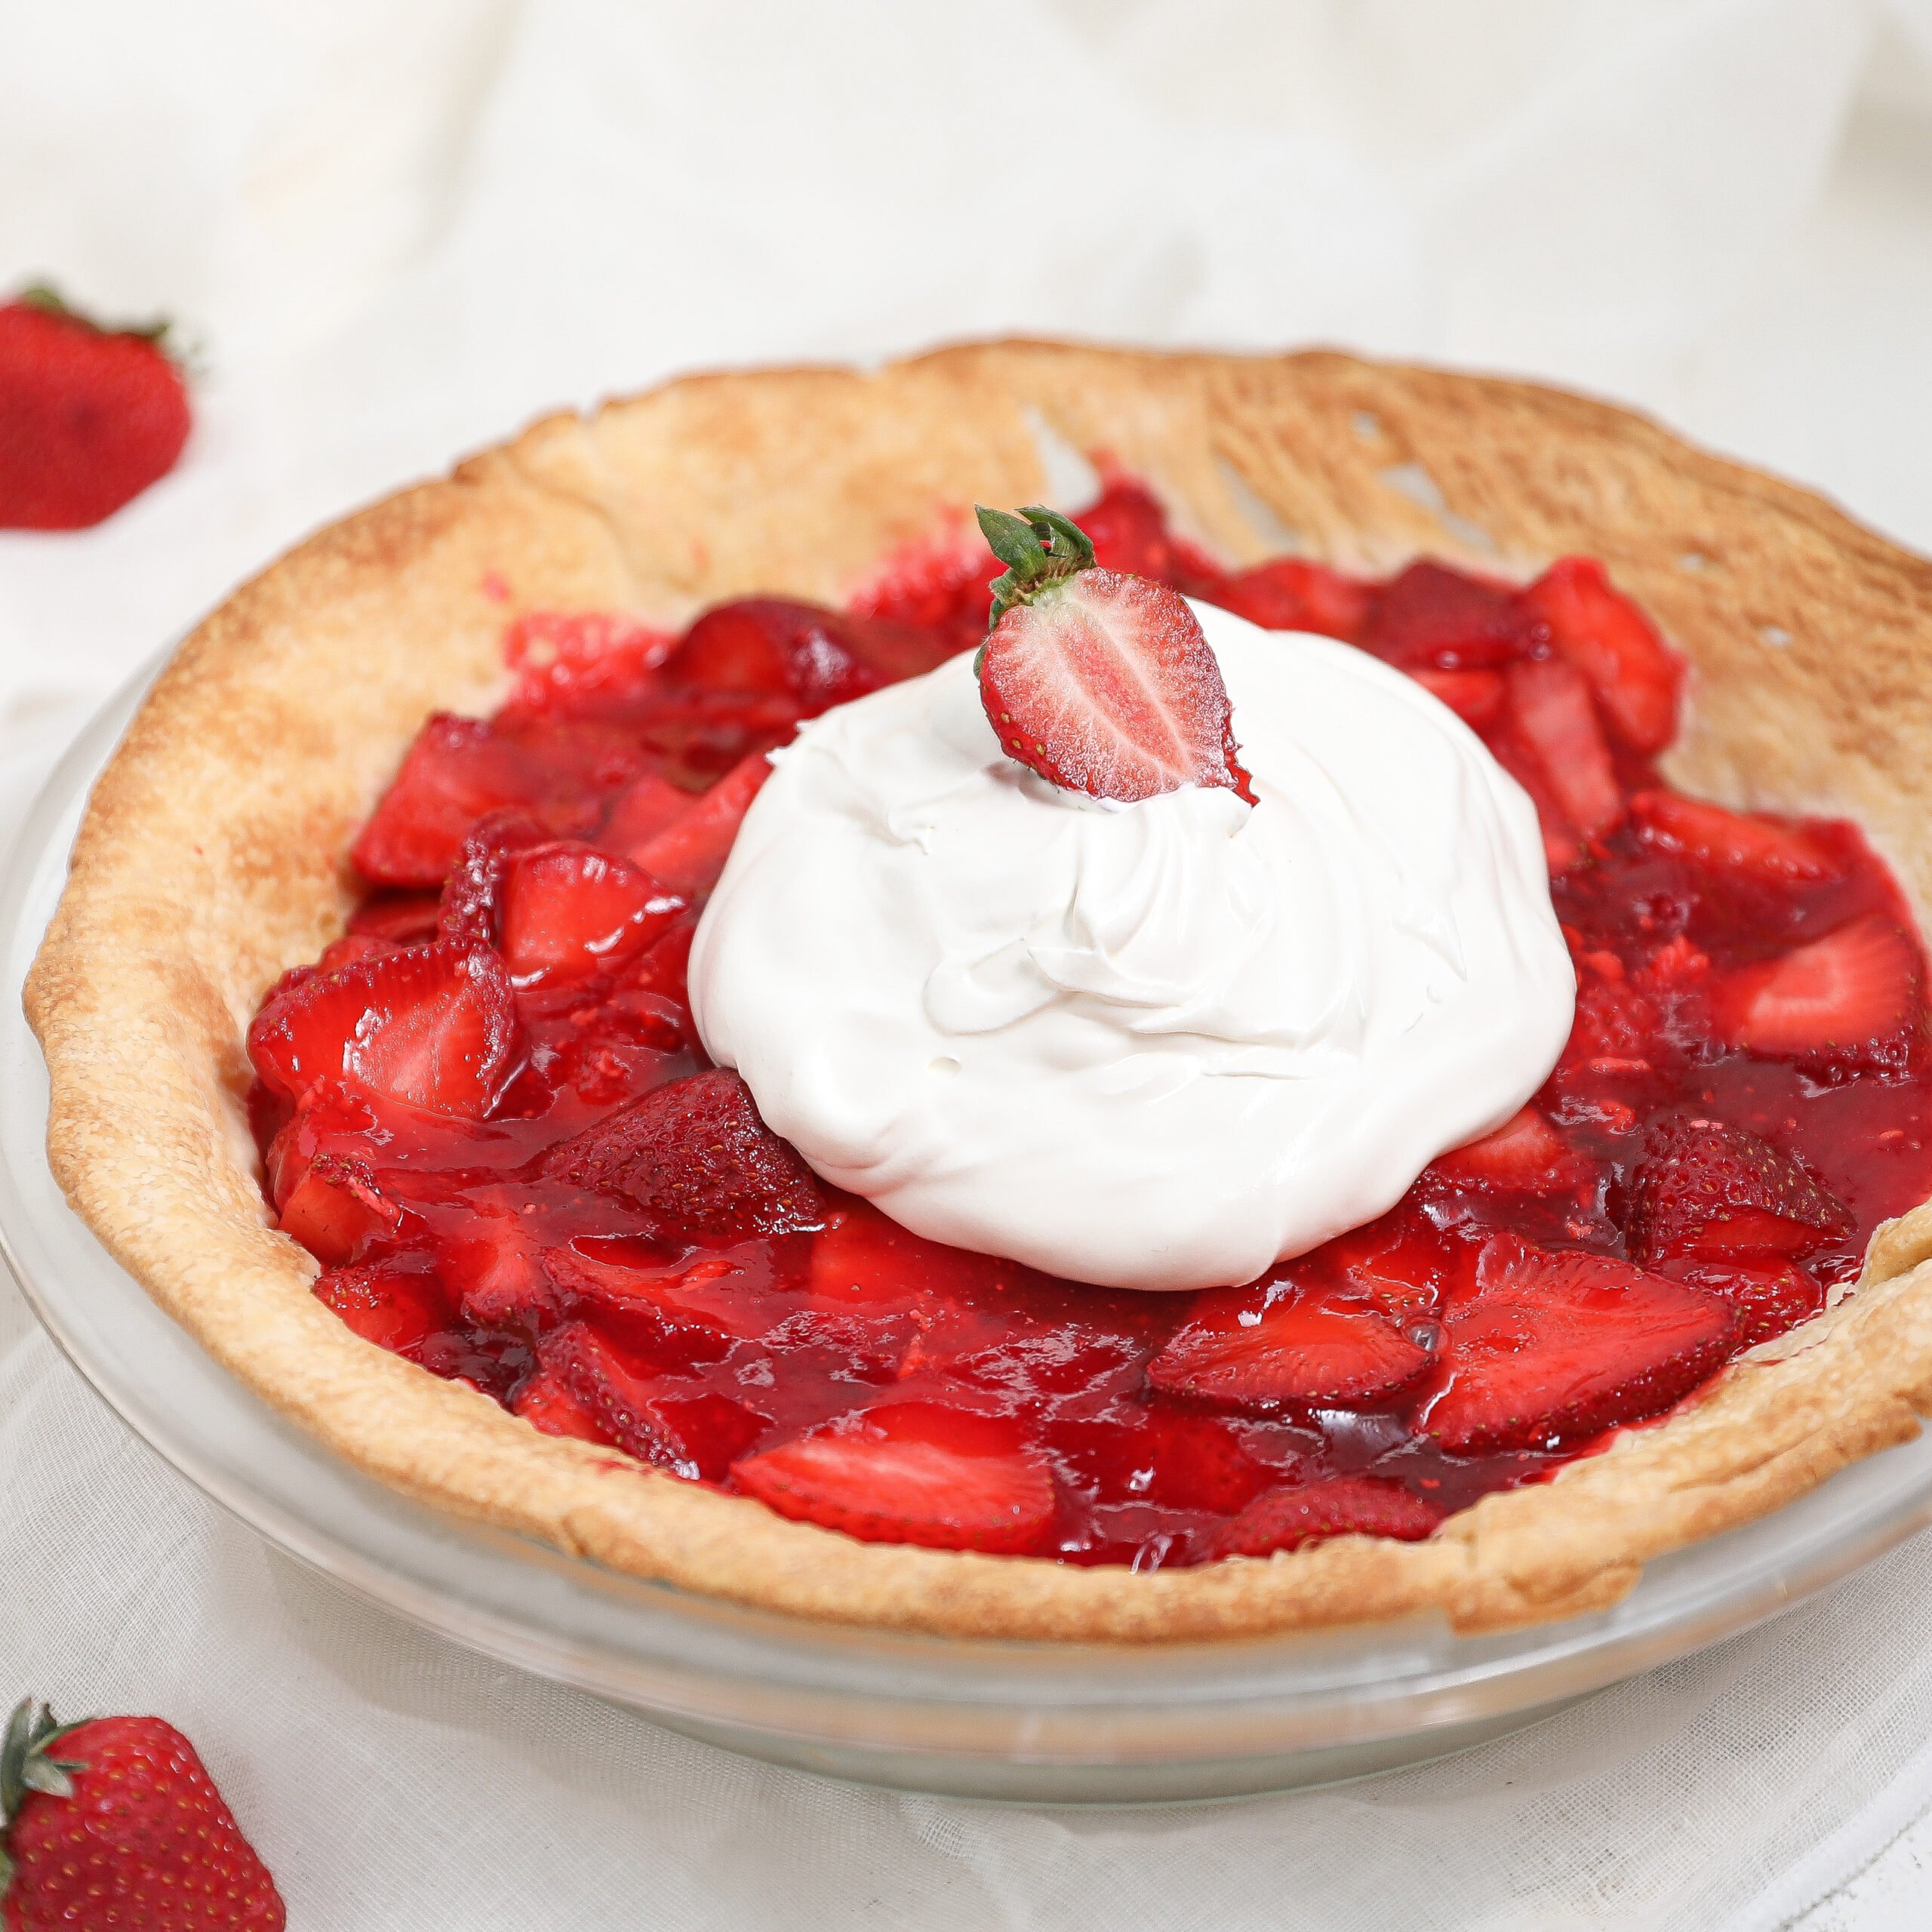
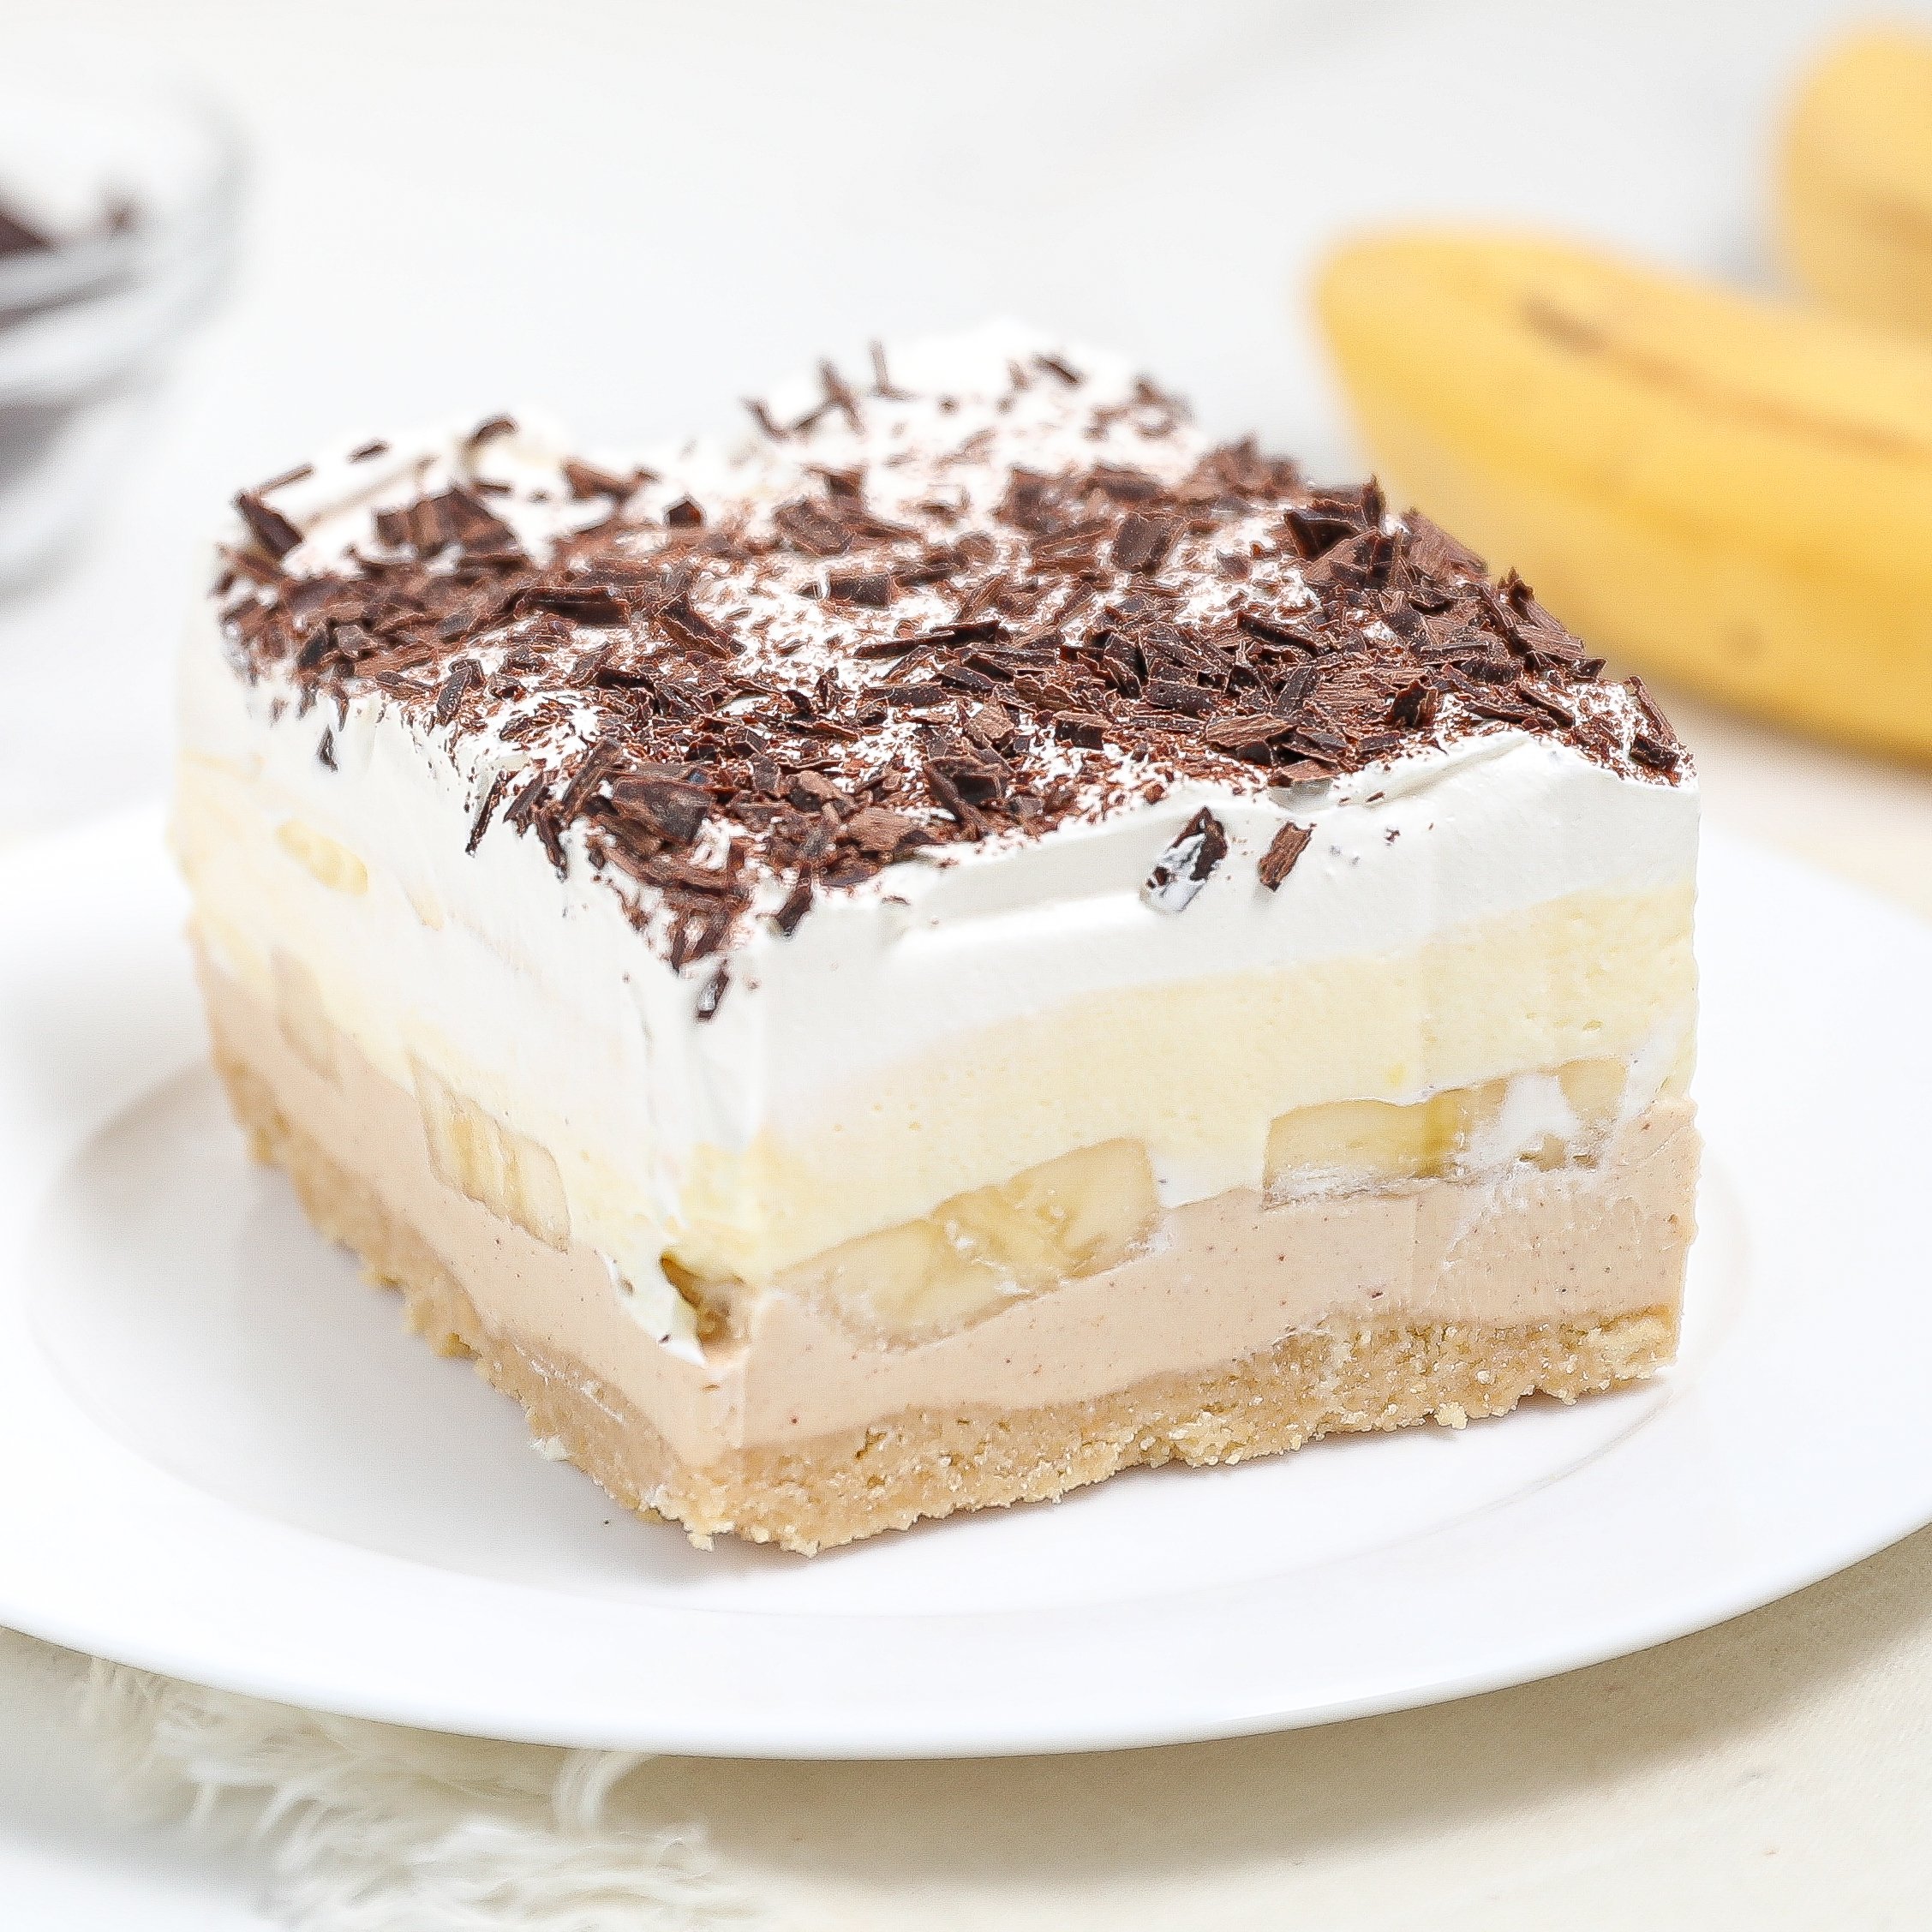
- Fruity Twist: Love a bit of fruit with your cream? Add a layer of sliced bananas or strawberries between the cream cheese layer and the pudding layer for a refreshing and vibrant twist. Fresh berries like raspberries or blueberries would also be delicious!
- Whipped Up Whipped Cream: Want to ditch the store-bought whipped cream? Make your own homemade whipped cream for an extra fresh and delicious touch. All you need is some heavy whipping cream, powdered sugar, and vanilla extract.
- Saucy Situation: Chocolate and caramel lovers, rejoice! Drizzle some caramel sauce or chocolate sauce over the top of the pie before serving for an extra decadent and indulgent treat. This would be perfect for an over-the-top birthday party dessert!
Commonly Asked Questions
Can I use regular Oreos instead of golden Oreos?
Absolutely! If you prefer a chocolate flavor in the crust, regular Oreos will work just fine. However, the golden Oreos add a delicious vanilla flavor that complements the rest of the pie beautifully.
Can I make this pie ahead of time?
You bet! This pie actually tastes even better when made in advance because it allows the flavors to meld together. You can store it covered in the refrigerator for up to 3 days before serving. Just be sure to keep it chilled until you’re ready to devour it!
How do I store Vanilla Lush Pie?
This Vanilla Lush Pie is best served cold. Once you’ve sliced and enjoyed it, you can store any leftovers in the refrigerator for up to 3 days. Just be sure to keep it covered in an airtight container to prevent it from drying out or absorbing any unwanted fridge smells.

Vanilla Lush Pie
Equipment
- 7×10 casserole dish
- Food processor or rolling pin (for crushing cookies)
- Hand mixer (optional, if using dairy-free milk)
Ingredients
- 14 ounces golden Oreos vanilla cookie sandwiches, reserve 1 cup for topping
- 8 tbsp butter melted
- 5.1 ounces box French vanilla pudding mix
- 2 ½ cups milk
- 16 ounces cream cheese room temperature
- 2 cups powdered sugar
- 2 tsp vanilla extract
- 8 ounces whipped cream topping
Instructions
- Crush the golden Oreos until they resemble fine crumbs.
- Pour into the casserole dish and mix in the melted butter.
- Press the crust into the base of the dish.
- In a mixing bowl, combine cream cheese, vanilla extract, and powdered sugar. Mix until smooth, then spread evenly over the crust.
- In another bowl, mix French vanilla pudding mix and milk until thickened. If using dairy-free milk, it’s recommended to use a hand mixer for better consistency. Spread the pudding mixture over the cream cheese layer.
- Spread whipped cream topping over the pudding layer.
- Sprinkle the reserved crushed Oreos on top.
- Chill the pie in the fridge for at least 2 hours to set up before serving.
- Slice and enjoy!
Notes
- Substitute the French vanilla pudding mix with regular vanilla or white chocolate pudding mix for different flavor variations.
- Add a layer of sliced bananas or strawberries between the cream cheese and pudding layers for a fruity twist.
- Instead of whipped cream topping, use homemade whipped cream for a fresher taste.
- Drizzle caramel or chocolate sauce over the top before serving for an extra indulgent treat.
- Cookie Crumb Consistency: When crushing the Oreos for the crust, you don’t want them to be completely pulverized into dust. You want a mix of fine crumbs and some slightly larger crumbles for a bit of texture contrast in the crust.
- Soften Up that Cream Cheese: Make sure your cream cheese is softened to room temperature before mixing it with the powdered sugar and vanilla extract. This will ensure a smooth and creamy consistency, without any lumps.
- Chilling is Key: Don’t be tempted to dig into this pie before it’s chilled! The pudding layer needs time to set up properly, and chilling also allows all the flavors to meld together for the best possible taste.