Sweet Potato Bars
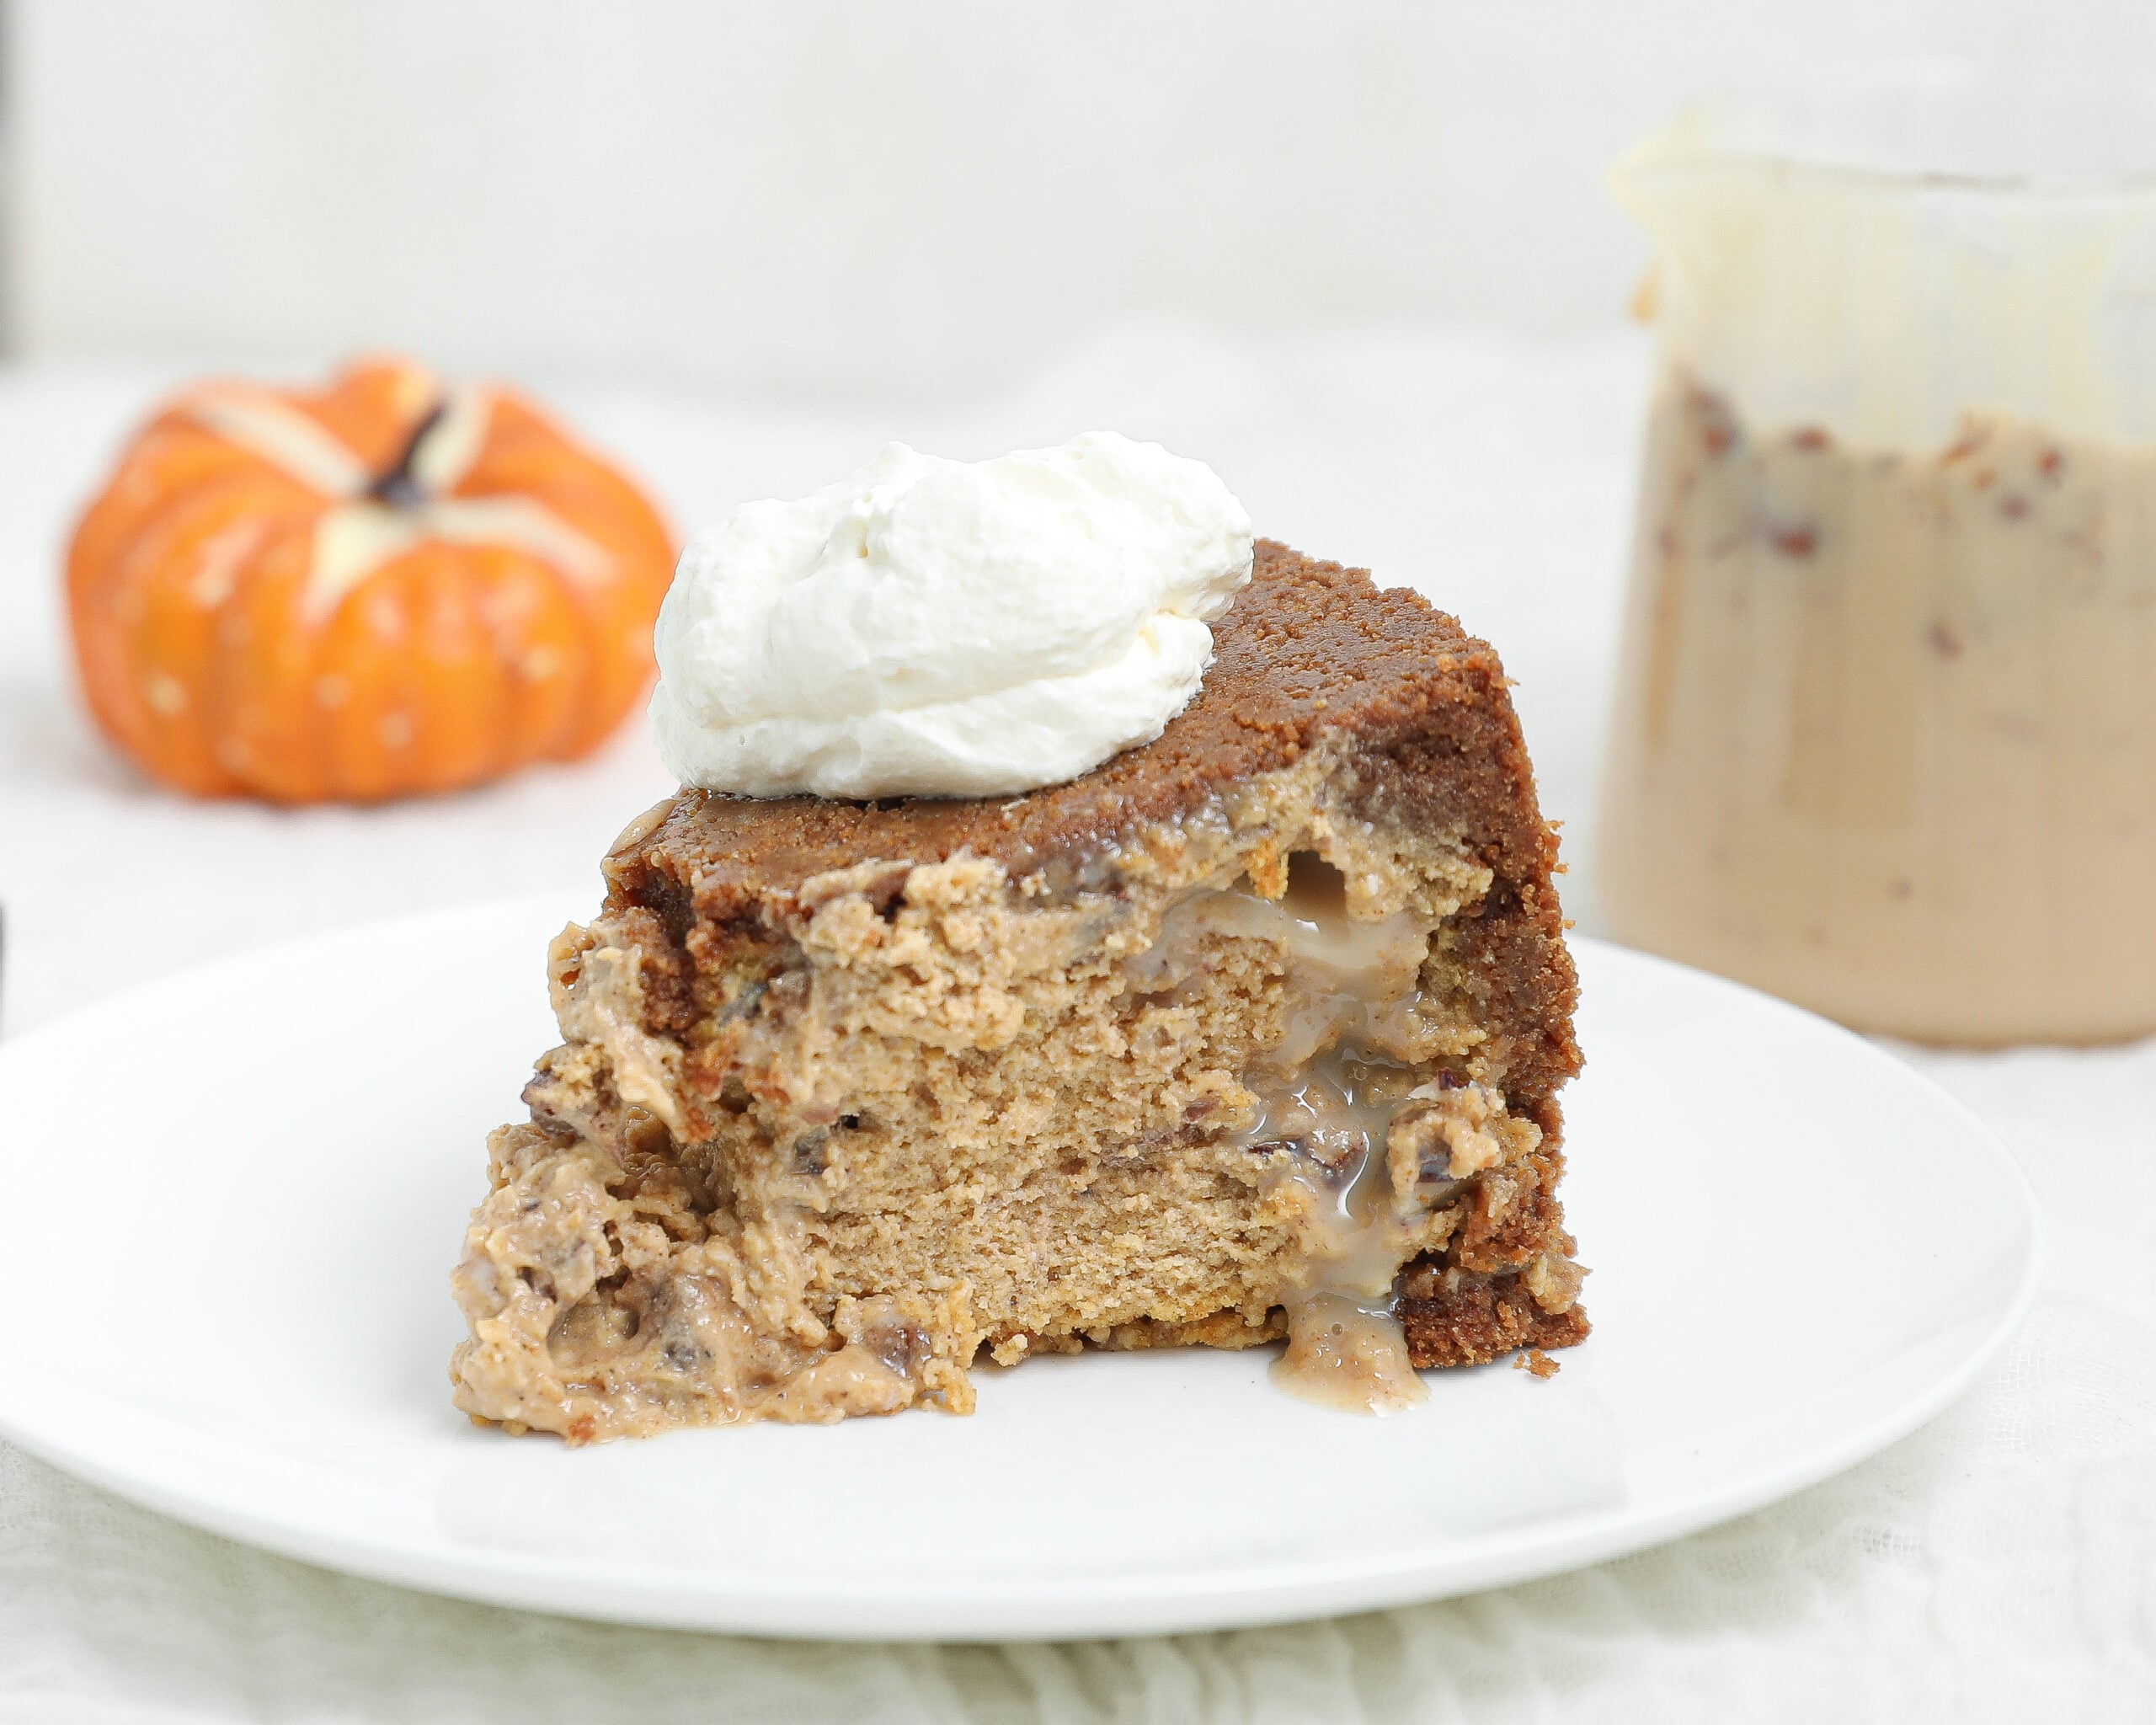
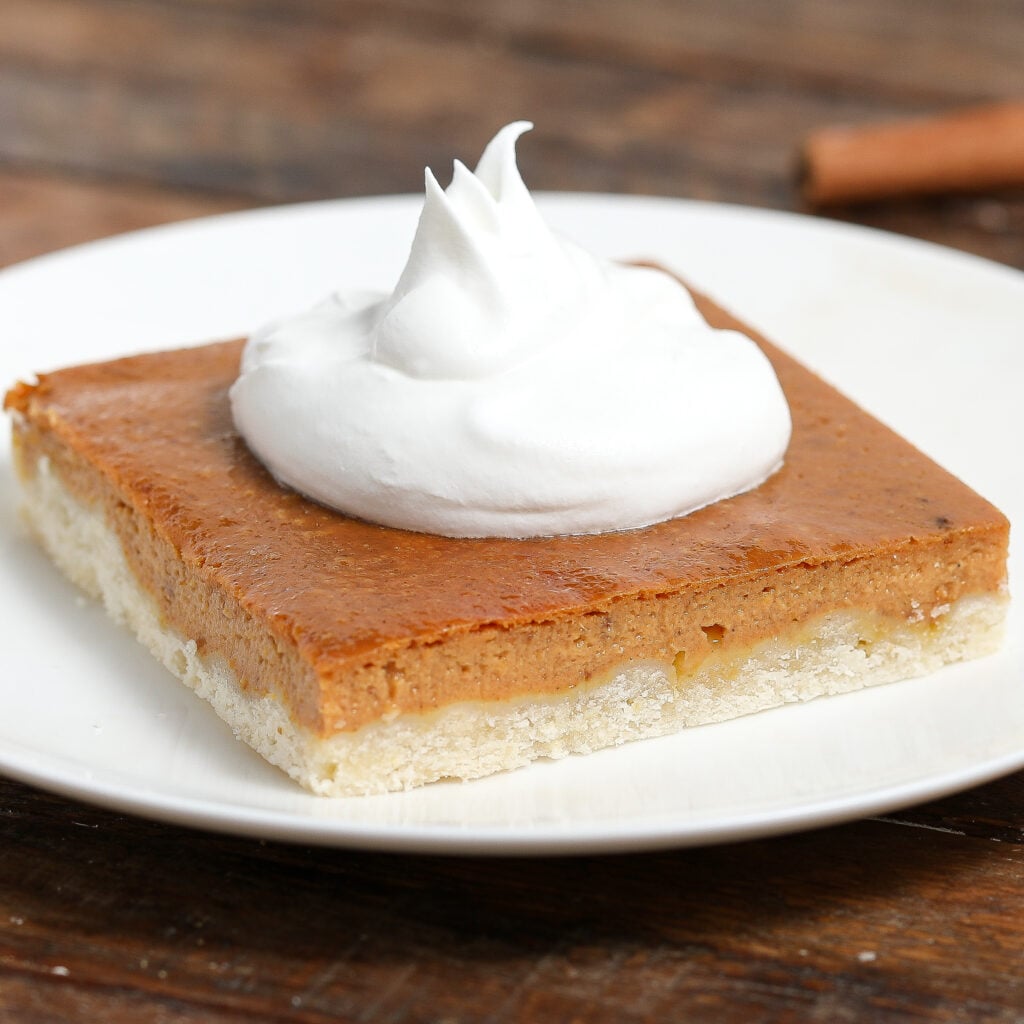
These Sweet Potato Bars have everything you love about a classic sweet potato pie in an easy-to-serve dessert bar. They start with a buttery shortbread-style crust, then get topped with a smooth, creamy sweet potato filling that’s lightly sweetened with maple syrup and warm fall spices. Every bite is rich, velvety, and packed with cozy flavors that make them perfect for Thanksgiving, Christmas, or whenever you’re craving an easy homemade dessert.
Whether you’re baking for a holiday gathering or simply want a make-ahead dessert that slices beautifully, these sweet potato bars are guaranteed to become a family favorite.
As an Amazon Associate I earn from qualifying purchases.
The Dessert I Look Forward to Most Every Thanksgiving
I know everyone gets excited about the turkey and all the side dishes, but if I’m being honest, I’m counting down to dessert.
There’s just something about sweet potato pie that feels like home. It’s one of those recipes that instantly reminds me of family dinners, crowded kitchens, and everyone sneaking bites before the meal is even over.

A few years ago, I wanted all those same cozy flavors but in something that was easier to serve at holiday gatherings. Instead of slicing pie, I baked everything into bars with a buttery crust underneath. They stack beautifully on dessert trays, they’re easy to transport, and nobody has to worry about cutting the perfect slice.
Now these Sweet Potato Bars show up every holiday season. They’re simple enough for a weeknight bake but special enough to earn a spot on the Thanksgiving dessert table year after year.

Why You’ll Love These Sweet Potato Bars
- Creamy, smooth sweet potato filling with warm fall spices
- Buttery shortbread-style crust that holds together beautifully
- Easier to serve than traditional sweet potato pie
- Perfect make-ahead dessert for Thanksgiving and Christmas
- Made with simple pantry ingredients
- Easy to make with canned sweet potatoes
- Can be made with all-purpose or 1:1 gluten-free flour
- Great for holiday dessert trays, potlucks, and family gatherings
Ingredients You’ll Need
- For the Crust
- All-Purpose Flour: Creates a tender, buttery crust that supports the creamy filling without becoming soggy. Both options work equally well.
- Cold Unsalted Butter: Cold butter creates a flaky, shortbread-like texture that’s rich and delicious.
- Granulated Sugar: Adds just enough sweetness to balance the buttery crust without overpowering the filling.
- For the Sweet Potato Filling
- Canned Sweet Potatoes: The shortcut that makes these bars incredibly easy while still delivering rich sweet potato flavor. Be sure to use plain canned sweet potatoes, not sweet potato casserole or pie filling.
- Pure Maple Syrup: Naturally sweetens the filling while adding a subtle caramel flavor that pairs perfectly with sweet potatoes.
- Pumpkin Pie Spice: A blend of cinnamon, ginger, nutmeg, and cloves gives these bars their classic cozy fall flavor.
- Vanilla Extract: Enhances every flavor in the filling and adds warmth without overpowering the sweet potatoes.
- Large Egg: Helps the filling bake into a smooth, sliceable custard.
- Arrowroot Powder: Thickens the filling while keeping it silky smooth. Cornstarch can also be substituted if needed.
- Evaporated Milk: Adds richness and creates the creamy texture that makes these bars taste just like homemade sweet potato pie.
Why These Sweet Potato Bars Are So Good
- If you love sweet potato pie but don’t love rolling out pie crust, these bars are the answer.
- The buttery crust comes together in just minutes and provides the perfect base for the creamy maple sweet potato filling. Every bite has the same rich, velvety texture you’d expect from a traditional pie, but they’re much easier to slice, serve, and transport.
- They’re also one of my favorite make-ahead desserts. The filling continues to set as it chills, making clean slices even easier the next day. Top each bar with homemade whipped cream, a sprinkle of cinnamon, or a drizzle of caramel sauce, and you have a dessert that looks just as impressive as it tastes.
- These Sweet Potato Bars deliver everything people love about sweet potato pie in a simple, handheld dessert that’s perfect for holidays, family gatherings, and fall baking.


How to Make Sweet Potato Bars
- These Sweet Potato Bars come together with just two simple layers.
- You’ll start by making the buttery crust and pressing it into your baking dish.
- While that’s ready, whisk together the creamy sweet potato filling until smooth, then pour it over the crust and bake until the center is just set.
- Once the bars have completely cooled, slice them into squares and serve with whipped cream, a sprinkle of cinnamon, or a drizzle of caramel sauce for an extra special treat.
For the full ingredient amounts, detailed instructions, and step-by-step directions, scroll down to the recipe card below.
Tips for the Best Sweet Potato Bars
- Use plain canned sweet potatoes, not sweet potato pie filling or sweet potato casserole, which already contain added sugar and spices.
- Make sure the filling is completely smooth before pouring it over the crust. A few extra minutes of mixing creates the creamiest texture.
- Line your baking dish with parchment paper and leave an overhang on two sides. This makes lifting and slicing the bars much easier.
- Don’t overbake the filling. The center should have a slight jiggle when you remove it from the oven. It will continue to set as it cools.
- For the cleanest slices, refrigerate the bars for at least 2 hours before cutting.
- Wipe your knife clean between each slice for bakery-style edges.
- These bars taste even better the next day after the flavors have had time to develop.
Easy Variations
These Sweet Potato Bars are easy to customize depending on the occasion or what you have in your pantry.
- Add chopped pecans to the top before baking for a little crunch.
- Drizzle the cooled bars with salted caramel sauce before serving.
- Top each square with homemade whipped cream and a light dusting of cinnamon.
- Add a splash of bourbon to the filling for a rich holiday flavor.
- Mix in a little orange zest to brighten the sweet potato filling.
- Swap the maple syrup for brown sugar if that’s what you have on hand.
- Use a graham cracker crust if you want a more traditional pie-inspired base.
Storage & Freezing
- Store leftover Sweet Potato Bars in an airtight container in the refrigerator for up to 5 days. Because of the custard-style filling, they should be kept chilled until you’re ready to serve them.
- These bars are also a wonderful make-ahead dessert. Bake them a day in advance, refrigerate overnight, and slice just before serving. Many people actually prefer them the next day because the filling becomes even firmer and the flavors continue to develop.
- To freeze, allow the bars to cool completely before wrapping individual slices or the entire pan tightly in plastic wrap followed by aluminum foil. Freeze for up to 2 months. Thaw overnight in the refrigerator before serving. If you’re adding whipped cream or caramel sauce, wait until after the bars have thawed.
Troubleshooting
- Why are my Sweet Potato Bars runny? The most common reason is underbaking or slicing them before they’ve had enough time to cool. The filling should be mostly set with just a slight wobble in the center when it comes out of the oven. Once cooled and chilled, it will firm up into perfectly sliceable bars.
- Why did my crust crumble? If the crust seems too crumbly, it may not have been pressed firmly enough into the pan before baking. Use the bottom of a measuring cup or glass to press it into an even layer for the best results.
- Why did my filling crack? Small cracks usually happen when the bars are baked a little too long or the oven temperature runs hot. The good news is they’ll still taste exactly the same, and a dollop of whipped cream covers any imperfections beautifully.
- Why are my bars hard to cut? For the cleanest slices, refrigerate the bars for at least 2 hours before cutting. Using a sharp knife and wiping it clean between each cut helps create neat, bakery-style squares every time.

Sweet Potato Bars
Equipment
- Measuring cups/spoons
- Nonstick cooking spray
- 8×8 baking dish
Ingredients
Crust
- 1 cup + 1.1 tbsp all-purpose flour (or 1:1 gluten free flour)
- 8 tbsp unsalted butter, cold
- 2 tbsp sugar
Filling
- 1 1/4 cup canned sweet potato
- 1/2 cup maple syrup
- 1 1/2 tsp pumpkin seasoning
- 1 tsp vanilla extract
- 1 large egg
- 2 tbsp arrowroot powder
- 1 cup evaporated milk
Instructions
Making the Crust
- Preheat the oven to 425°F.
- Prepare an 8×8 baking dish by spraying it with nonstick baking spray and lining it with parchment paper, leaving some extra paper coming off two sides for easy removal.
- In a food processor, pulse the crust ingredients until the dough starts to come together.
- Press the dough mixture into the bottom of the prepared pan.
Making the Filling
- In a bowl, mix all the filling ingredients until well combined.
- Pour the filling over the crust.
- Bake the bars at 425°F for 15 minutes, then reduce the heat to 350°F and bake for an additional 20 minutes.
- Remove from the oven and allow the bars to cool completely before enjoying!
Notes
- Use plain canned sweet potatoes, not sweet potato pie filling.
- Fresh mashed sweet potatoes can be substituted.
- Refrigerating before slicing gives the cleanest bars.
- Store leftovers in the refrigerator.
- These bars freeze well for up to 2 months.
Nutrition
Frequently Asked Questions
They’re very similar! Sweet Potato Bars have the same creamy, spiced filling as a traditional sweet potato pie, but instead of a pie crust, they’re baked on a buttery shortbread-style crust and sliced into easy-to-serve squares. They’re perfect for holiday dessert tables because there’s no need to fuss with cutting pie slices.
Absolutely! Fresh sweet potatoes work beautifully in this recipe. Bake or boil them until they’re fork tender, then mash until completely smooth before measuring. You’ll need about 1¼ cups of mashed sweet potato. Just make sure there aren’t any lumps so your filling stays silky smooth.
Yes, but check the label carefully. Look for canned yams or sweet potatoes packed in water, not heavy syrup. If they’re packed in syrup, drain and rinse them well to remove the extra sweetness before using them in the recipe.
Yes, and I actually recommend it. These bars taste even better after they’ve had time to chill in the refrigerator. The filling becomes firmer, making them easier to slice, and the warm spices have time to blend together. They’re a great make-ahead dessert for Thanksgiving, Christmas, or any holiday gathering.
The edges should look set while the center still has a slight jiggle, similar to a cheesecake. Don’t wait until the entire pan is completely firm in the oven, or the filling can become overbaked. As the bars cool, they’ll continue setting into a smooth, creamy texture.
If your bars seem too soft, they probably need more time to cool. Since the filling is custard-based, it continues to set as it cools and chills. Refrigerating the bars for at least 2 hours before slicing makes a huge difference and gives you those clean, bakery-style squares.
Yes. Brown sugar is the easiest substitute and gives the filling a slightly richer caramel flavor. Honey can also work, although it adds a more noticeable floral sweetness. Maple syrup complements the sweet potatoes especially well, so it’s still my favorite option.
Definitely. These bars freeze very well. Once they’ve cooled completely, wrap individual slices or the entire pan tightly in plastic wrap followed by aluminum foil. Freeze for up to 2 months. Thaw overnight in the refrigerator before serving. If you’re adding whipped cream, wait until just before serving for the best texture.
A dollop of homemade whipped cream is always my first choice. They’re also delicious with caramel sauce, chopped toasted pecans, candied pecans, a dusting of cinnamon, or even a scoop of vanilla ice cream if you’re serving them warm.
Yes! Simply double the ingredients and bake the bars in a 9×13-inch baking dish. You’ll likely need to add another 5 to 10 minutes of baking time, but start checking the center early since every oven bakes a little differently.
A few small cracks usually mean the bars baked just a little too long or your oven runs slightly hot. They’ll still taste incredible, and once you add whipped cream or your favorite topping, no one will ever notice.