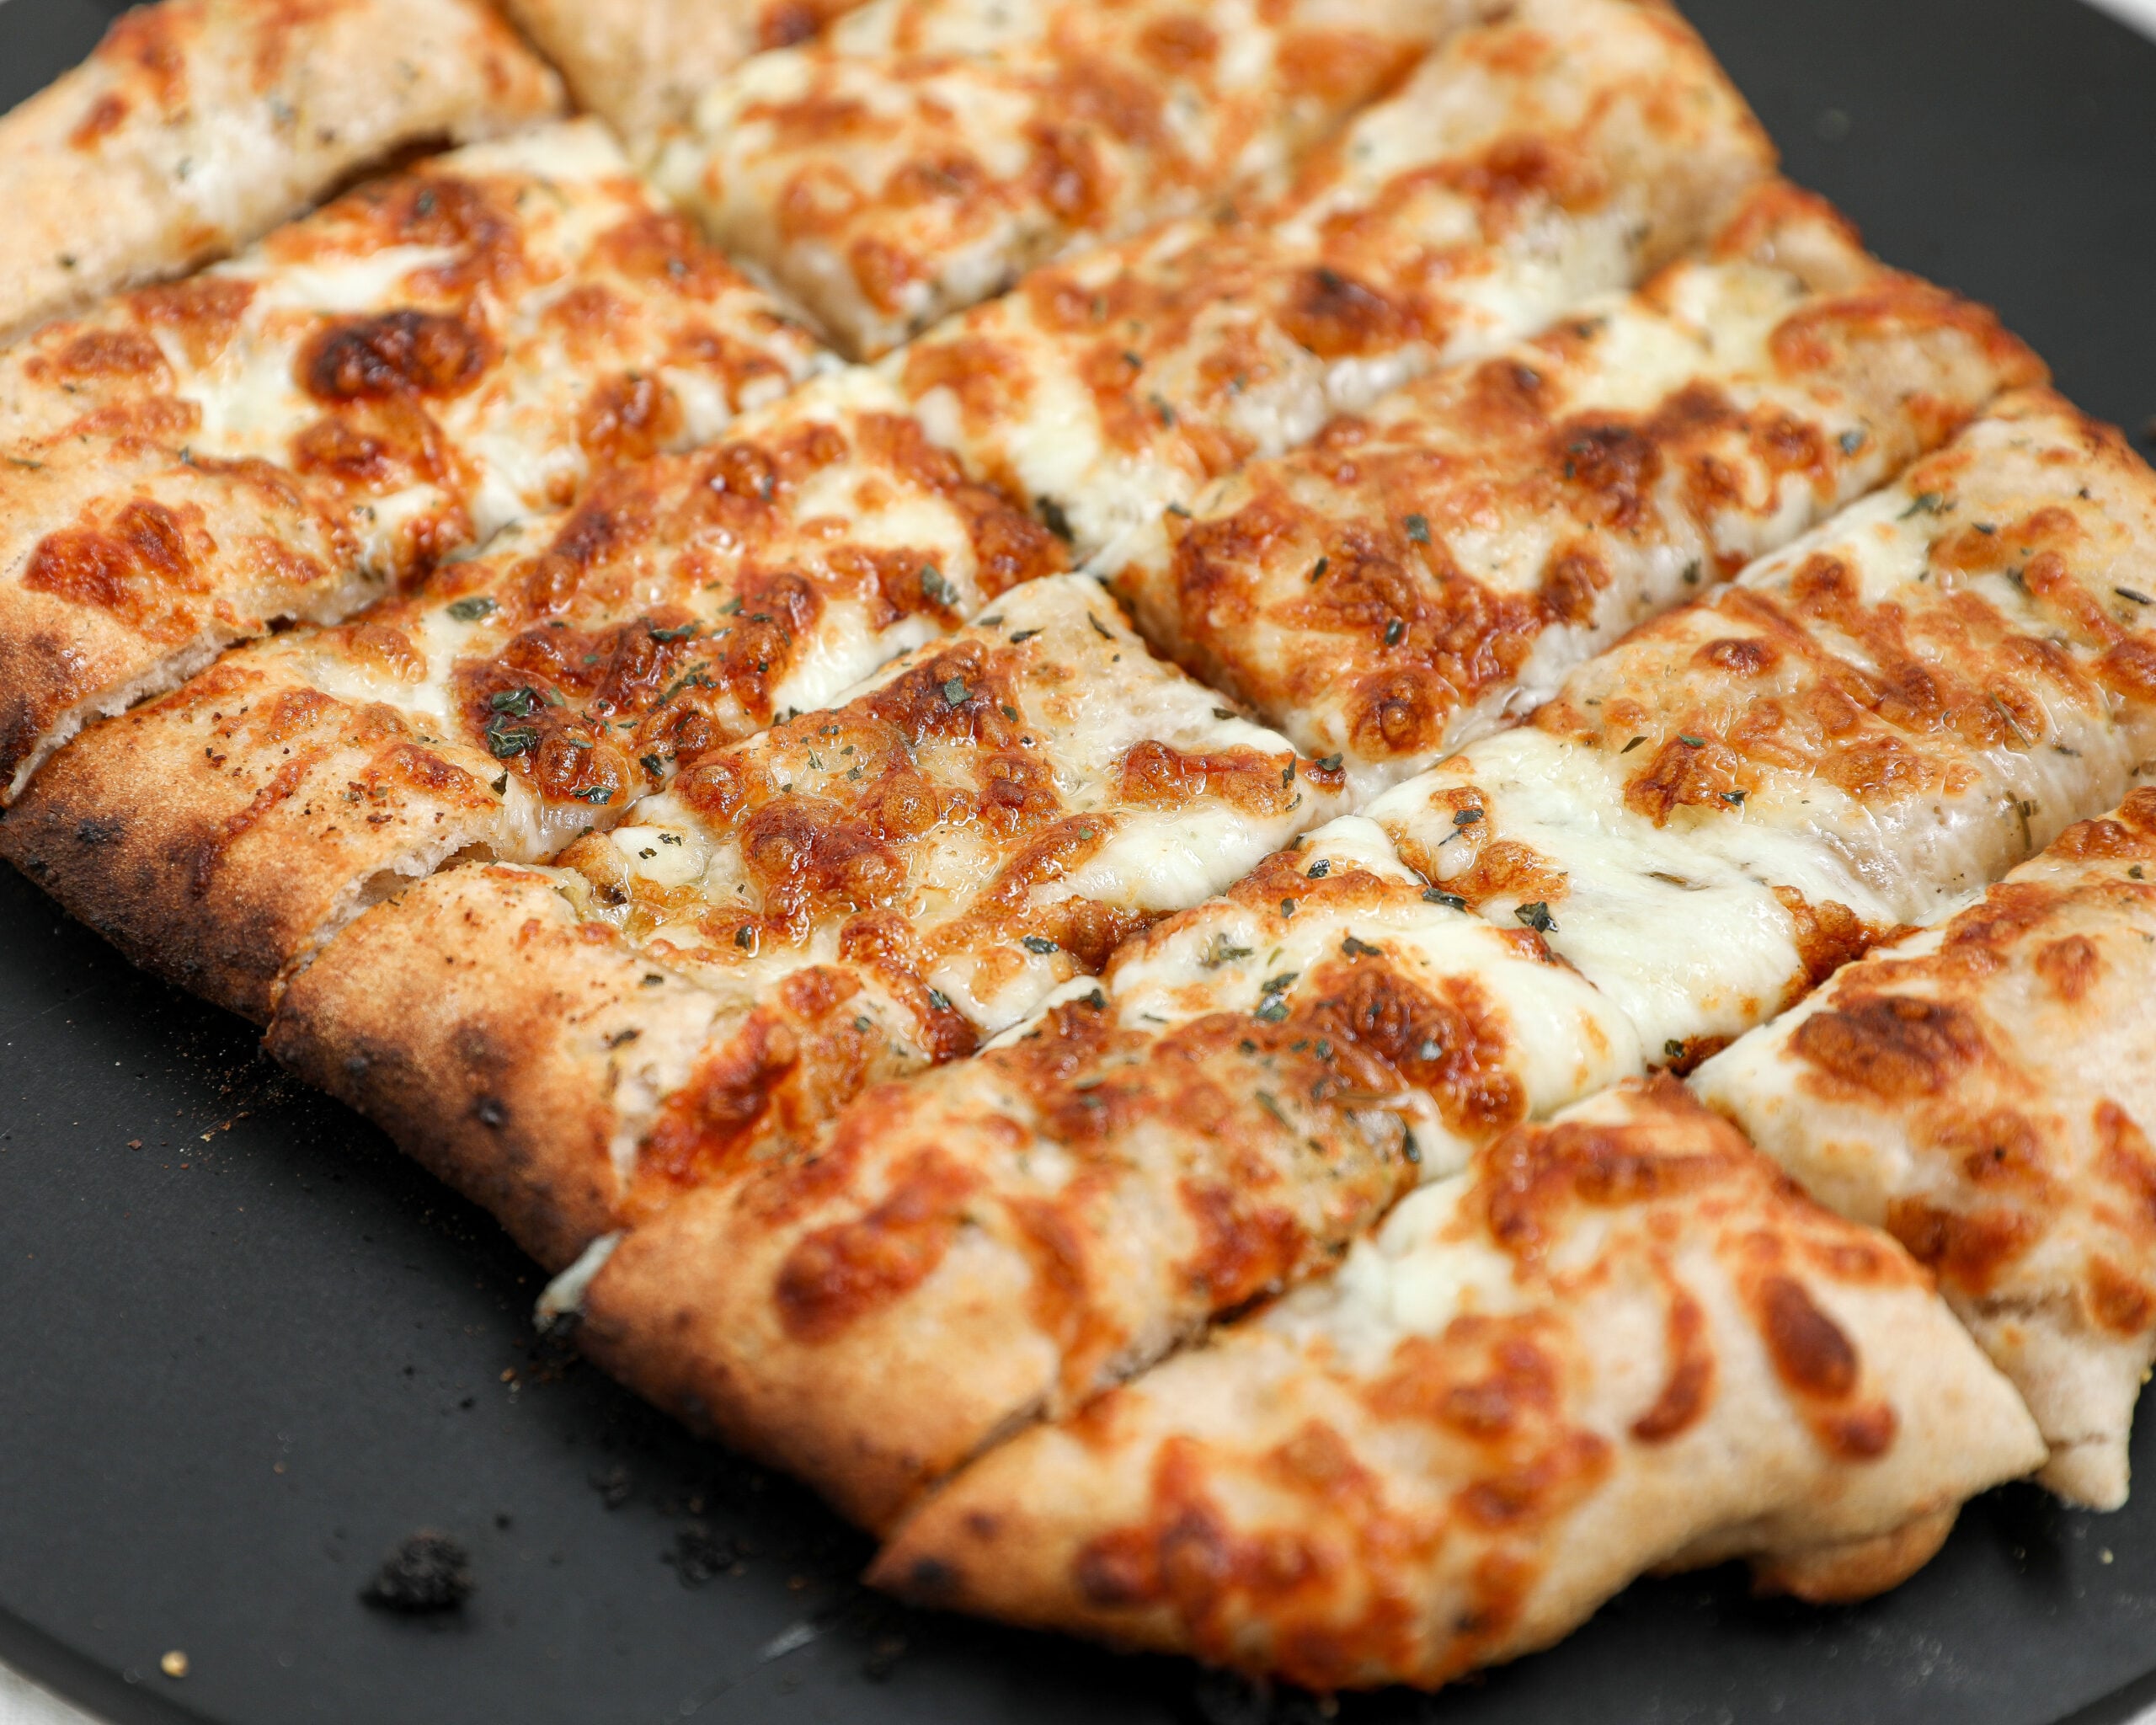
Easy Cheesy Italian Bread Sticks
As an Amazon Associate I earn from qualifying purchases.
Pizza Night Favorite
I almost always have pizza dough in the refrigerator, so recipes like this happen pretty often around here. Some nights we want something quick to snack on while dinner finishes, and other nights these end up stealing the show.

I made these with my sourdough pizza dough because I love the flavor and texture, but I’ve made them with my gluten free pizza dough too. Both work beautifully, so use whatever you have and enjoy them warm with your favorite marinara for dipping.

Why You’ll Love This Recipe
- Ready in about 20 minutes.
- Uses just six simple ingredients.
- Includes pizza oven and conventional oven instructions.
- Works with sourdough, gluten free, store bought, or fresh pizza dough.
- Perfect as an appetizer, side dish, or game day snack.
- Freezer friendly and great for leftovers.
Ingredients Needed To Make Cheesy Italian Bread Sticks
- Pizza Dough – I used my homemade sourdough pizza dough for this recipe, but my gluten free pizza dough, refrigerated store bought dough, or fresh dough from your local pizza shop all work well.
- Unsalted Butter – Melted butter helps the seasonings coat the dough and gives the breadsticks that rich, buttery flavor.
- Italian Seasoning – Adds just the right amount of herb flavor without overpowering the cheese.
- Kosher Salt – A little salt brings everything together and makes the flavors pop.
- Garlic Powder – Gives these breadsticks that classic garlic bread flavor without needing fresh garlic.
- Low Moisture Mozzarella Cheese – This melts beautifully and gives you those golden, bubbly spots on top. I recommend shredding your own if you have the time, but bagged mozzarella works great too.
How To Make Cheesy Italian Bread Sticks
- Preheat your oven to 450°F. If you’re using a pizza stone, place it in the oven while it preheats.
- If you’re using a pizza oven, preheat it to about 650 to 700°F.
- Stretch your pizza dough into a rectangle or oval that’s about 12 inches across. Don’t worry about making it perfect. Rustic breadsticks always look great.
- In a small bowl, combine the melted butter, Italian seasoning, kosher salt, and garlic powder. Stir until everything is well mixed.
- Brush the butter mixture evenly over the entire surface of the dough, making sure to get all the way to the edges.
- Sprinkle the shredded mozzarella evenly over the top. Try to cover the dough from edge to edge so every bite has plenty of cheesy goodness.
- Regular Oven
- Bake for 12 to 15 minutes, or until the crust is golden brown and the cheese is melted with lightly browned spots.
- If you’d like a little more color on top, switch the oven to broil for the last 30 to 60 seconds. Keep a close eye on it so the cheese doesn’t burn.
- Pizza Oven
- Slide the breadsticks into your preheated pizza oven and cook for 2 to 4 minutes, rotating every 20 to 30 seconds until the crust is browned and the cheese is bubbling.
- Since every pizza oven cooks a little differently, keep an eye on them during the last minute.
- Let the breadsticks cool for about 2 minutes before slicing them into strips with a pizza cutter.
- Serve warm with marinara sauce, ranch dressing, garlic butter, or your favorite pizza dipping sauce.
Dough Options
One of my favorite things about this recipe is how flexible it is.
- My Sourdough Pizza Dough gives these breadsticks a chewy texture and incredible flavor.
- My Gluten Free Pizza Dough is perfect if you need a gluten free version.
- Refrigerated pizza dough from the grocery store works great for a quick shortcut.
- Fresh dough from your local pizza shop is another easy option that bakes beautifully.
Danielle’s Recipe Tips
- Freshly shredded mozzarella melts a little smoother than pre-shredded cheese, but either works.
- Don’t overload the dough with cheese or the center can become soft.
- If you’re baking on a pizza stone, let it preheat for at least 30 minutes for the crispiest crust.
- Every pizza oven cooks differently, so use the baking time as a guide and watch for golden cheese and a browned crust.
- Want even more flavor? Sprinkle grated Parmesan and chopped fresh parsley over the breadsticks right after they come out of the oven.
Variations
One of my favorite things about these cheesy breadsticks is how easy they are to change up depending on what you’re serving.
- Add Parmesan – Sprinkle freshly grated Parmesan over the top right after baking.
- Make Them Spicy – Add a pinch of crushed red pepper flakes before baking.
- Fresh Herbs – Finish with chopped parsley or basil for a pop of fresh flavor.
- Pepperoni Breadsticks – Add mini pepperoni before baking for a fun pizza-inspired twist.
- Hot Honey – Drizzle a little hot honey over the top after baking for a sweet and spicy finish.
- Everything Seasoning – Sprinkle a little Everything Bagel seasoning over the butter before adding the cheese.
What to Serve with Cheesy Italian Bread Sticks
These breadsticks are delicious on their own, but they’re even better served alongside your favorite Italian meals.
They pair perfectly with:
- Spaghetti and Meatballs
- Homemade Marinara Sauce
- Lasagna
- Chicken Alfredo
- Caesar Salad
- Tomato Soup
- Pizza Night
- Ranch Dressing or Garlic Butter for dipping
Storage & Freezing
- Store leftover Cheesy Italian Bread Sticks in an airtight container in the refrigerator for up to 4 days.
- To reheat, place the breadsticks in a 375°F oven for 5 to 7 minutes or in a 350°F air fryer for 3 to 4 minutes, until warmed through. While the microwave works in a pinch, the crust won’t stay as crisp.
- To freeze, let the breadsticks cool completely, then wrap them tightly in plastic wrap or foil and place them in a freezer-safe bag or container. Freeze for up to 2 months.
- When you’re ready to enjoy them, thaw overnight in the refrigerator and reheat in the oven or air fryer until hot and the cheese is melty again.
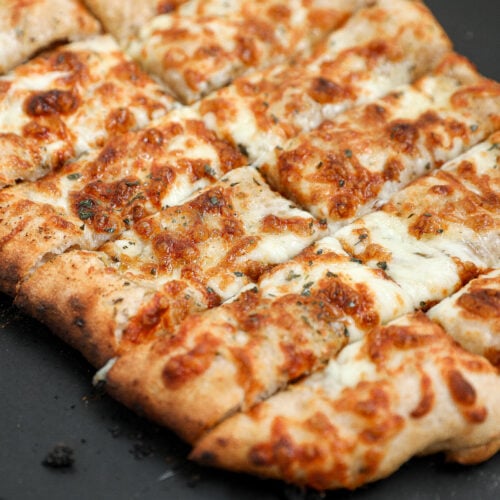
Easy Cheesy Italian Bread Sticks
Equipment
- Baking sheet or pizza stone
- Pastry brush
- Pizza cutter or sharp knife
Video
Ingredients
- 1 pizza dough
- 4 tbsp unsalted butter, melted
- 1 tsp Italian seasoning
- 1/4 tsp kosher salt
- 1/4 tsp garlic powder
- 8 oz low-moisture mozzarella cheese, shredded
Instructions
Regular Oven
- Preheat the oven to 450°F. If using a pizza stone, place it in the oven while it preheats.
- Stretch the pizza dough into a 12-inch rectangle or oval and place it on a parchment-lined baking sheet or pizza peel if transferring to a stone.
- In a small bowl, combine the melted butter, Italian seasoning, kosher salt, and garlic powder.
- Brush the seasoned butter evenly over the dough, making sure to cover the edges.
- Sprinkle the shredded mozzarella evenly over the top.
- Bake for 12 to 15 minutes, or until the crust is golden brown and the cheese is melted with lightly browned spots.
- For extra color, broil for 30 to 60 seconds, watching closely.
- Let cool for 2 to 3 minutes, slice into breadsticks, and serve warm.
Pizza Oven
- Preheat your pizza oven to 650 to 700°F.
- Stretch the dough into a 12-inch rectangle or oval.
- Mix together the melted butter, Italian seasoning, kosher salt, and garlic powder.
- Brush the butter mixture evenly over the dough.
- Top with the shredded mozzarella.
- Transfer the dough to the pizza oven and bake for 2 to 4 minutes, rotating every 20 to 30 seconds until the crust is browned and the cheese is melted and bubbly.
- Remove from the oven, let cool for 2 to 3 minutes, then slice and serve.
Notes
- I used my Sourdough Pizza Dough for this recipe, but my Gluten Free Pizza Dough, refrigerated pizza dough, or fresh dough from your local pizza shop all work well.
- Low-moisture mozzarella gives the best melt and browning.
- Freshly shredded mozzarella melts a little smoother than pre-shredded cheese, but both work well.
- Every pizza oven cooks differently, so use the baking time as a guide and watch closely during the last minute.
- Serve with marinara sauce, ranch dressing, or garlic butter for dipping.
- If using refrigerated pizza dough, let it sit at room temperature for 20 to 30 minutes before stretching. This makes it much easier to work with.