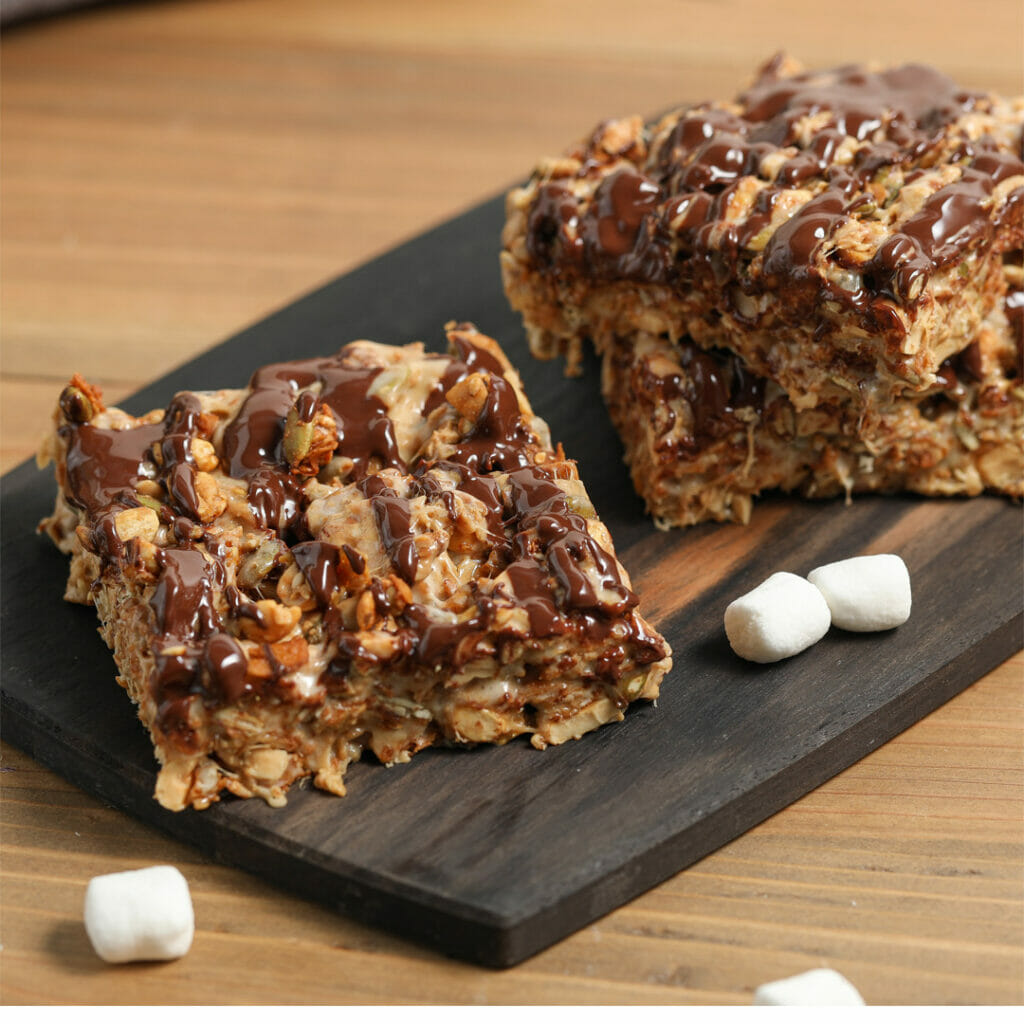
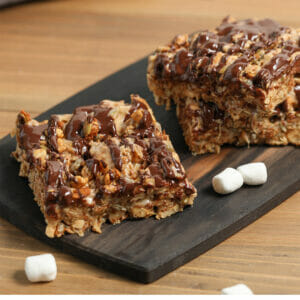
Peanut Butter Granola Krispie Treats
Playing with food has never been so much fun! Packed with all of the crunch of granola and ooey, gooey, molten melted marshmallows you crave, Peanut Butter Granola Krispie Treats is a fun twist on the beloved classic.
As an Amazon Associate I earn from qualifying purchases.
Rice Krispie Treats are the ultimate no-bake dessert. Coming together in just minutes, they’re equally as delicious in their simple, original form as they are dressed up like Millionaire Rice Krispie Treats. This version replaces the traditional puffed rice with crispy, crunchy, irresistible granola that packs texture in every bite.
Why You’ll Love This Recipe
- Easy Process – Get your kids into the kitchen and pass over the mixing spoon. These no bake dessert bars simple require some melting and mixing. They’re perfect for any level of baker.
- Minimal Ingredients – You don’t need a lot of ingredients for this krispie treat recipe. Because the granola itself packs so much flavor, you only need a few extra pantry staples like marshmallows.
- Make Ahead – Not only does this dessert require absolutely no baking, but you can also make it a couple of days in advance. This is perfect for bringing over to parties or taking to any sort of bake sale.
Ingredients
Peanut Butter Granola Krispie Treats is as easy to shop for as it is to make. Aside from the granola all you really need is the glue to hold together the bars.
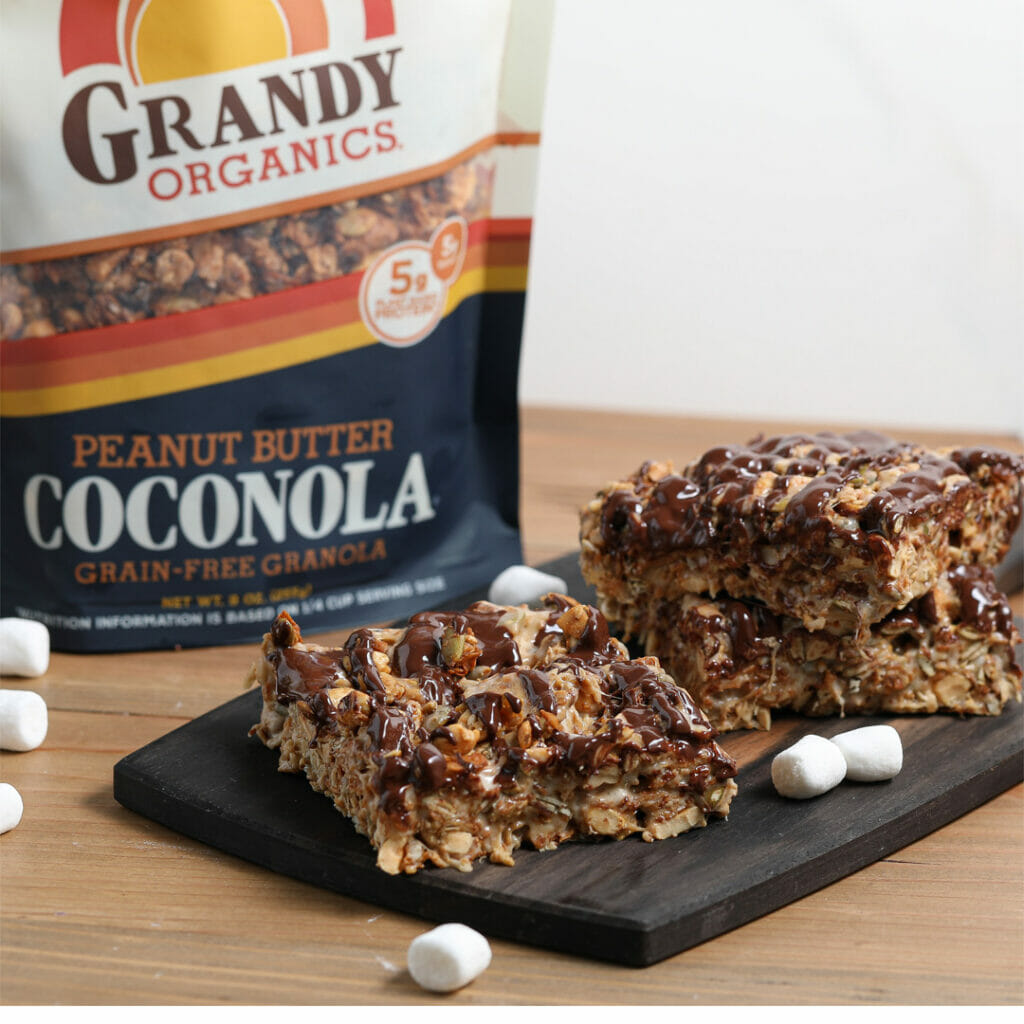
- Grandy Organics Peanut Butter Coconola – This granola is completely grain free. Combining coconut flakes with peanuts, sunflower seeds, pumpkin seeds, pecans, cashews, and sesame seeds, it packs crunch in every bite. With the addition of peanut butter and peanut butter chips, it also delivers on all of the peanut butter flavor. It’s certified organic and made with all fair trade ingredients. In addition, each serving of this granola has five grams of protein.
- Mini Marshmallows – This is the glue that holds these dessert bars together. Mini marshmallows melt quickly and evenly.
- Butter – Helps thin out the melted marshmallows and creates the sauce that binds these bars together.
- Dark Chocolate – What goes better with peanut butter than chocolate? Dark chocolate adds a slight bitter bite that balances the sweetness of the marshmallows.
How to Make Peanut Butter Granola Krispie Treats
Get out your mixing spoon and stock pot. These sweet and sticky bars come together with just a couple of simple steps. Combining the classic flavors of peanut butter and chocolate, you won’t be able to resist licking the spoon. Don’t worry, we won’t judge!
Time needed: 20 minutes
Crunchy nut and coconut packed granola and melted molten marshmallows come together quicky for a new twist on the classic.
- Prep
You will need a 7×10 baking dish for this recipe, and a large pop that can accommodate the granola.
- Melt
Place a large pot over medium-low heat and add the butter. Stir it until it has melted. Once the butter has melted add in the marshmallows and keep stirring until they’ve melted into the butter. Turn off the heat.
- Mix
Add the coconola into the pot and stir until it is completely coated in the marshmallow mixture. It will be sticky.
- Spread
Spread the granola mixture into the baking dish. Use a spatula or offset spatula to press it into the pan and even it out.
- Drizzle
Drizzle the melted dark chocolate over the top. Slice and enjoy!
How to Make This Recipe Dairy Free
To make this recipe dairy free use your favorite plant based butter. Regardless of whether or not you use dairy free or regular dairy butter, the measurements will be the same.
Storage
The best way to store your krispie treats is to store them at room temperature. Allow them to cool completely and then either cut them and place them in an airtight container or plastic bags. You can also tightly cover the baking dish, making sure it’s completely sealed. While you can store these in the refrigerator you will want to allow them to sit out for at least thirty minutes to soften up a little. It properly stored these will keep for up to four days.
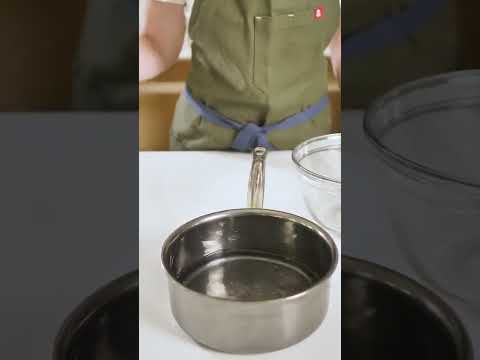
How to Melt Chocolate
Creating a double boiler is the best way to easily melt your chocolate. You can also microwave the chocolate but risk over cooking it.
When you create a double boiler, it allows you to cook or melt something at a gentle heat without worry of over cooking it. This is useful for making custards, meringues, melting chocolate, etc. The best part is you don’t need any special tools.
Armed with a pot of simmering water and a glass bowl, you can easily create a double boiler at home. The key is to make sure the water never touches the bottom of the bowl. You want the steam created from the seal to do all of the work.
Top Tip for Peanut Butter Granola Krispie Treats
Part of the fun of rice krispie treats is the sticky texture. It can make spreading out the warm mixture a little bit messy. To make the whole process easier, lightly spray your spatula with nonstick baking spray. This will allow you to easily smooth it out into the pan without it sticking to everything.
Peanut Butter Granola Krispie Treats
Equipment
- 1 Spatula
Ingredients
- 18 ounces Grandy Organics Peanut Butter Coconola
- 8 ounces mini marshmallows
- 4 tbsp butter
- 1/4 cup dark chocolate
Instructions
- This recipe fits a 7×10 baking dish.
- Add the butter to a large pot over medium-low heat. Stir until melted.
- Add the marshmallows to the pot and continue to stir until they're melted and combined with the butter.
- Remove from the heat. Stir in the coconola until completely coated.
- Pour the granola mixture into the baking dish and press down to evenly spread it out.
- Create a double boiler to melt your chocolate, or melt in the microwave.
- Drizzle the melted chocolate over the top of the krispie treats.
- Slice and enjoy!