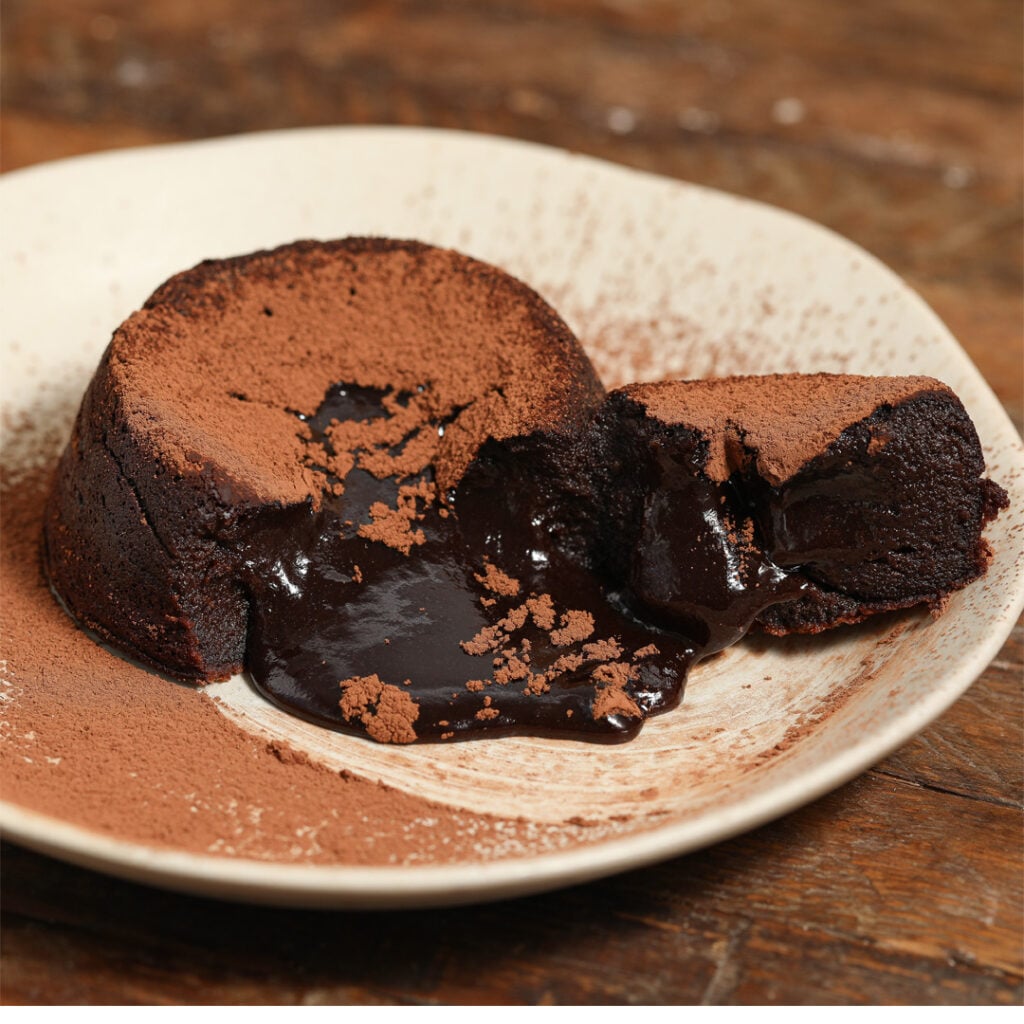
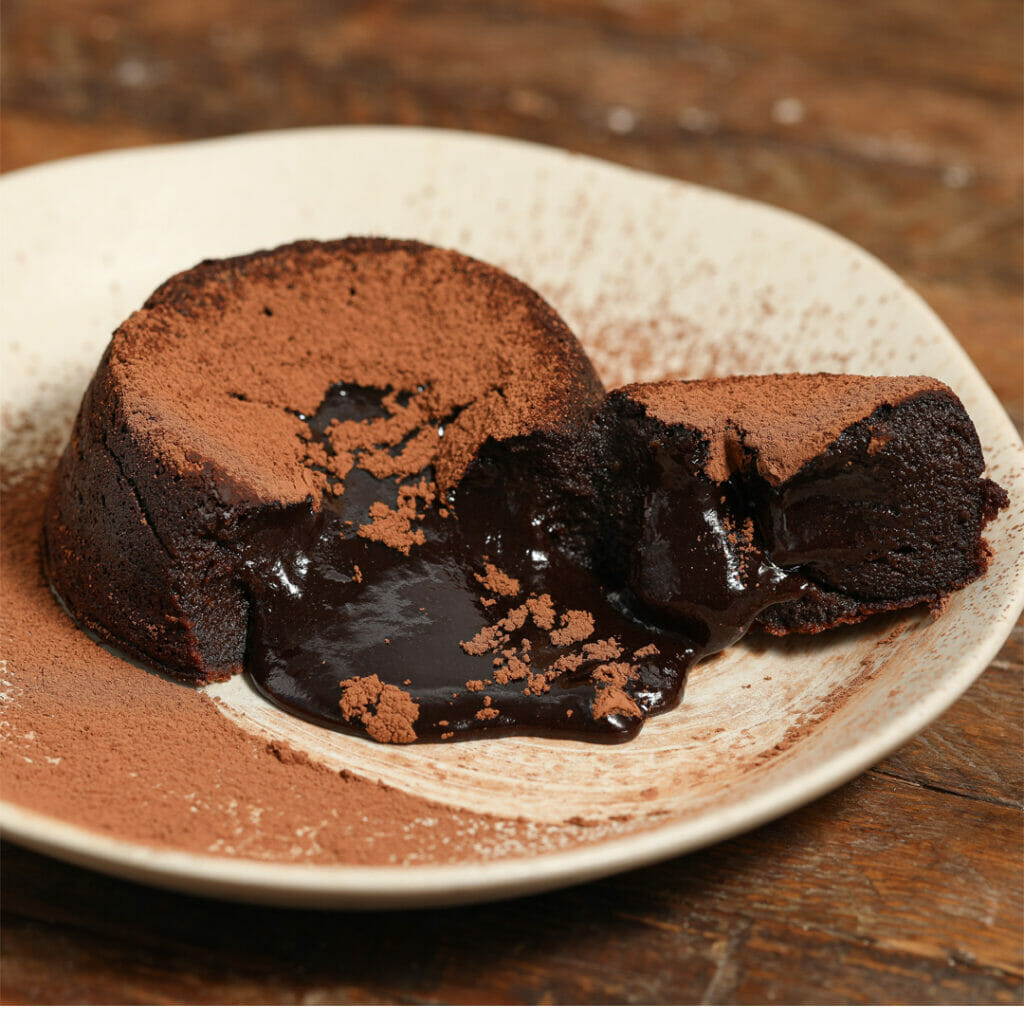
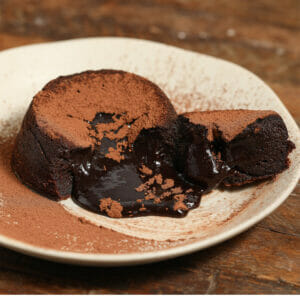
Chocolate Hazelnut Lava Cake (Easy Molten Center Dessert)
These Chocolate Hazelnut Lava Cakes are rich, gooey, and made with a warm molten center that spills out when you cut into them. They feel like a restaurant-style dessert, but they’re simple enough to make at home with just a handful of ingredients. The chocolate hazelnut flavor makes every bite extra rich, making these perfect for date night, Valentine’s Day, or any time you want a dessert that feels special.
As an Amazon Associate I earn from qualifying purchases.
Why You’ll Love This Chocolate Hazelnut Lava Cake
- That warm chocolate hazelnut center stays soft and gooey for the perfect lava cake texture.
- This looks impressive, but it comes together with just a handful of simple ingredients.
- Whether it’s date night, Valentine’s Day, or just a chocolate craving, this dessert always feels special.
- No reservations needed. You can make this elegant dessert right in your own kitchen.
- You can easily adapt this recipe for gluten free or dairy free needs.
Ingredients Needed To Make This Chocolate Hazelnut Lava Cake
Be sure to scroll to the recipe card below for exact measurements.
- Softened butter
- Cocoa powder
- Chocolate hazelnut spread
- Unsalted butter
- Granulated sugar
- Eggs
How to Make Chocolate Hazelnut Lava Cake
- Preheat your oven to 400°F.
- Generously butter six 4-ounce ramekins, then dust each with cocoa powder. Tap out any excess.
- Place the ramekins on a baking sheet.
- Add the eggs and granulated sugar to a large mixing bowl.
- Using a hand mixer, beat on high for about 5 minutes until pale, thick, and fluffy.
- Create a double boiler by placing a heat-safe bowl over a pot of gently simmering water.
- Add the chocolate hazelnut spread and butter.
- Stir until fully melted and smooth.
- Remove from heat.
- Slowly add a few spoonfuls of the warm chocolate mixture into the whipped eggs while whisking constantly. (This keeps the eggs from scrambling.)
- Slowly pour the remaining chocolate mixture into the egg mixture while whisking continuously.
- Mix until fully combined and smooth.
- Divide the batter evenly between the prepared ramekins.
- Bake for 12–14 minutes.
- The edges should look set while the center still has a slight jiggle.
- Let the cakes rest for 3 minutes.
- Carefully run a knife around the edges, invert onto serving plates, and serve immediately.
Tips for Perfect Chocolate Hazelnut Lava Cake
- Do not overbake or the center will lose its molten texture.
- Room temperature eggs whip better.
- Let the cakes cool exactly 2–3 minutes before flipping.
- Grease ramekins thoroughly for easy release.
Storage and Reheating
- Store covered in the refrigerator for up to 3 days.
- To reheat:
Microwave for 15–20 seconds to warm the molten center.
Chocolate Hazelnut Lava Cake
Equipment
- 6 4 oz ramekins
- 1 Double boiler
Ingredients
- 1 tbsp softened butter (for ramekins)
- 1 tbsp cocoa powder (for ramekins)
- 1 cup chocolate hazelnut spread
- 1/2 cup unsalted butter
- 2/3 cup granulated sugar
- 5 large eggs (room temperature)
Instructions
- Preheat oven to 400°F.
- Butter six ramekins and dust with cocoa powder. Place on a baking sheet.
- Beat eggs and sugar together on high speed for 5 minutes until pale and fluffy.
- In a double boiler, melt chocolate hazelnut spread and butter until smooth.
- Remove from heat.
- Slowly whisk a small amount of warm chocolate mixture into the eggs.
- Gradually whisk in remaining chocolate mixture until smooth.
- Divide batter evenly.
- Bake 12–14 minutes until edges are set and centers remain slightly jiggly.
- Cool for 3 minutes and invert onto plates and serve immediately.
Notes
- Vanilla ice cream
- Powdered sugar
- Fresh berries
- Whipped cream
Nutrition
Frequently Asked Questions
The edges should look set and slightly puffed, but the center should still have a gentle jiggle. If the middle looks completely firm, the cakes are likely overbaked and may not have that molten center.
The most common reason is overbaking. Lava cakes keep their molten center because the outside sets while the middle stays soft. Check them at 12 minutes and pull them when the center still jiggles slightly.
Yes. You can prepare the batter, divide it into the ramekins, cover, and refrigerate for up to 24 hours. Bake straight from the refrigerator, adding 1–2 extra minutes if needed.
Any chocolate hazelnut spread will work. The flavor and sweetness may change slightly depending on the spread you use.
You can! This recipe can be made gluten free as long as your chocolate hazelnut spread, cocoa powder, and other ingredients are certified gluten free.
Yup! Use a dairy free chocolate hazelnut spread and dairy free butter. The texture may vary slightly depending on the brand, but the method stays the same.
For best results, freeze them unbaked in the ramekins. Cover tightly, then bake from frozen, adding a few extra minutes. Watch for set edges and a soft center.
Vanilla ice cream, whipped cream, fresh raspberries, strawberries, powdered sugar, or a little cocoa powder all work well. The cold ice cream with the warm molten center is especially good.