Easy Cherry Cobbler
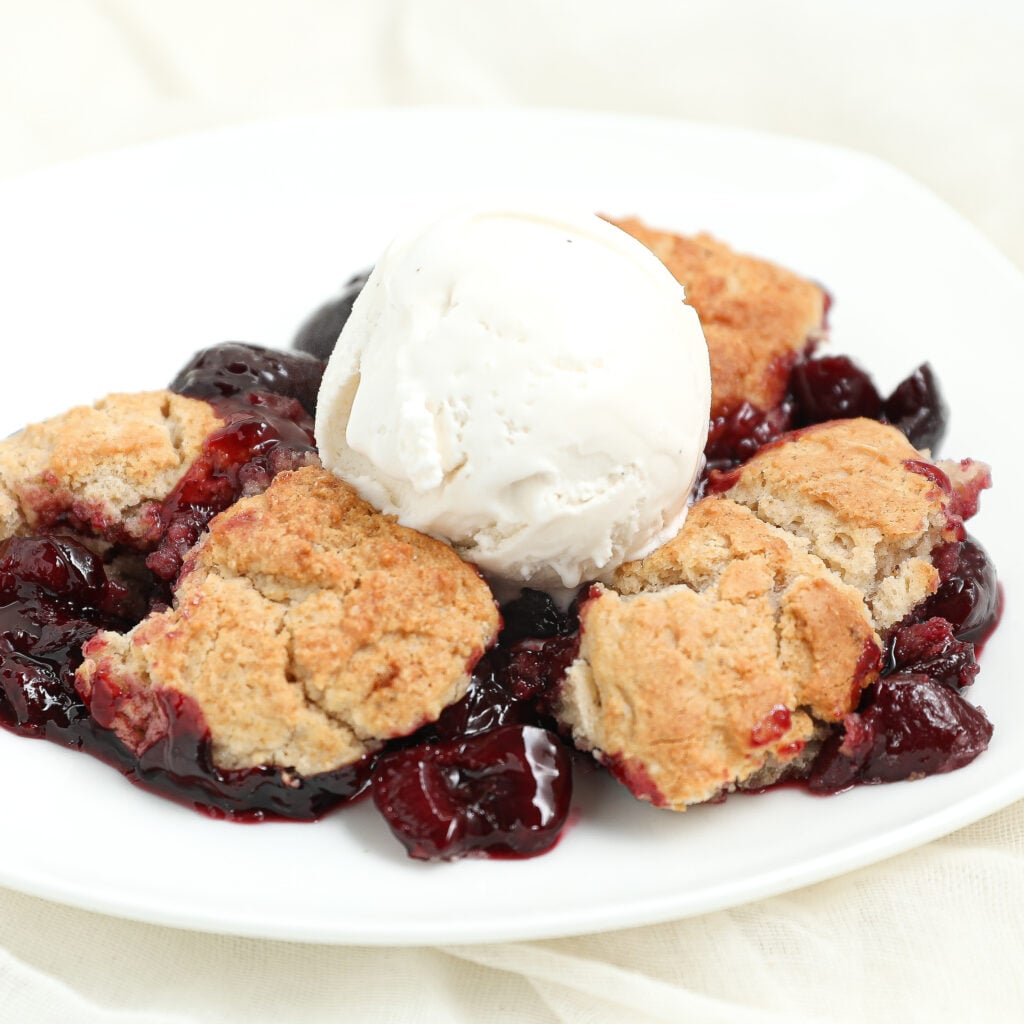
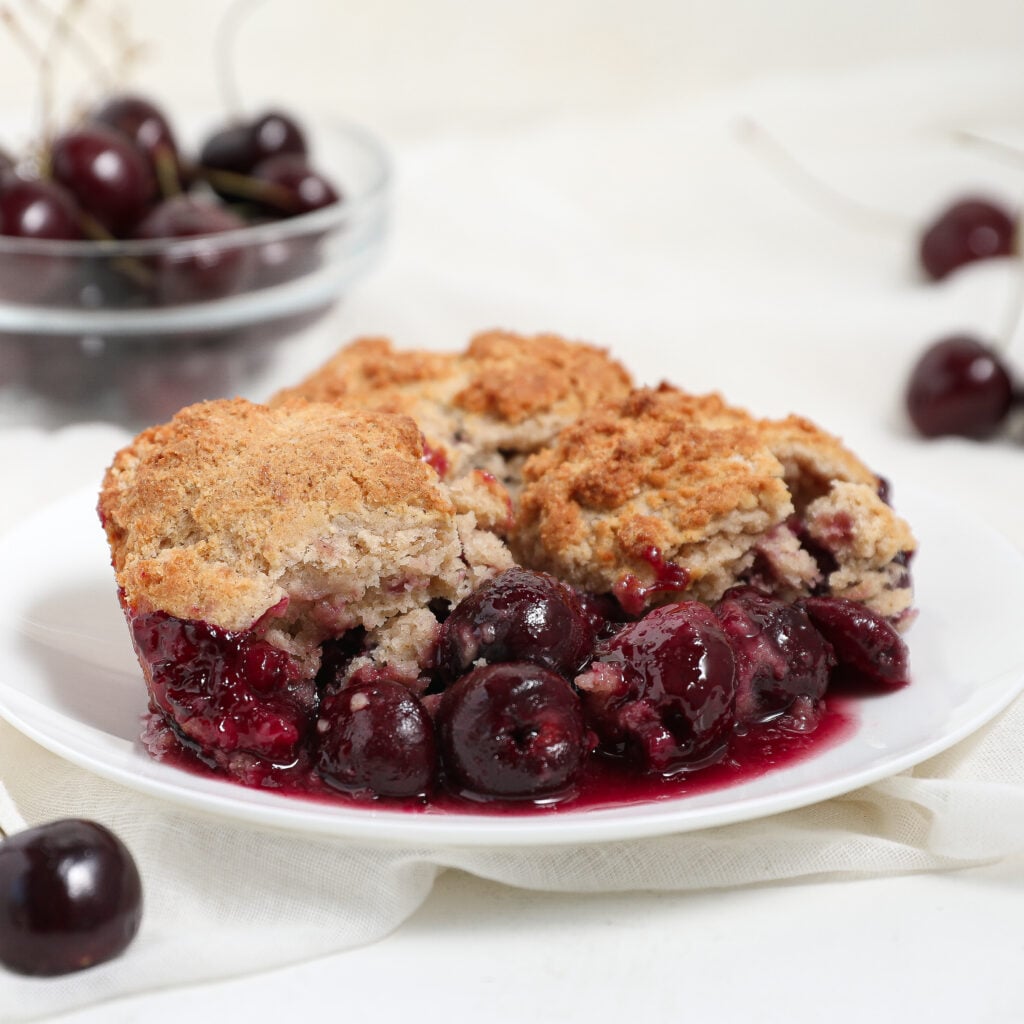
Easy Cherry Cobbler is the ultimate summer dessert, made with juicy sweet cherries and a buttery, golden biscuit topping that bakes up crisp on the outside and soft inside. This easy cherry cobbler recipe comes together with fresh or frozen cherries, making it perfect for summer gatherings, holidays, or whenever you’re craving a classic homemade cherry dessert.
As an Amazon Associate I earn from qualifying purchases.
Why You’ll Love Cherry Cobbler
- Made with Fresh or Frozen Cherries: Enjoy this easy cherry cobbler all year long using fresh summer cherries or frozen cherries straight from the freezer.
- Classic Homemade Flavor: Sweet, juicy cherries paired with a buttery, golden biscuit topping create the perfect old-fashioned cherry cobbler everyone loves.
- Easy Dessert for Any Occasion: With simple ingredients and minimal prep, this homemade cherry cobbler is perfect for weeknight desserts, summer cookouts, potlucks, and holiday gatherings.
- Pantry-Friendly Ingredients: No complicated ingredients required. Everything you need is easy to find and likely already in your kitchen.
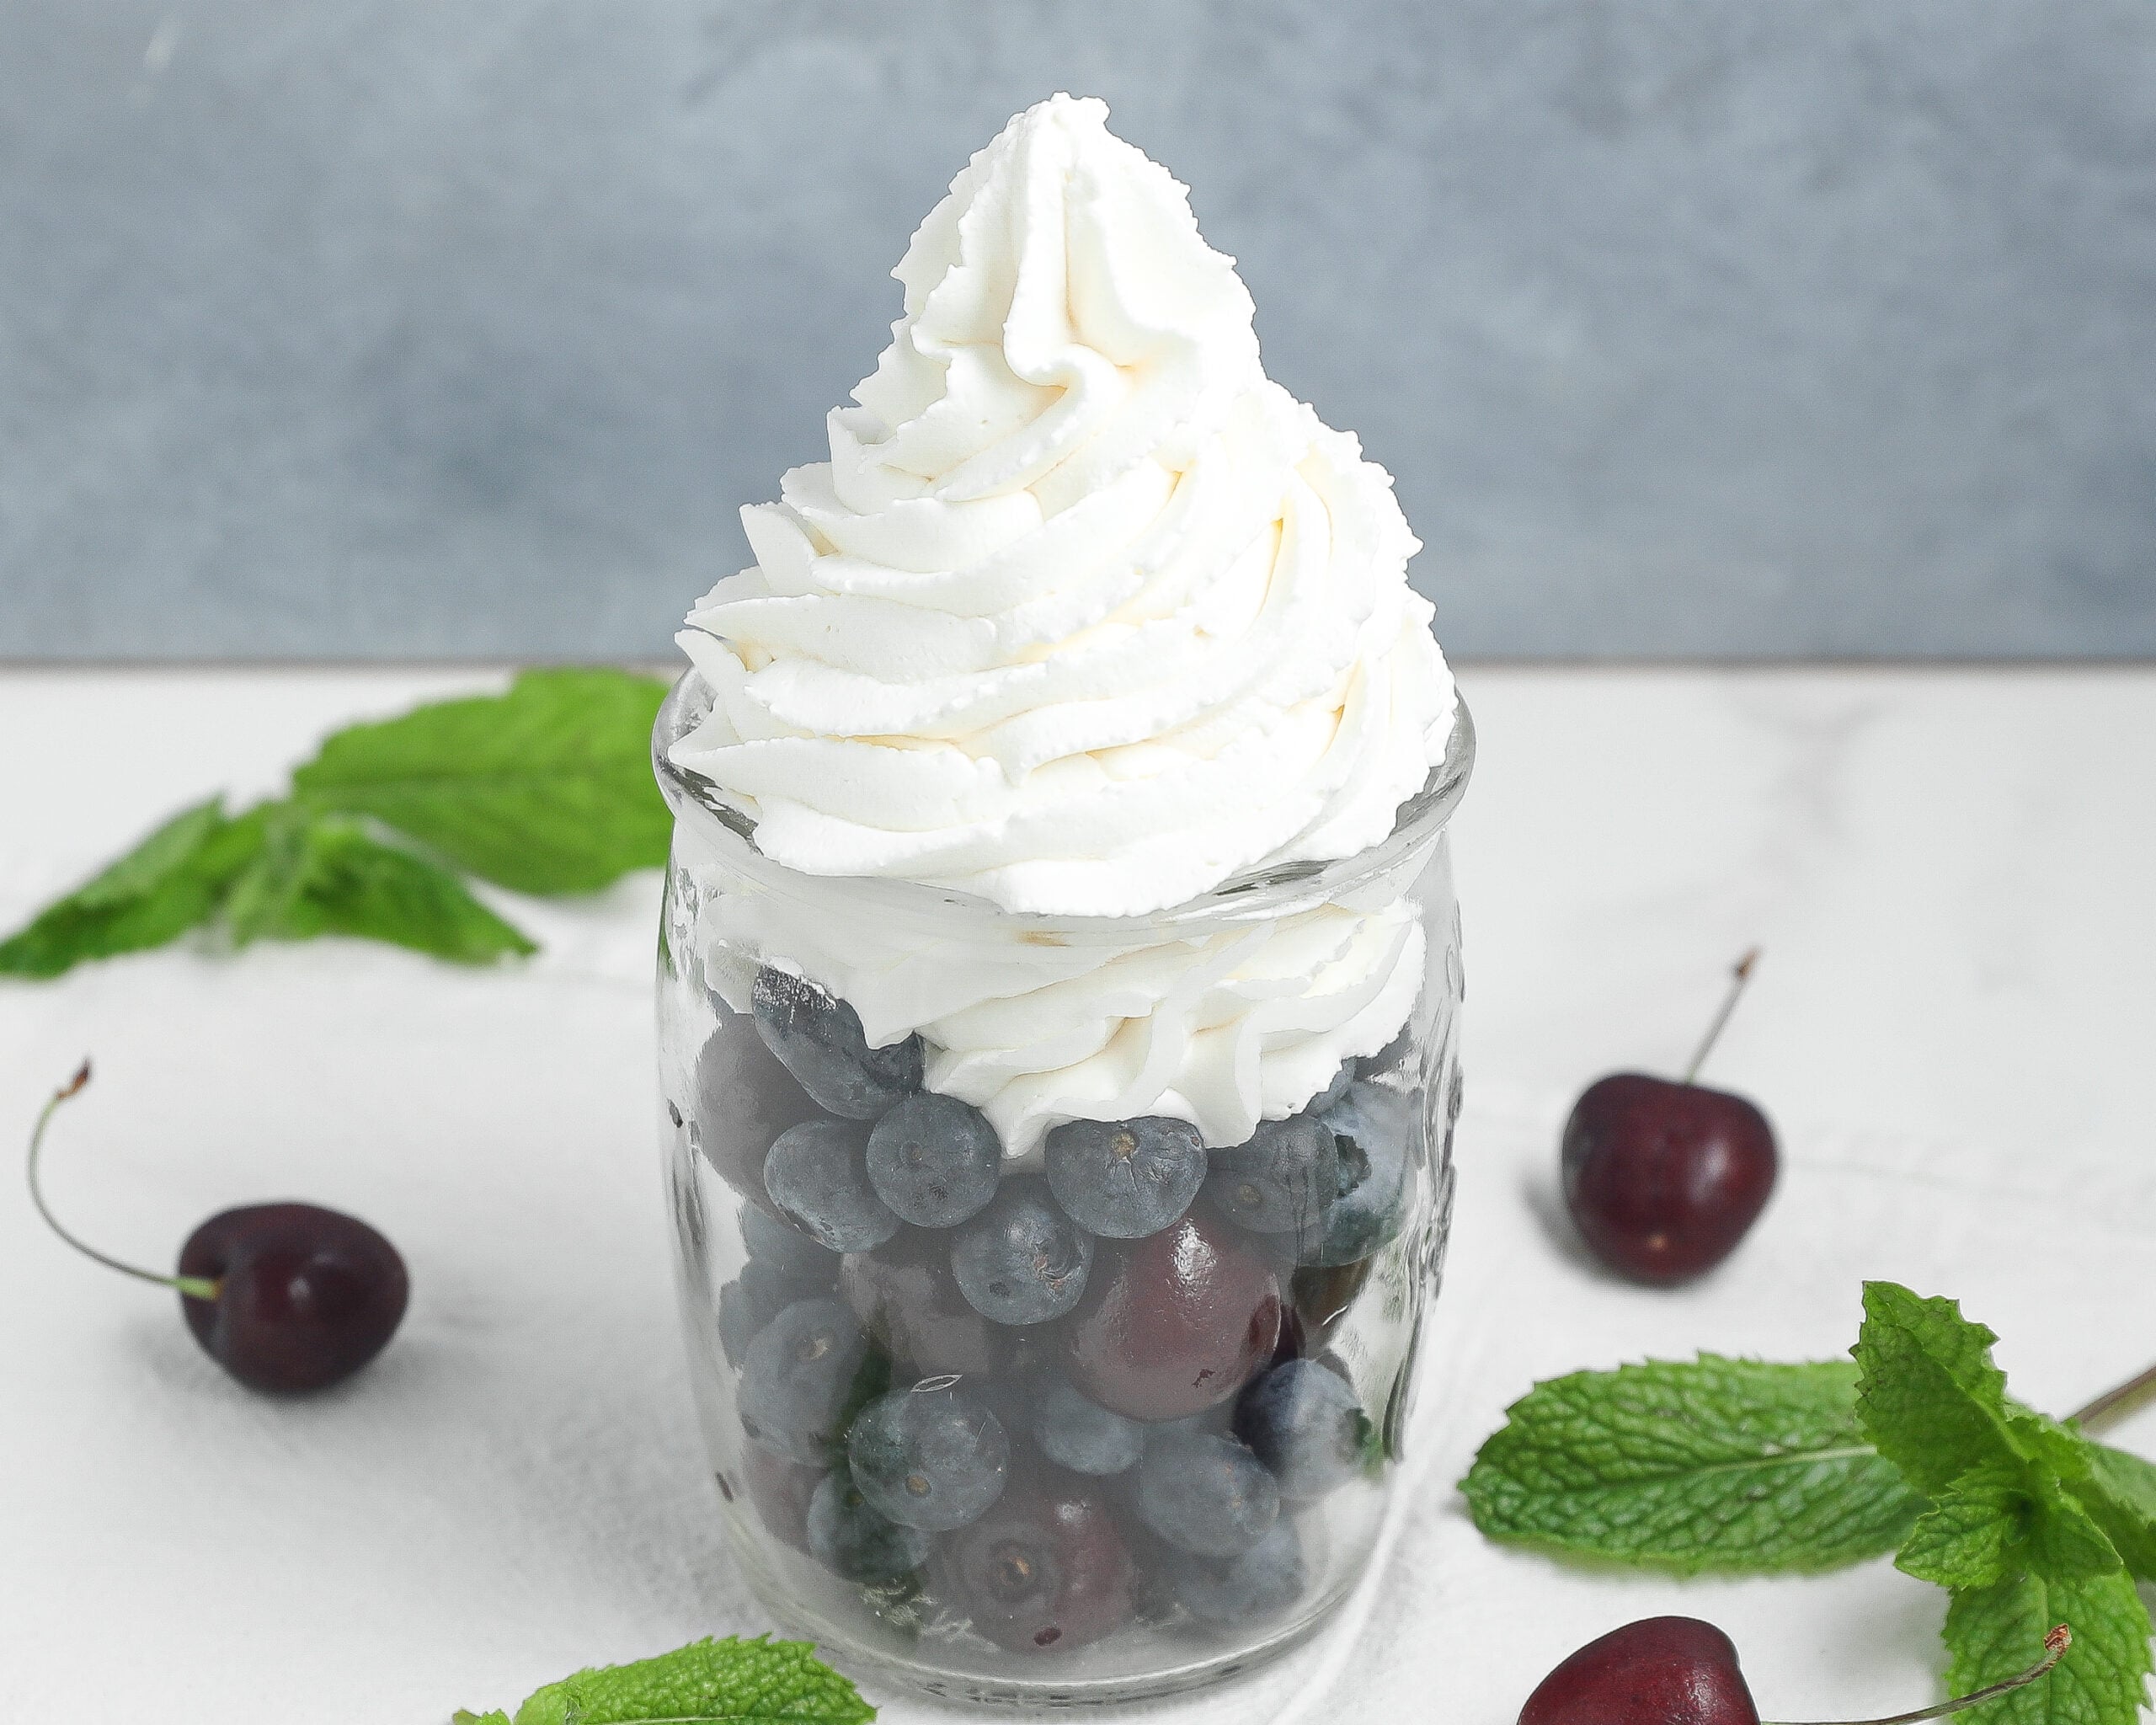
- Perfect with Your Favorite Toppings: Serve warm with a scoop of vanilla ice cream, freshly whipped cream, or a drizzle of caramel sauce for an irresistible dessert.
Ingredients Needed To Make Cherry Cobbler
Make sure you scroll down to the recipe card to see the full list of ingredients needed for this recipe.
- Cherries (fresh or frozen)
- Cherry Juice
- Salt
- Sugar
- Cornstarch
- Water
- Flour
- Cinnamon
- Vanilla
- Butter
- Baking Powder
- Buttermilk
Before You Get Started: A couple notes to help you get the best results
How To Make Cherry Cobbler
- Preheat oven to 350°F. Lightly grease a 7x10x2” baking dish.
- In a large pot over medium heat, combine cherries, cherry juice, salt, and sugar. Stir well.
- In a small bowl, whisk together cornstarch and water to form a slurry.
- Once the cherry mixture starts to bubble around the edges, pour in the slurry and stir continuously until thickened. Remove from heat and set aside.


- In a large mixing bowl, whisk together flour, salt, cinnamon, sugar, and baking powder.
- Cut in cold butter using a fork or pastry cutter until pea-sized crumbs form.
- Stir in vanilla and buttermilk gently to keep the butter pockets intact.


- Pour the cherry filling into the prepared baking dish.
- Scoop the cobbler topping over the cherries using an ice cream scoop, spacing evenly.

- Bake for 35–40 minutes or until the top is golden and filling is bubbling.

- Let rest for 5 minutes before serving.

Commonly Asked Questions
Can I use frozen cherries instead of fresh?
Yes! Frozen cherries work well. No need to thaw them—just increase the cooking time slightly when heating the filling to account for the extra moisture.
What can I substitute for the cherry juice?
You can use pomegranate juice, cranberry juice, or black cherry juice. Just make sure it’s 100% juice for the best flavor.
Can I make this recipe dairy-free?
Yes! Substitute the butter with a dairy-free butter alternative and use plant-based buttermilk (¾ cup dairy-free milk + 2 tsp vinegar or lemon juice).
How do I know when the cobbler is done baking?
The topping should be golden brown and the filling should be bubbling around the edges. A toothpick inserted into the biscuit topping should come out clean.
Can I make this cobbler ahead of time?
You can make the filling a day in advance and store it in the fridge. Assemble and bake fresh for best texture, or reheat baked cobbler at 300°F for 15–20 minutes.
What’s the best way to store leftovers?
Store leftover cobbler covered in the refrigerator for up to 3 days. Reheat in the oven or microwave before serving.
Can I use a different type of fruit?
Absolutely! This cobbler base works great with blueberries, peaches, or mixed berries. Adjust sugar depending on the fruit’s natural sweetness.
What if I don’t have buttermilk?
Make your own by combining ¾ cup milk with 2 teaspoons lemon juice or vinegar. Let it sit for 5 minutes before using.
Can I freeze this cobbler?
You can freeze the baked cobbler for up to 2 months. Thaw in the fridge overnight and reheat in the oven at 325°F until warmed through.

Easy Cherry Cobbler
Equipment
- 10-inch cast iron pan or baking dish
Video
Ingredients
Cobbler Filling
- 4 cups fresh cherries (pitted and halved)
- 1 cup cherry Juice
- Pinch of salt
- ½ cup sugar
- 2 tbsp cornstarch
- ¼ cup water
Cobbler Topping
- 1 ½ cup all-purpose flour (or 1:1 gluten free flour)
- ½ tsp kosher salt
- ½ tsp ground cinnamon
- 1 tbsp baking powder
- ½ cup sugar
- 8 tbsp unsalted butter, cold (cubed)
- 1 tsp vanilla extract
- ¾ cup buttermilk (see notes below for substitute)
For Serving (Optional)
Instructions
- Preheat oven to 350°F. Lightly grease a 7x10x2” baking dish.
- In a large pot over medium heat, combine cherries, cherry juice, salt, and sugar. Stir well.
- In a small bowl, whisk together cornstarch and water to form a slurry.
- Once the cherry mixture starts to bubble around the edges, pour in the slurry and stir continuously until thickened. Remove from heat and set aside.
- In a large mixing bowl, whisk together flour, salt, cinnamon, sugar, and baking powder.
- Cut in cold butter using a fork or pastry cutter until pea-sized crumbs form.
- Stir in vanilla and buttermilk gently to keep the butter pockets intact.
- Pour the cherry filling into the prepared baking dish.
- Scoop the cobbler topping over the cherries using an ice cream scoop, spacing evenly.
- Bake for 35–40 minutes or until the top is golden and filling is bubbling.
- Let rest for 5 minutes before serving.
Notes
- Fresh or frozen cherries: Both work beautifully in this recipe. If using frozen cherries, thaw and drain any excess liquid before baking to prevent the filling from becoming too thin.
- Adjust the sweetness: If your cherries are especially tart, add an extra tablespoon or two of sugar to the filling. If they’re very sweet, you can reduce the sugar slightly.
- Don’t overmix the biscuit topping: Stir the dough just until combined. Overmixing can make the topping dense instead of light and tender.
- Bake until bubbling: The cherry filling should be bubbling around the edges, and the biscuit topping should be deep golden brown before removing the cobbler from the oven.
- Let it rest: Allow the cobbler to cool for 15 to 20 minutes before serving so the cherry filling has time to thicken.
- Serving suggestion: Serve warm with vanilla ice cream, freshly whipped cream, or a dollop of whipped topping for the ultimate homemade cherry cobbler.
- Buttermilk Substitute for Dairy Free Buttermilk: Add 1 tsp white distilled vinegar to 1 cup dairy-free milk (your choice—I prefer oat). Mix together and let sit for 5 minutes. This will make a dairy-free buttermilk substitute.
This Cherry Cobbler is a total winner in my book! It’s easy enough to whip up for a weeknight dessert, but impressive enough to serve to guests. Top it off with a scoop of vanilla ice cream and you’ve got the perfect summer treat, no matter the season!