
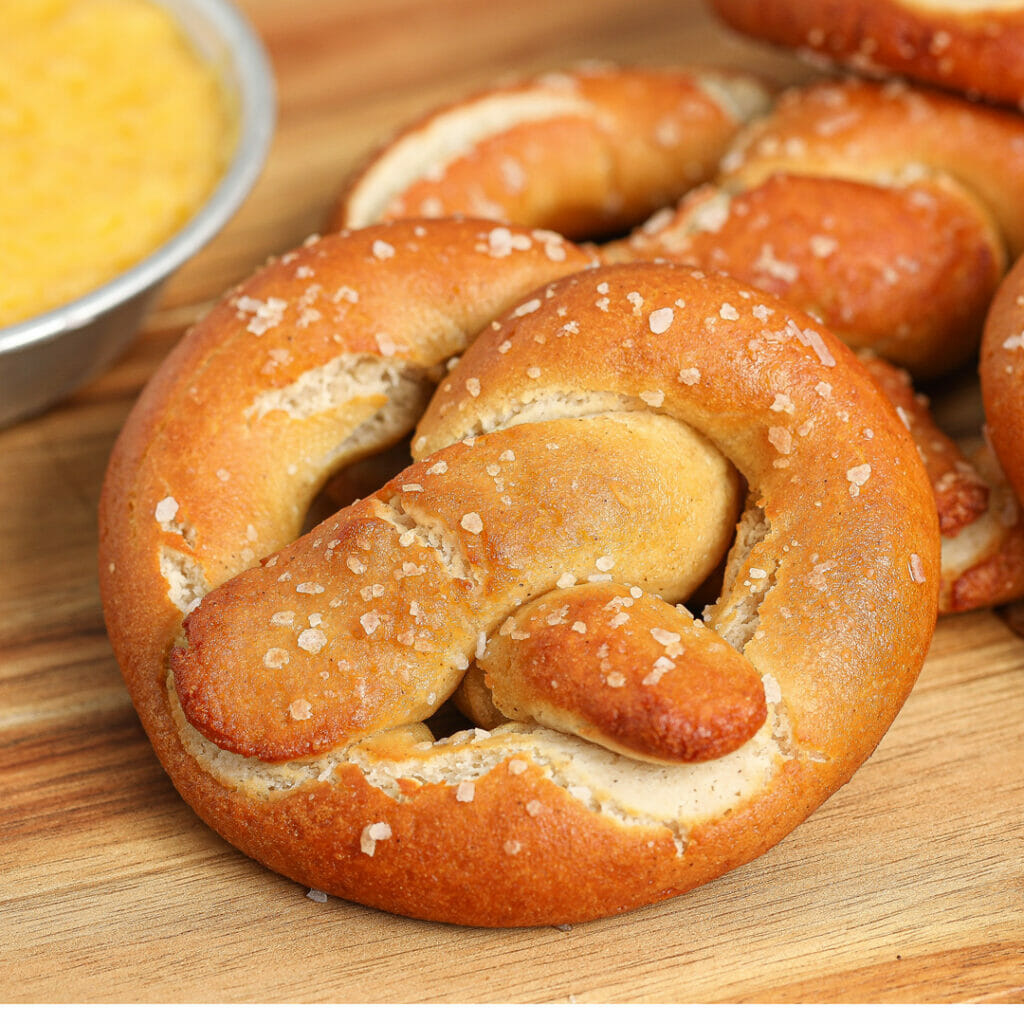
The Best Gluten Free Soft Pretzels
Homemade soft pretzels are a classic game day snack and a must-make for baseball season. Warm, chewy, and finished with a simple salt topping, these soft pretzels deliver that familiar ballpark flavor right from your own kitchen. They’re easy to make, fun to shape, and perfect for sharing whether you’re hosting a watch party or just craving a fresh, baked snack. Serve them warm with your favorite dips or enjoy them straight off the pan for the best texture and flavor.
As an Amazon Associate I earn from qualifying purchases.
Let’s be honest. It doesn’t matter what the sport is, as long as there is tasty food to be had. Whether it’s Gluten Free Authentic Detroit Style Coney Dogs or these warm and pillowy treats, it’s all as much about the fun and festive food as it is the game itself. Whether you’re diving in for that mustard dip or slathering your hot pretzel in a cheese sauce, these are sure to become a new gam day tradition.
Ingredients
Making homemade soft pretzels at home is easier than you think. This recipe works whether you use regular all-purpose flour or a 1:1 gluten-free flour, so you can make it fit how you cook without changing the method. The dough comes together quickly, the pretzels bake up soft and chewy, and they’re perfect for everything from snack boards to game day.
They’re also a great baking project to do with kids. Simple ingredients, hands-on shaping, and a payoff that’s very worth it.
- All-purpose flour or 1.1 gluten-free flour
- Baking powder
- Kosher salt
- Brown sugar
- Instant rise yeast
- Warm water
- Egg
- Butter (dairy or dairy-free, room temperature)
- Baking soda (for the water bath)
How to Make Your Pretzels
Skip the frozen food aisle and head straight to your pantry. In just six easy steps you’ll be serving up these soft yet pillowy pretzels with the perfect amount of chew.
Time needed: 2 hours
These classic pretzels are a fun weekend treat or perfect just because. Get your family into the kitchen and let them help you shape them into that cheery and familiar twist.
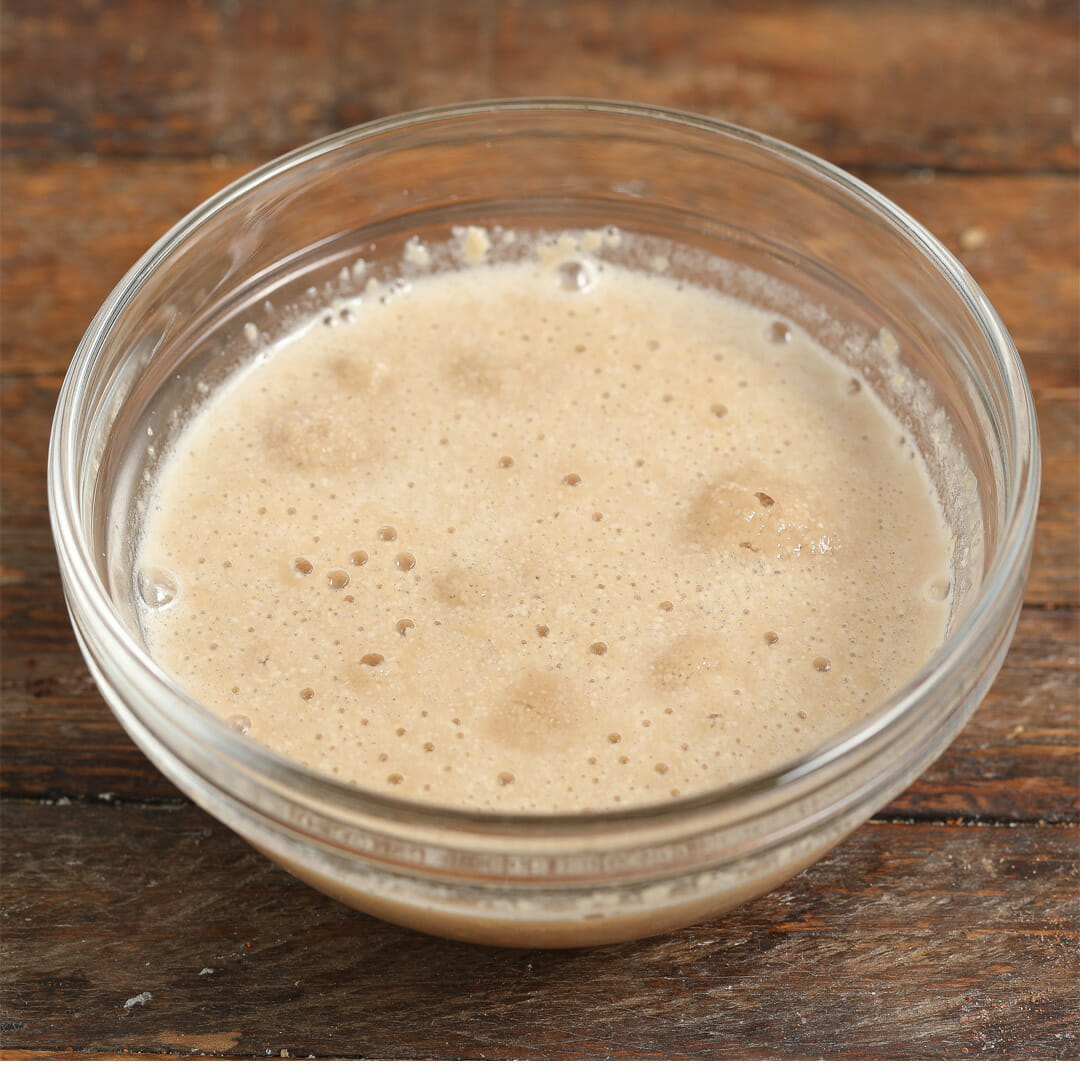
- Bloom
Add your warm water, sugar, and yeast to a mixing bowl fitted with a paddle. Stir to combine and let it sit for five minutes. It will begin to foam.
- Mix
Add the remaining ingredients to the bowl and mix on love for five minutes.
- Rise
Place the dough into an oiled bowl and cover it with plastic wrap and a towel. Allow it to rise for an hour, or until it has doubled in size.
- Shape
Divide your dough into 12 fairly equal sized pieces. Roll each piece into about a 12″ log and twist into a pretzel shape. Continue with the remaining pieces of dough.
- Boil
Bring four quarts of water to a boil and add 1/4 cup baking soda, and 2 tablespoons of sugar. Carefully add one pretzel at a time to the boiling water. It will sink to the bottom and then float. Once it floats remove it from the pot and place it on a parchment paper lined baking sheet. Brush with melted Dairy Free butter and sprinkle on kosher salt. Repeat with the remaining pretzels.
- Bake
Allow the pretzels to bake for 20 minutes or until golden brown in a 425-degree oven. Serve by themselves or with your favorite dipper!
Variations
These pretzels are a blank canvas, so have fun with the toppings.
- Skip the salt and sprinkle with everything bagel seasoning
- Add grated parmesan after baking
- Sprinkle with ranch seasoning for a savory twist
- Brush with butter and finish with cinnamon sugar for a sweet version
You can keep them classic or dress them up depending on what you’re serving them with.
Substitutions
This recipe works with either regular butter or dairy-free butter using the same measurements.
You can also use all-purpose flour or a 1:1 gluten-free flour without changing the method.
How to Make These Pretzels Dairy Free
To make this recipe dairy free, simply use a dairy-free butter alternative in place of regular butter. Everything else in the recipe stays the same. Brush the pretzels with dairy-free butter after baking if desired.
How to Store Soft Pretzels
These pretzels are best warm, but they’re still great at room temperature.
- Store in an airtight container at room temperature for up to 5 days
- To reheat, place on a baking sheet and warm in a 300 degree oven for about 10 minutes
Top Tip for Shaping Pretzels
Keep your pretzels on the smaller side. Oversized pretzels are more likely to break during the baking soda water bath. After removing each pretzel from the water, allow the water to return to a boil before adding the next one.
FAQ
Can I use regular flour instead of gluten free?
Yes. This recipe works with either all-purpose flour or a 1:1 gluten-free flour.
Do I have to boil the pretzels first?
Yes. The baking soda water bath is what gives pretzels their classic texture and color.
Can I make these ahead of time?
Yes. Bake them fully, store at room temperature, and reheat when ready to serve.

The Best Gluten Free Soft Pretzels
Equipment
- 1 mixing bowl/mixer with paddle
Ingredients
Pretzels
- 3 3/4 cups all-purpose flour or 1:1 gluten-free flour
- 1 tsp baking powder
- 1 tsp kosher salt
- 3 tbsp packed brown sugar
- 1 pkt instant rise yeast
- 1 1/3 cups warm water
- 1 egg
- 3 tbsp butter, room temperature
To Make Pretzels
- 1/4 cup baking soda
- 2 tbs sugar
- 4 quarts water
- 1 tbsp kosher salt
- 4 tbsp butter, melted
Instructions
- Lightly oil a bowl and set aside.
- Add the warm water, brown sugar, and yeast to a mixing bowl with the mixer fitted with a paddle. Mix to combine. Allow to sit for 5 minutes. The mixture will begin to bubble.
- Add the remaining ingredients to the bowl and mix on low for 5 minutes.
- Add the dough to the oiled bowl. Cover with plastic wrap and a towel. Allow the dough to rise for an hour or until it has doubled in size.
- Bring a pot of water to a boil. Add the 1/4 baking soda and 2 tablespoons of sugar. Let dissolve.
- Preheat the oven to 425 degrees. Line two baking sheets with parchment paper and set aside.
- Dive the dough into 12 equal sized pieces. Roll a piece of dough into a 12" log and twist into a classic pretzel shape. Make sure not to make the pretzels too big as they will fall apart while boiling.
- Add the pretzel to the boiling water. It will sink to the bottom and then float to the top. When it floats remove it from the pot and place on the prepared baking sheets. Repeat with the remaining pretzels, only boiling one pretzel at a time.
- Brush the pretzels with melted butter. Sprinkle on the kosher salt.
- Allow the pretzels to bake for 30 minutes, or until they're golden brown.
- Enjoy
love it