
Getting the Best Results from Your Baking: Essential Tips
Baking can be an enjoyable and rewarding experience, but achieving perfect results requires attention to detail and understanding your equipment. Here are some essential tips to help you get the best results every time you bake!
Super Simple Baking Tips
- Read the Recipe First: Ensure you understand all steps and have all ingredients before starting.
- Measure Accurately: Use the correct measuring tools for dry and wet ingredients.
- Room Temperature Ingredients: Many recipes work best when ingredients like butter, eggs, and milk are at room temperature.
- Preheat the Oven: Always preheat your oven to the required temperature before baking.
- Use Fresh Ingredients: Ensure baking powder, baking soda, and yeast are fresh for the best results.
- Don’t Overmix: Overmixing batter can lead to tough, dense baked goods.
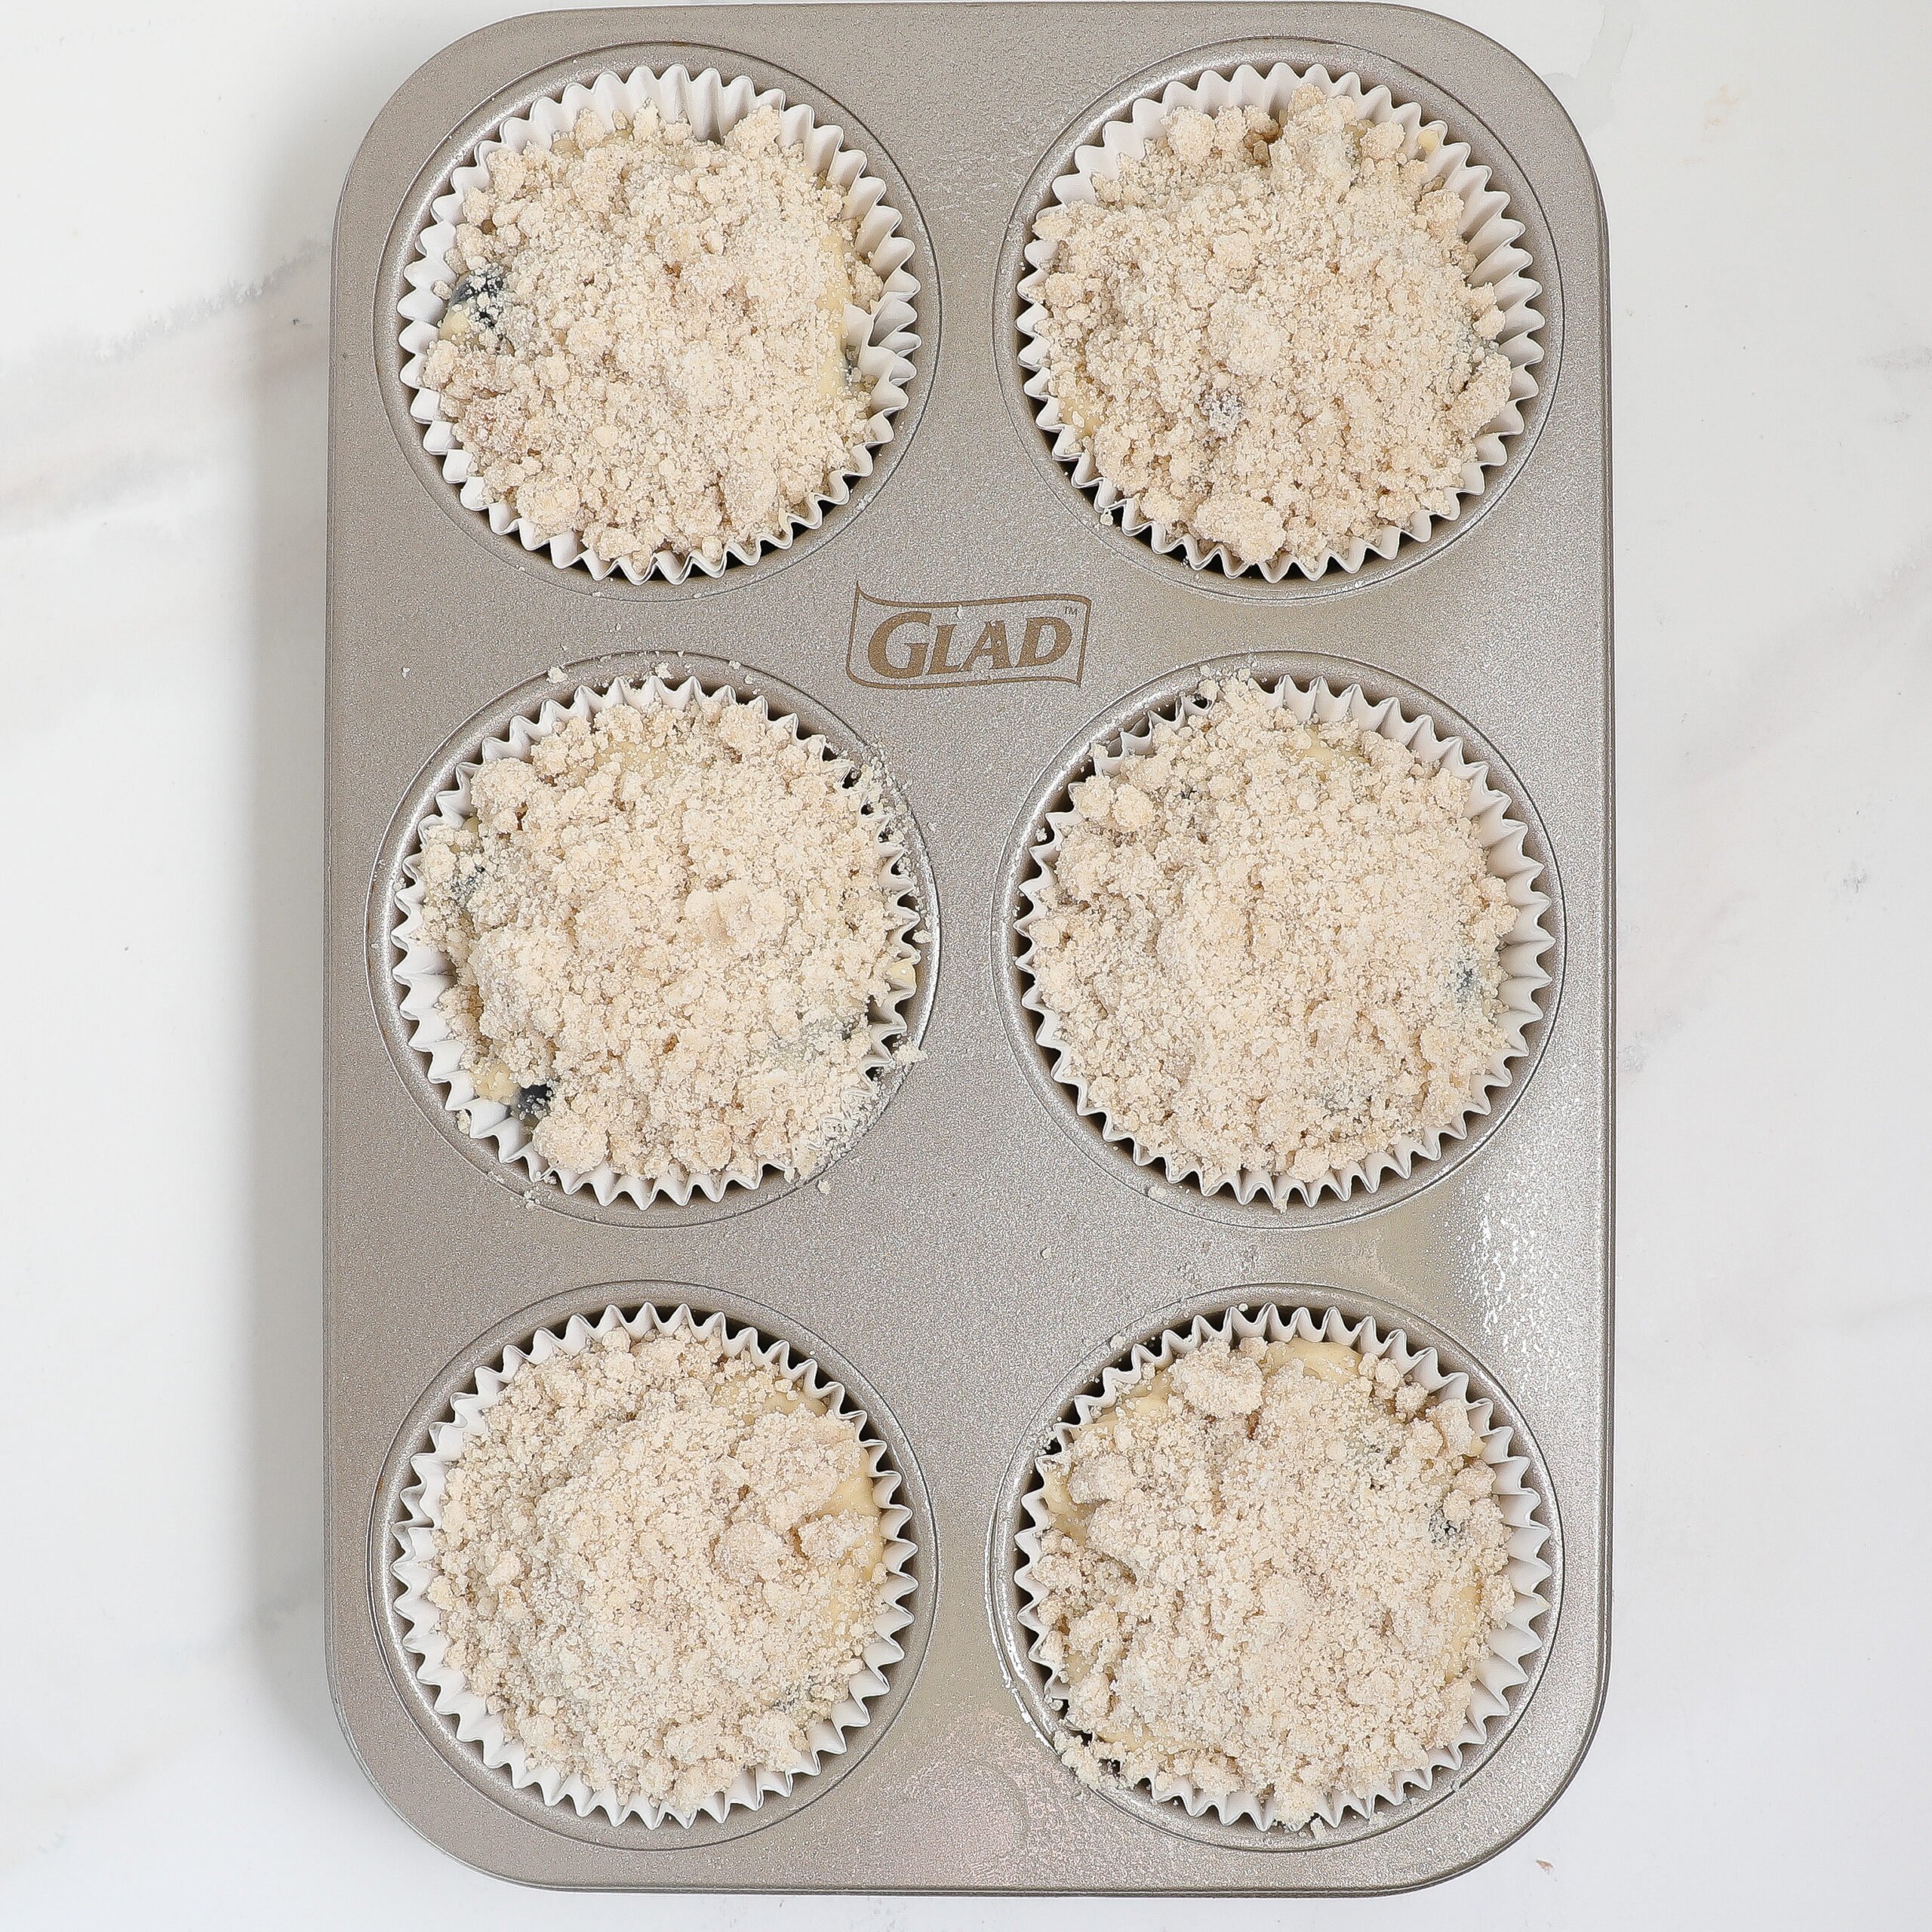
- Proper Pan Preparation: Grease, flour, or line pans as directed to prevent sticking.
- Uniform Sizes: For even baking, make sure cookies or cakes are of uniform size.
- Check for Doneness: Use a toothpick or cake tester to check if baked goods are done. It should come out clean or with a few crumbs.
- Cool Properly: Let baked goods cool in the pan for a few minutes before transferring to a wire rack to cool completely.
- Practice Patience: Follow the recipe timing and don’t rush the process.


Always Read the Full Instructions
Before you begin any baking project, take the time to read through the entire recipe. This helps you understand the steps involved and ensures you have all the necessary ingredients and tools on hand. Skipping this step can lead to mistakes and unexpected challenges during the baking process.
When Preparing Batter
The condition of your batter can significantly impact the final product. It’s important to be aware that the longer the batter sits, the more it can affect the baking process, including the taste, texture, and overall outcome of your baked goods. To maintain the best quality, prepare and bake your batter as soon as possible.


Oven Temperatures
Oven temperatures can vary significantly from one oven to another. To achieve consistent results, it’s crucial to know the exact temperature inside your oven. The safest and most accurate way to determine this is by using an oven thermometer. This simple tool can help you avoid underbaking or overbaking your treats.
Convection Baking vs. Traditional Baking
Understanding the difference between convection baking and traditional baking can improve your results. All baking recipe temperatures are typically listed for regular (not convection) baking mode. Here’s what you need to know:
- Convection Ovens: These ovens use a fan to circulate hot air, ensuring even cooking. This can lead to better browning and crisping, and often a shorter cooking time. However, it also means you need to adjust the temperature and cooking time. Typically, you should reduce the temperature by 25°F when using a convection oven. For example, if a recipe calls for baking at 350°F in a traditional oven, you should bake at 325°F in a convection oven.
- Traditional Ovens: These rely on radiant heat, which can sometimes result in uneven temperatures. It’s essential to monitor your baking closely, especially if your oven has hot spots. Using an oven thermometer can help you keep track of the actual temperature.
- Modern Ovens: Some modern ovens automatically adjust temperatures for convection baking. If you’re unsure whether your oven adjusts automatically, consult your oven’s manual or use an oven thermometer to verify the temperature.
By understanding and adjusting for these differences, you can achieve better, more consistent baking results.


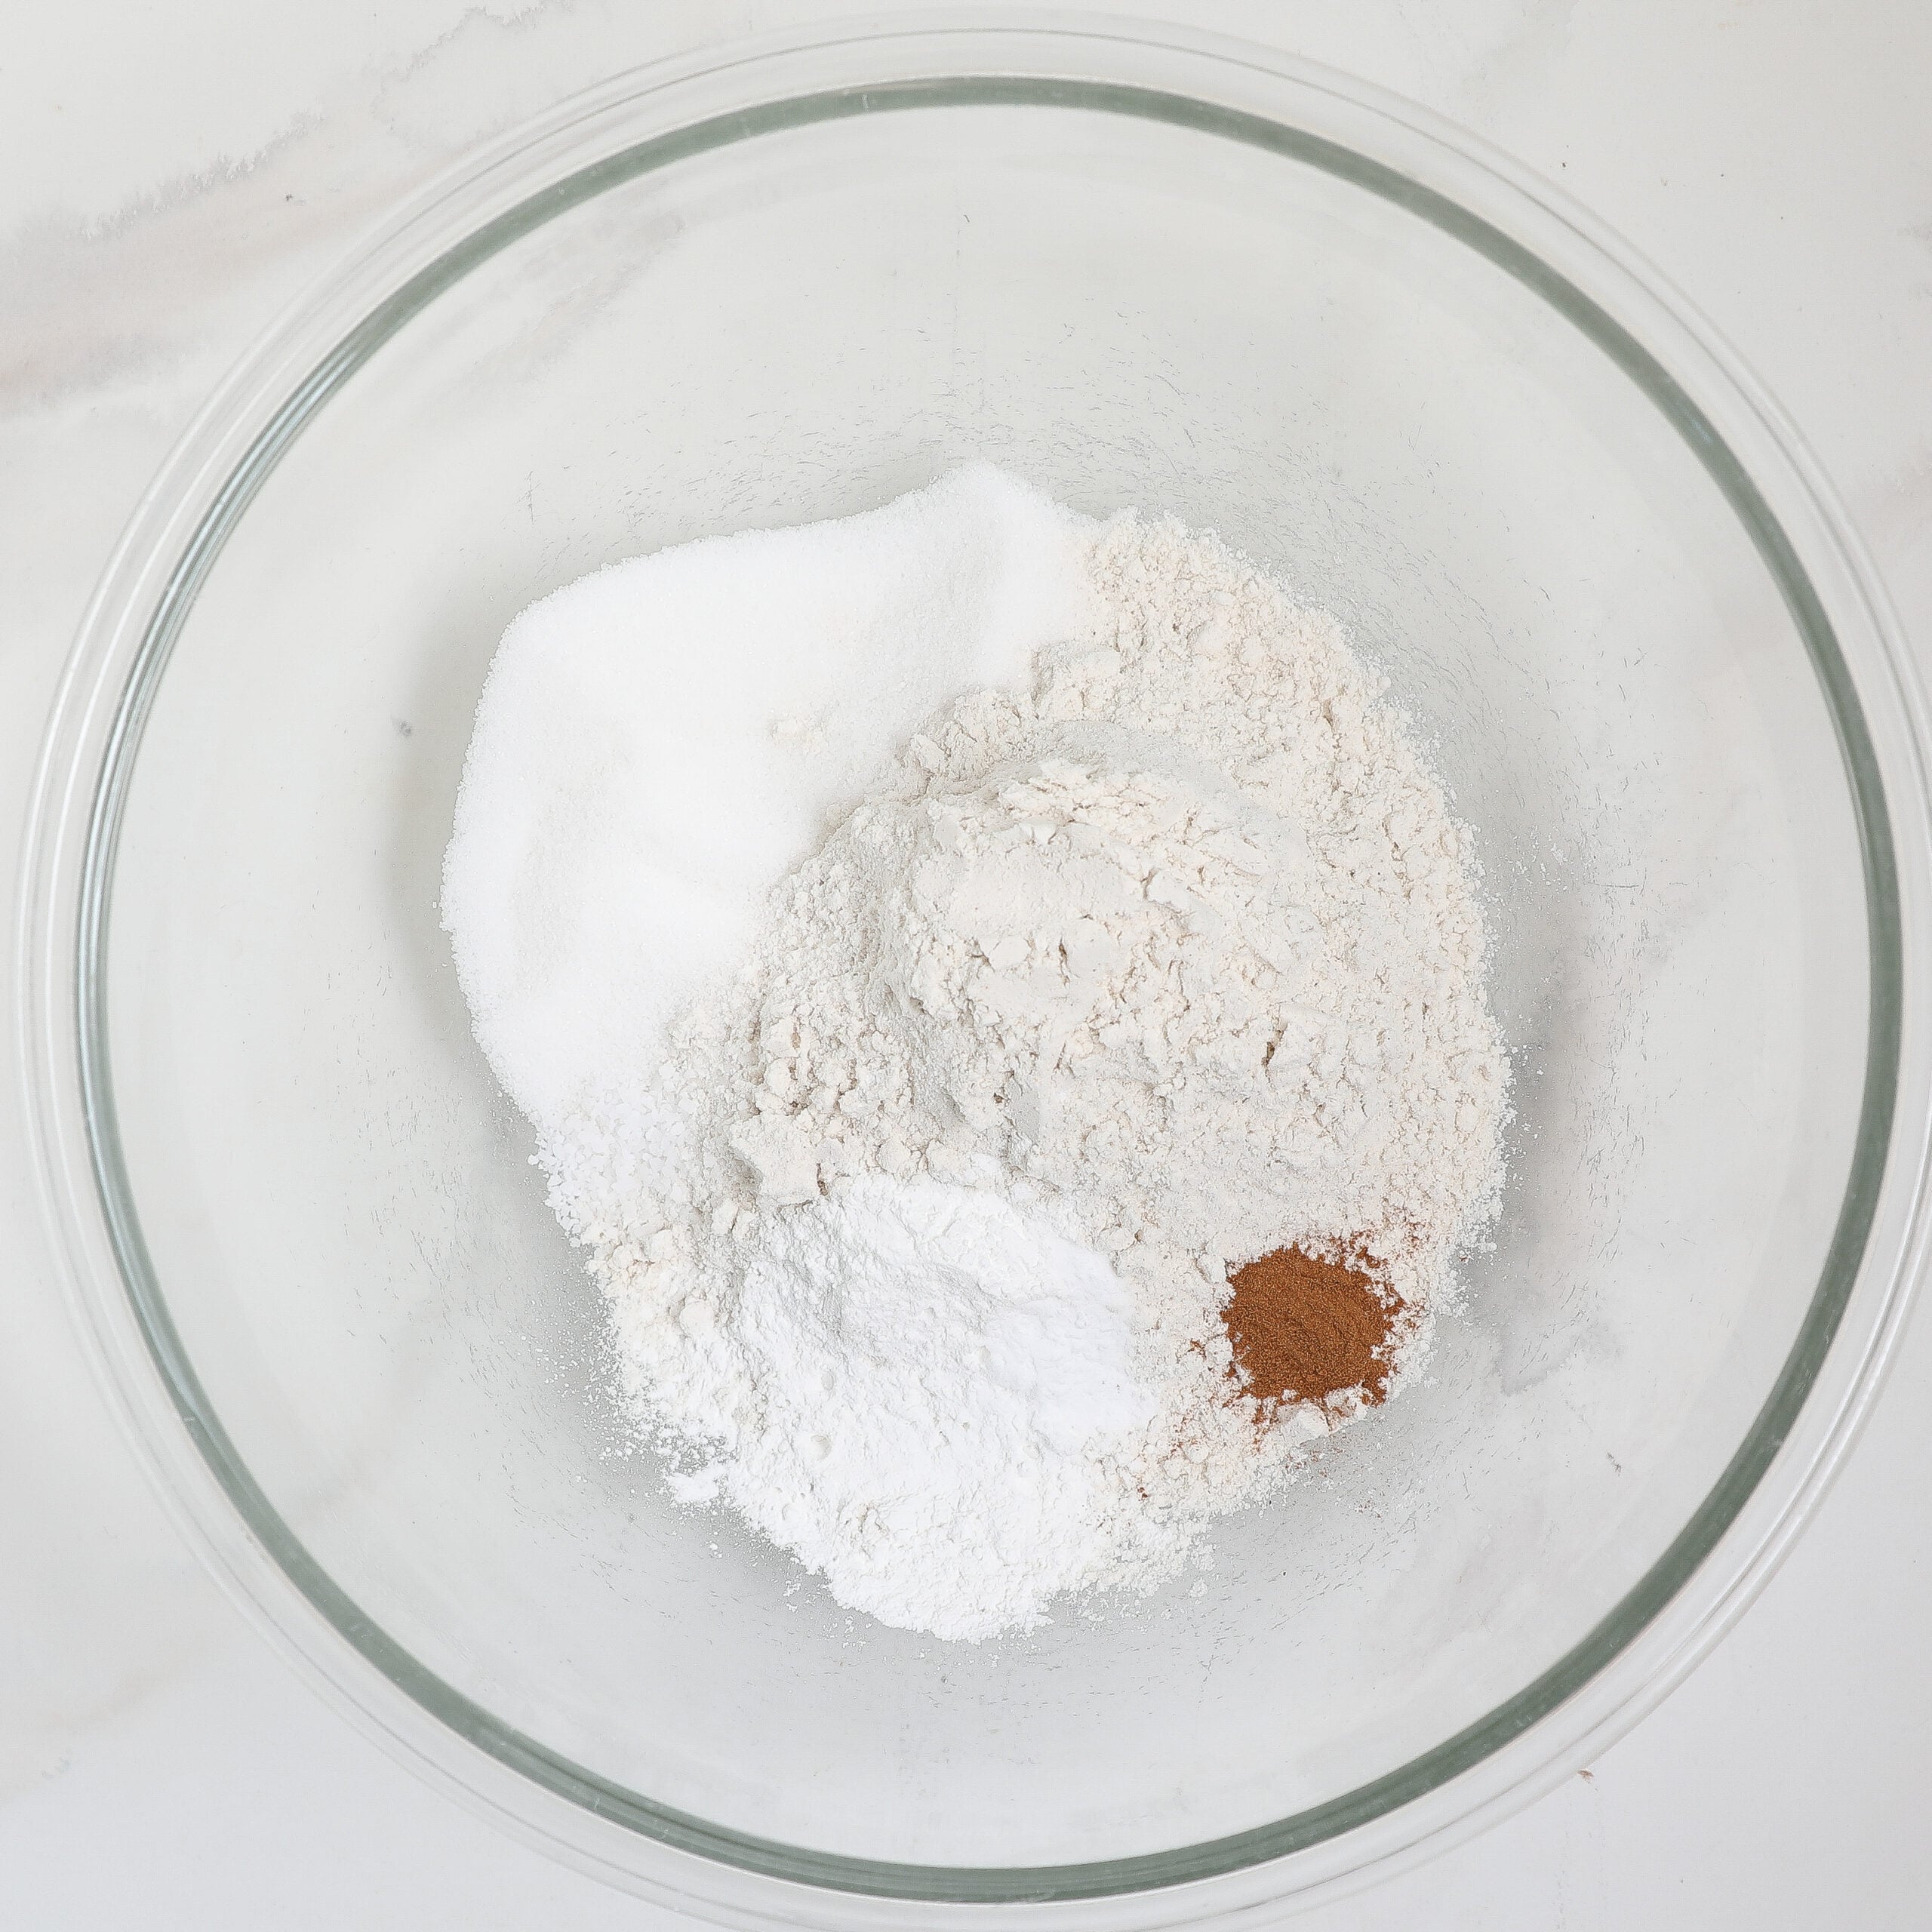
How To Measure Flour
1. Start with the Right Tools: Use a dry measuring cup for measuring flour. Avoid using a liquid measuring cup as it won’t provide the accuracy needed for dry ingredients.
2. Fluff the Flour: Before measuring, fluff up the flour within its container. This breaks up any clumps and helps avoid packing.
3. Spoon and Level: Spoon the flour into your measuring cup, gently filling it without packing it down. Once it’s heaped above the rim, use the back of a knife to level it off. This ensures you have just the right amount the recipe needs without excess.
4. Avoid Scooping: Scooping flour directly with the measuring cup can compact it, leading to more flour than required and potentially dry, dense baked goods.
Tips When Baking Dairy Free
- Substitute Butter: Use plant-based margarines, coconut oil, or vegetable shortening. Applesauce and mashed bananas can also be used for a healthier alternative.
- Replace Milk: Substitute with almond milk, soy milk, oat milk, coconut milk, or other plant-based milks. Ensure they are unsweetened if the recipe calls for unsweetened milk. NOTE: Almond is the least preferred milk because its very thin almost like water. Opt for thicker dairy free milks for better results such as a creamy oat milk, pea based milks, etc.
- Swap Cream: Coconut cream or cashew cream can be used as a substitute for heavy cream or whipping cream.
- Use Dairy-Free Yogurt: Coconut, almond, or soy yogurt can replace traditional yogurt in recipes.
- Dairy-Free Chocolate: Ensure chocolate or chocolate chips are dairy-free; dark chocolate often is, but always check the label.
- Adjust Baking Time and Temperature: Dairy-free alternatives might alter the texture and moisture content of your batter, so keep an eye on baking times and adjust as needed.
- Add Extra Flavor: Plant-based substitutes can sometimes be less rich in flavor, so consider adding extra vanilla extract, spices, or citrus zest to enhance the taste.
- Check Ingredients: Always read labels to ensure no hidden dairy in any ingredient, especially in processed foods.
- Experiment with Nut Butters: Almond, cashew, or sunflower seed butter can add richness and moisture to dairy-free baked goods.
- Bind with Bananas or Flaxseeds: These can act as a binding agent in place of butter or cream in certain recipes.
Tips When Baking Gluten Free
- Use the Right Flour Blend: Gluten-free baking requires a blend of flours and starches to mimic the texture and structure provided by gluten. Commercial gluten-free flour blends often provide a balanced mix of rice flour, tapioca starch, potato starch, and other ingredients.
- Add Binders: Gluten-free baking benefits from the addition of binders like xanthan gum, guar gum, or psyllium husk to provide elasticity and hold the baked goods together.
- Adjust Liquids: Gluten-free flours can absorb more liquid than wheat flour. You might need to adjust the amount of liquid in your recipe to achieve the right consistency.
- Mix Thoroughly: Ensure thorough mixing to prevent dense and gritty textures. This helps in evenly distributing the ingredients and avoiding clumps.
- Don’t Overfill: Gluten-free batter can be denser, so avoid overfilling pans. Fill cake pans halfway to allow room for rising.
- Let Batter Rest: Allow the batter to rest for about 20-30 minutes before baking. This helps hydrate the flours and improve the final texture.
- Monitor Baking Time: Gluten-free baked goods may brown faster but can take longer to cook through. Use a thermometer to check for doneness, especially in bread and cakes.
All About Gluten Free Flours
1:1 Gluten-Free Flour
How and Why It Is Used: 1:1 gluten-free flour blends are designed to replace regular wheat flour in recipes without needing additional adjustments. They typically contain a mix of gluten-free flours (such as rice flour, tapioca starch, and potato starch) along with a binder like xanthan gum.
- Why Use It: Convenience and simplicity in substituting for regular flour in your favorite recipes.
- When to Use: Ideal for cookies, cakes, muffins, and quick breads where you want a straightforward substitution without altering the recipe significantly.
Almond Flour
When It’s a Good Option: Almond flour is made from finely ground almonds and is rich in protein, healthy fats, and fiber. It provides a moist texture and a slightly sweet, nutty flavor.
- Why Use It: Adds moisture and a rich, buttery taste. It’s also low-carb and suitable for keto and paleo diets.
- When to Use: Best for recipes where a dense, moist texture is desired, such as in cakes, muffins, pancakes, and cookies. Almond flour works well in combination with other gluten-free flours to enhance flavor and texture.
Regular Gluten-Free Baking Flours
When to Use: Regular gluten-free baking flours can vary widely in composition, so it’s essential to choose the right one for your specific baking needs. They typically include a combination of flours like rice, sorghum, millet, and various starches.
- Why Use It: Provides a versatile base for a variety of baked goods. Each type of flour contributes different properties, such as structure, moisture retention, and texture.
- When to Use: Use regular gluten-free baking flours for making bread, pizza crusts, and other baked goods that require a strong structure and elasticity. These flours often need to be combined with binders like xanthan gum or psyllium husk to achieve the desired results.
Baking is as much a science as it is an art. By following these tips—reading instructions thoroughly, preparing batter properly, and using the correct oven settings—you can improve your baking skills and enjoy more successful outcomes. Remember, practice makes perfect, so keep experimenting and have fun in the kitchen!