
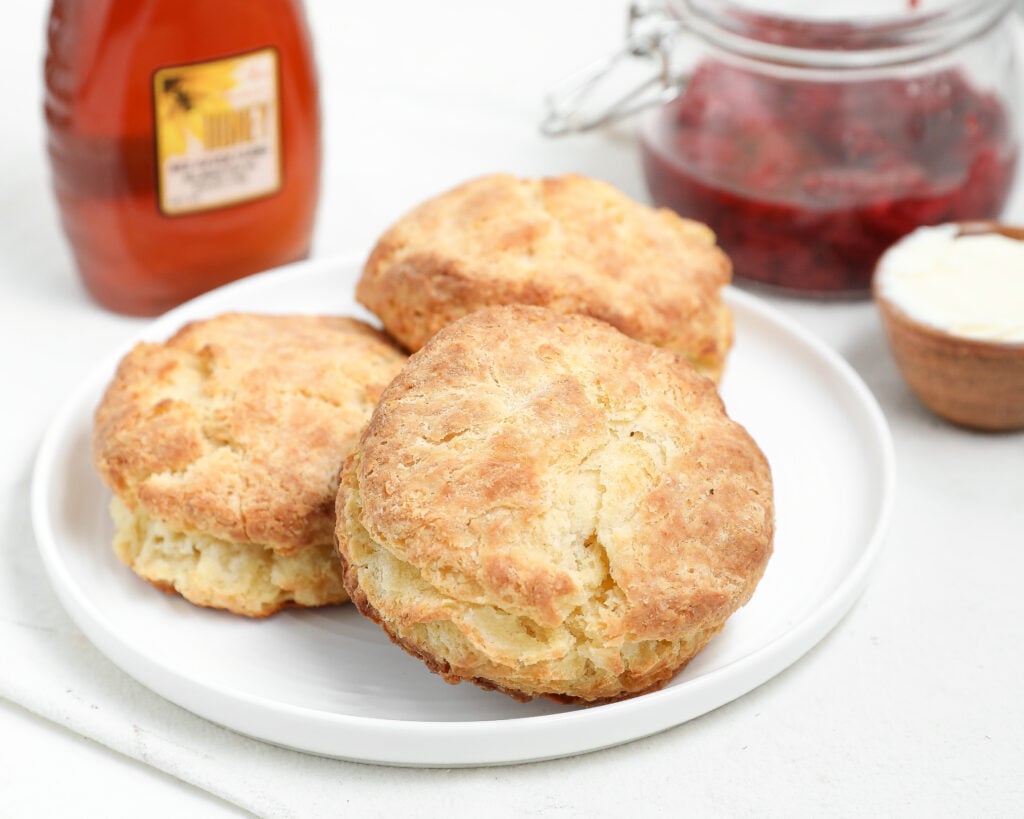
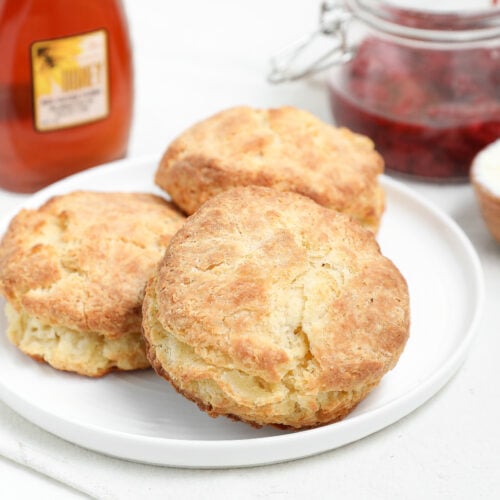
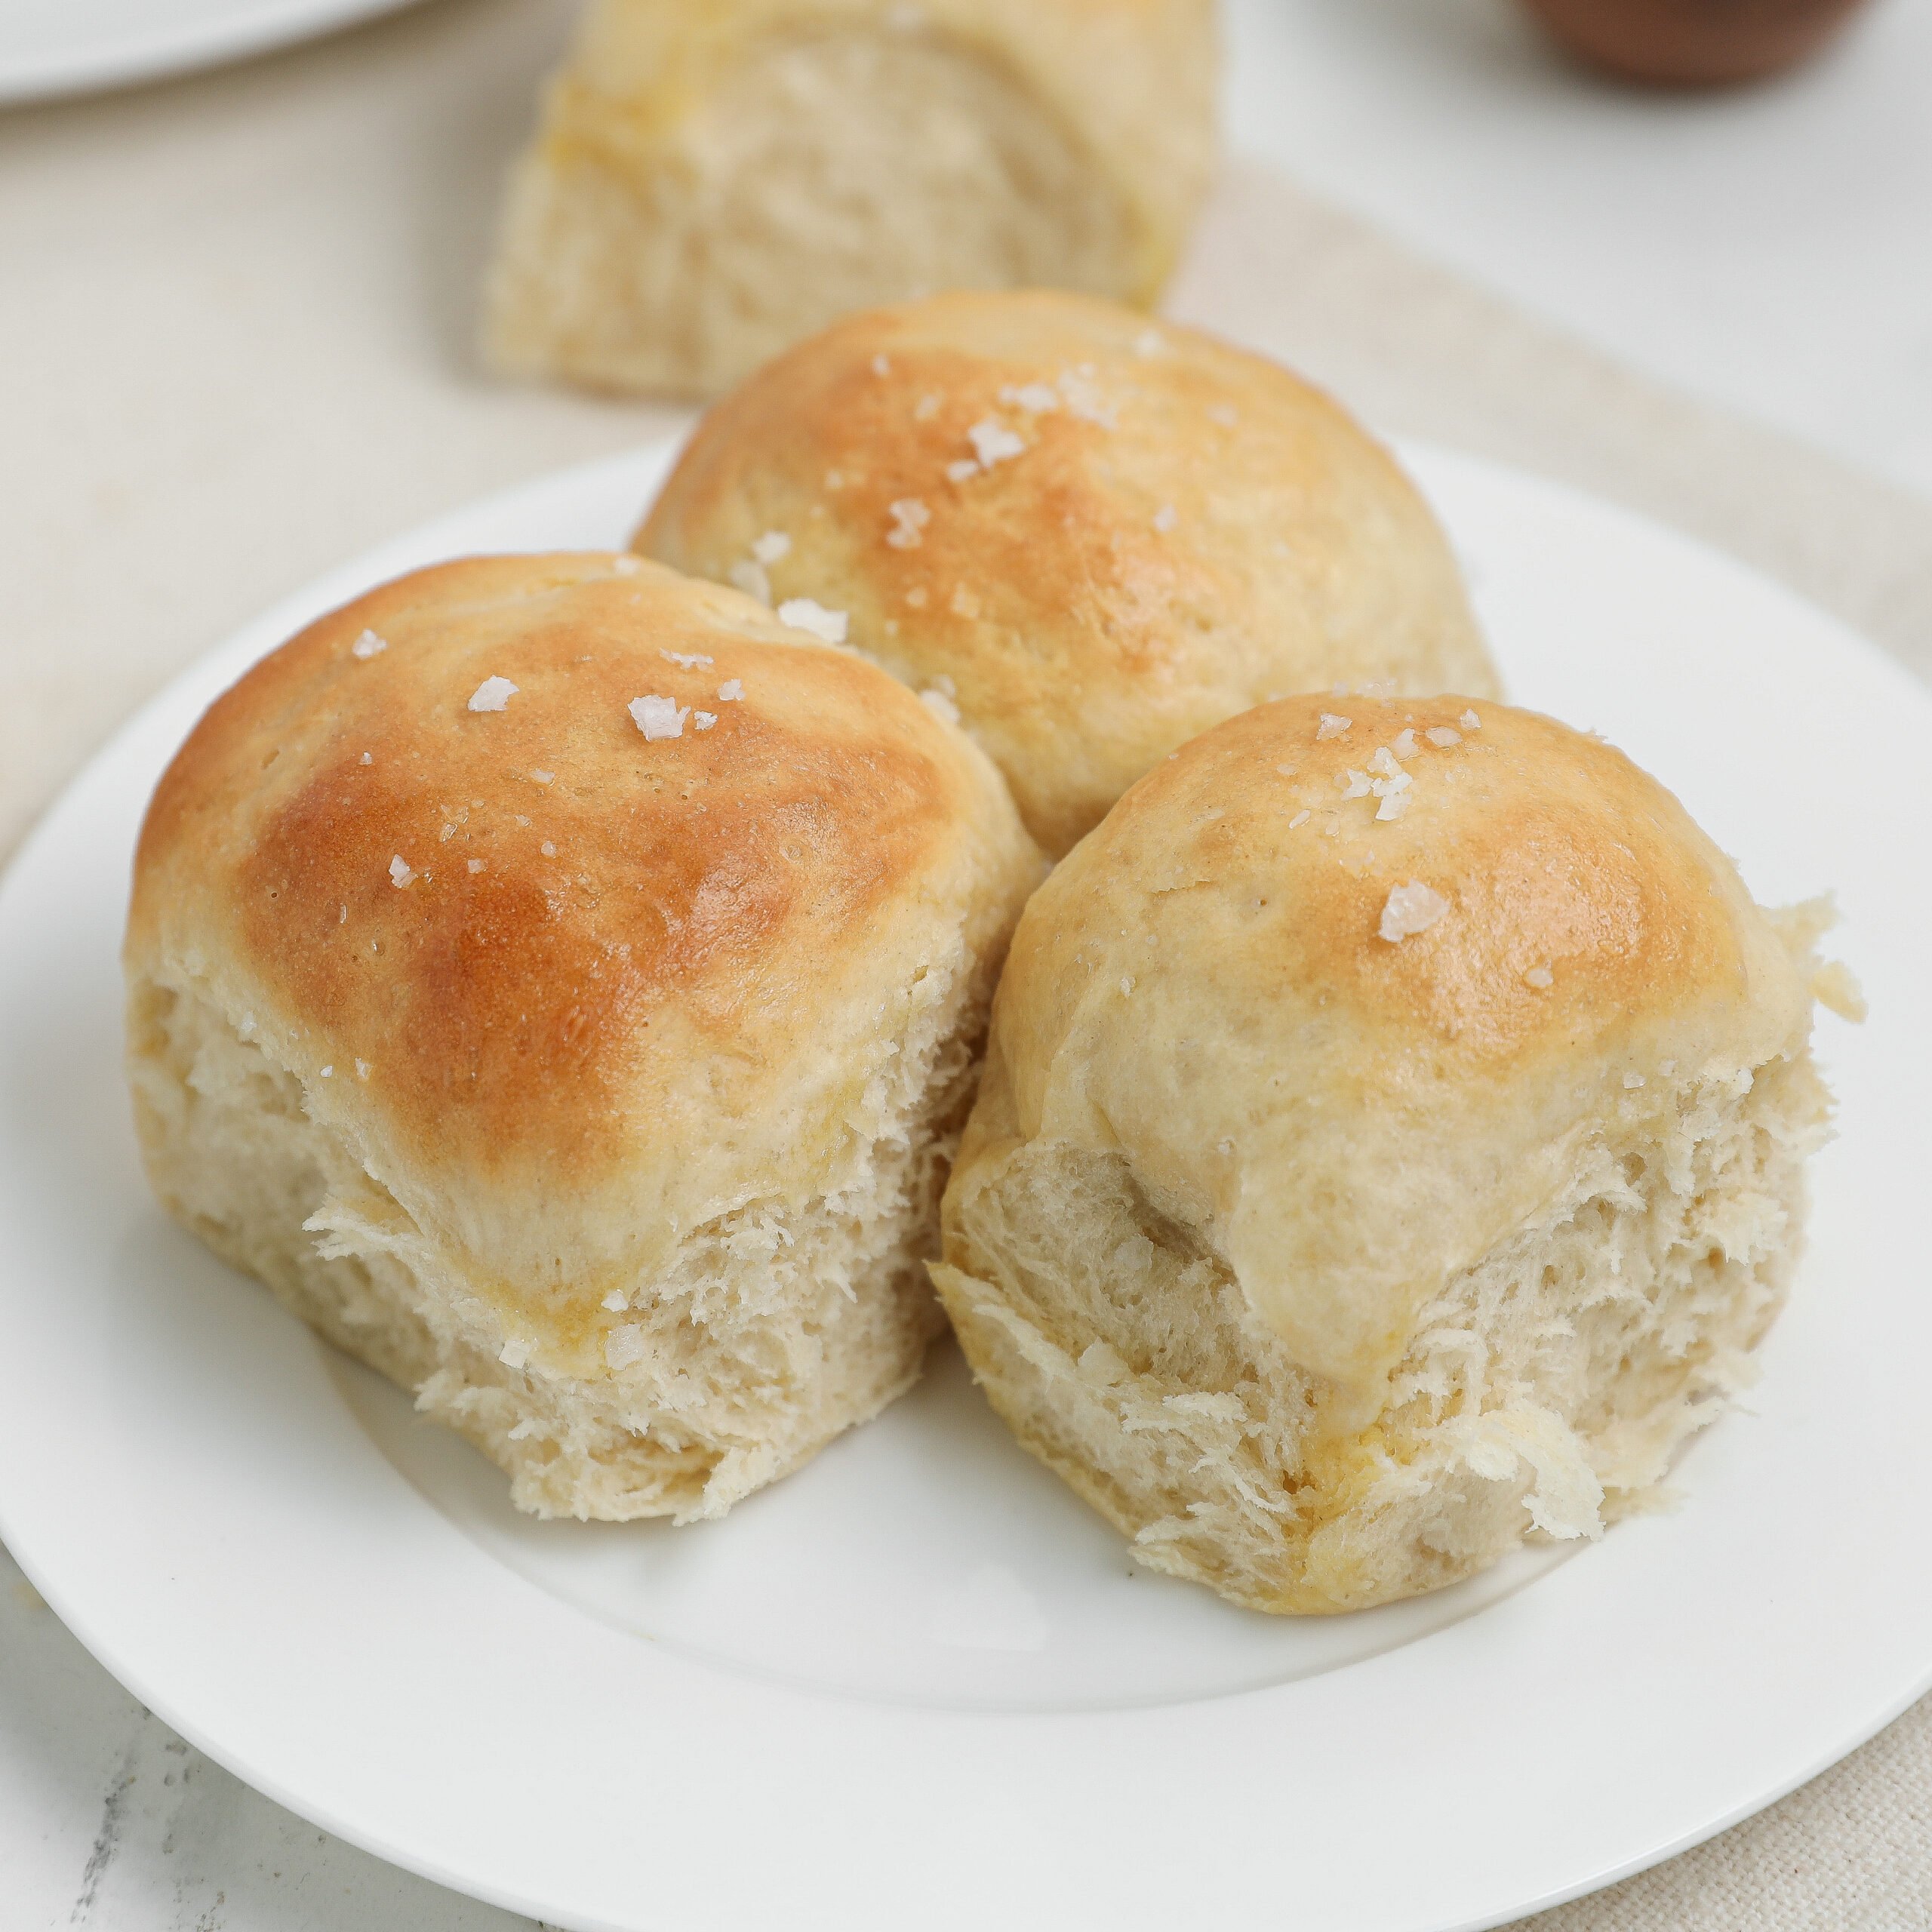
Flaky Buttermilk Biscuits
These homemade buttermilk biscuits are warm, buttery, flaky, and ready in about 20 minutes. They make an easy breakfast biscuit, brunch recipe, or simple dinner side when you want something homemade without a long bake time. The honey butter melts right over the tops as they come out of the oven, adding the perfect sweet finish to each soft, tender biscuit.
As an Amazon Associate I earn from qualifying purchases.
Why You’ll Love Flaky Buttermilk Biscuits
- Quick and Easy: You can whip these up in just 20 minutes, making them perfect for busy weeknights or last-minute cravings.
- Flaky and Buttery: Thanks to the cold, grated butter, these biscuits come out super light, flaky, and melt-in-your-mouth delicious.
- Simple Ingredients: Everything you need is probably already in your pantry, so no need for any fancy or hard-to-find items.
- Versatile Side Dish: Whether it’s breakfast, brunch, or dinner, these biscuits pair well with pretty much any meal.
- Sweet Honey Butter: That melted honey butter on top adds just the right touch of sweetness, making them extra special!
Ingredients Needed To Make Flaky Buttermilk Biscuits
Make sure you scroll down to the recipe card to see the full list of ingredients needed for this recipe.
- All purpose flour or 1:1 gluten free flour
- Butter
- Kosher salt
- Sugar
- Baking soda
- Baking powder
- Buttermilk (or milk and vinegar)
- Honey
Oven Temperatures
Oven temperatures can vary significantly from one oven to another. To achieve consistent results, it’s crucial to know the exact temperature inside your oven. The safest and most accurate way to determine this is by using an oven thermometer. This simple tool can help you avoid underbaking or overbaking your treats.
How To Make Flaky Buttermilk Biscuits
- Preheat the oven to 450°F.
- Brush a cast iron skillet or 9×13 baking dish with 1 tbsp melted butter. Set aside.
- Grate the cold butter and keep it chilled until ready to add to the dough.
- In a large bowl, whisk together the flour, sugar, salt, and baking powder.
- Add the grated butter and cold buttermilk. Mix just until combined. Do not overmix.
- Lightly flour your work surface. Add the dough to the floured surface and gently roll or pat it out to about 1/2 to 3/4 inch thick.
- Use a 3-inch biscuit cutter to cut out the biscuits.
- Place the biscuits in the prepared baking dish or skillet.
- Bake for 11–20 minutes, or until the tops are lightly golden.
- While the biscuits bake, melt the butter and stir in the honey.
- Brush the honey butter over the warm biscuits. Serve warm.
Commonly Asked Questions
Can I make the dough ahead of time?
Yes, you can! You can prepare the biscuit dough ahead of time, then cover and refrigerate it for up to a day. When you’re ready to bake, just roll out the dough, cut the biscuits, and bake as directed.
How do I store leftover biscuits?
To store any leftover biscuits, place them in an airtight container at room temperature for up to two days. If you want to keep them longer, you can refrigerate them for up to a week or freeze them for up to three months.
How should I reheat the biscuits?
To reheat, you can pop them in the microwave for 15-20 seconds, or warm them in the oven at 350°F for about 5 minutes. This will help them stay soft and fresh.
Can I add any other flavors to the biscuits?
Absolutely! Feel free to get creative by adding herbs like rosemary or thyme, or even a bit of garlic powder for a savory twist. You can also swap honey butter for maple butter if you prefer a sweeter option!
What if I don’t have buttermilk?
No problem! You can make your own by mixing 1 cup of milk (or dairy-free milk—oat milk works great) with 2 teaspoons of vinegar. Let it sit for 5–10 minutes until it curdles and thickens slightly. Then it’s ready to use!
Flaky Buttermilk Biscuits
Equipment
- 1 Cheese grater
- 1 cast iron skillet or 7×10 baking dish
- 1 3-inch biscuit or cookie cutter
Video
Ingredients
Dairy Free Buttermilk Biscuits
- 2 ¼ cups all-purpose flour (or 1:1 gluten-free flour)
- 8 tbsp Butter, cold (plus 1 tbsp for baking dish)
- 1 ¼ tsp kosher salt
- 1 tbsp sugar
- ½ tsp baking soda
- 1 tbsp baking powder
- 1 cup buttermilk (See note below on making your own)
Instructions
- Preheat the oven to 450 degrees.
- Brush a cast iron skillet or 9×13 baking dish with 1 tbsp melted butter. Set aside.
- Grate the cold butter and keep it chilled until ready to add to the dough.
- In a large bowl, whisk together the flour, sugar, salt, and baking powder.
- Add the grated butter and cold buttermilk. Mix just until combined. Do not overmix.
- Lightly flour your work surface.
- Add the dough to the floured surface and gently roll or pat it out to about 1/2 to 3/4 inch thick.
- Use a 3-inch biscuit cutter to cut out the biscuits.
- Place the biscuits in the prepared baking dish or skillet.
- Bake for 11–20 minutes, or until the tops are lightly golden.
- While the biscuits bake, melt the butter and stir in the honey.
- Brush the honey butter over the warm biscuits.
- Serve warm.
Notes
- Use cold butter for the best flaky, buttery biscuit texture.
- Freeze the butter before grating it into the dough.
- Keep the buttermilk cold before adding it to the dough so the butter stays firm.
- After cutting out the biscuits, refrigerate them if you are not baking them right away.
- Do not let the butter soften before baking, since cold butter helps create those flaky layers.
- To make homemade buttermilk, combine 1 cup milk with 2 teaspoons vinegar.
- Let the mixture sit for 5–10 minutes, until it curdles and thickens slightly, then use as directed.
Nutrition
These buttermilk biscuits are honestly a game changer. They’re light, buttery, and the honey butter topping just takes them to the next level. Whether you’re making them for a family dinner or just because you’re craving something warm and flaky, they’ll quickly become a favorite. Give them a try—you won’t regret it!
Which dairy free butter do you prefer for this recipe?
I prefer I Cannot Believe It’s Not Butter Sticks
Can I make these as drop biscuits?
This specific recipe is not best for drop biscuits