Stovetop Sourdough English Muffins
As an Amazon Associate I earn from qualifying purchases.
Homemade English Muffins Worth the Wait
This recipe has been in the works for a while because I love English muffins and knew I wanted to make my own at home. I really wanted that classic texture with the soft inside, chewy bite, and all those little nooks and crannies, but with a sourdough version that still felt simple and worth making. These have that light sourdough tang, cook right on the stovetop, and make the best base for breakfast sandwiches, butter and jam, or just eating warm straight from the pan.

Split them with a fork, toast them, and pile on butter, jam, or sandwich fillings while they’re still warm. They’re also great to make ahead, because a batch in the freezer means breakfast is halfway done all week.


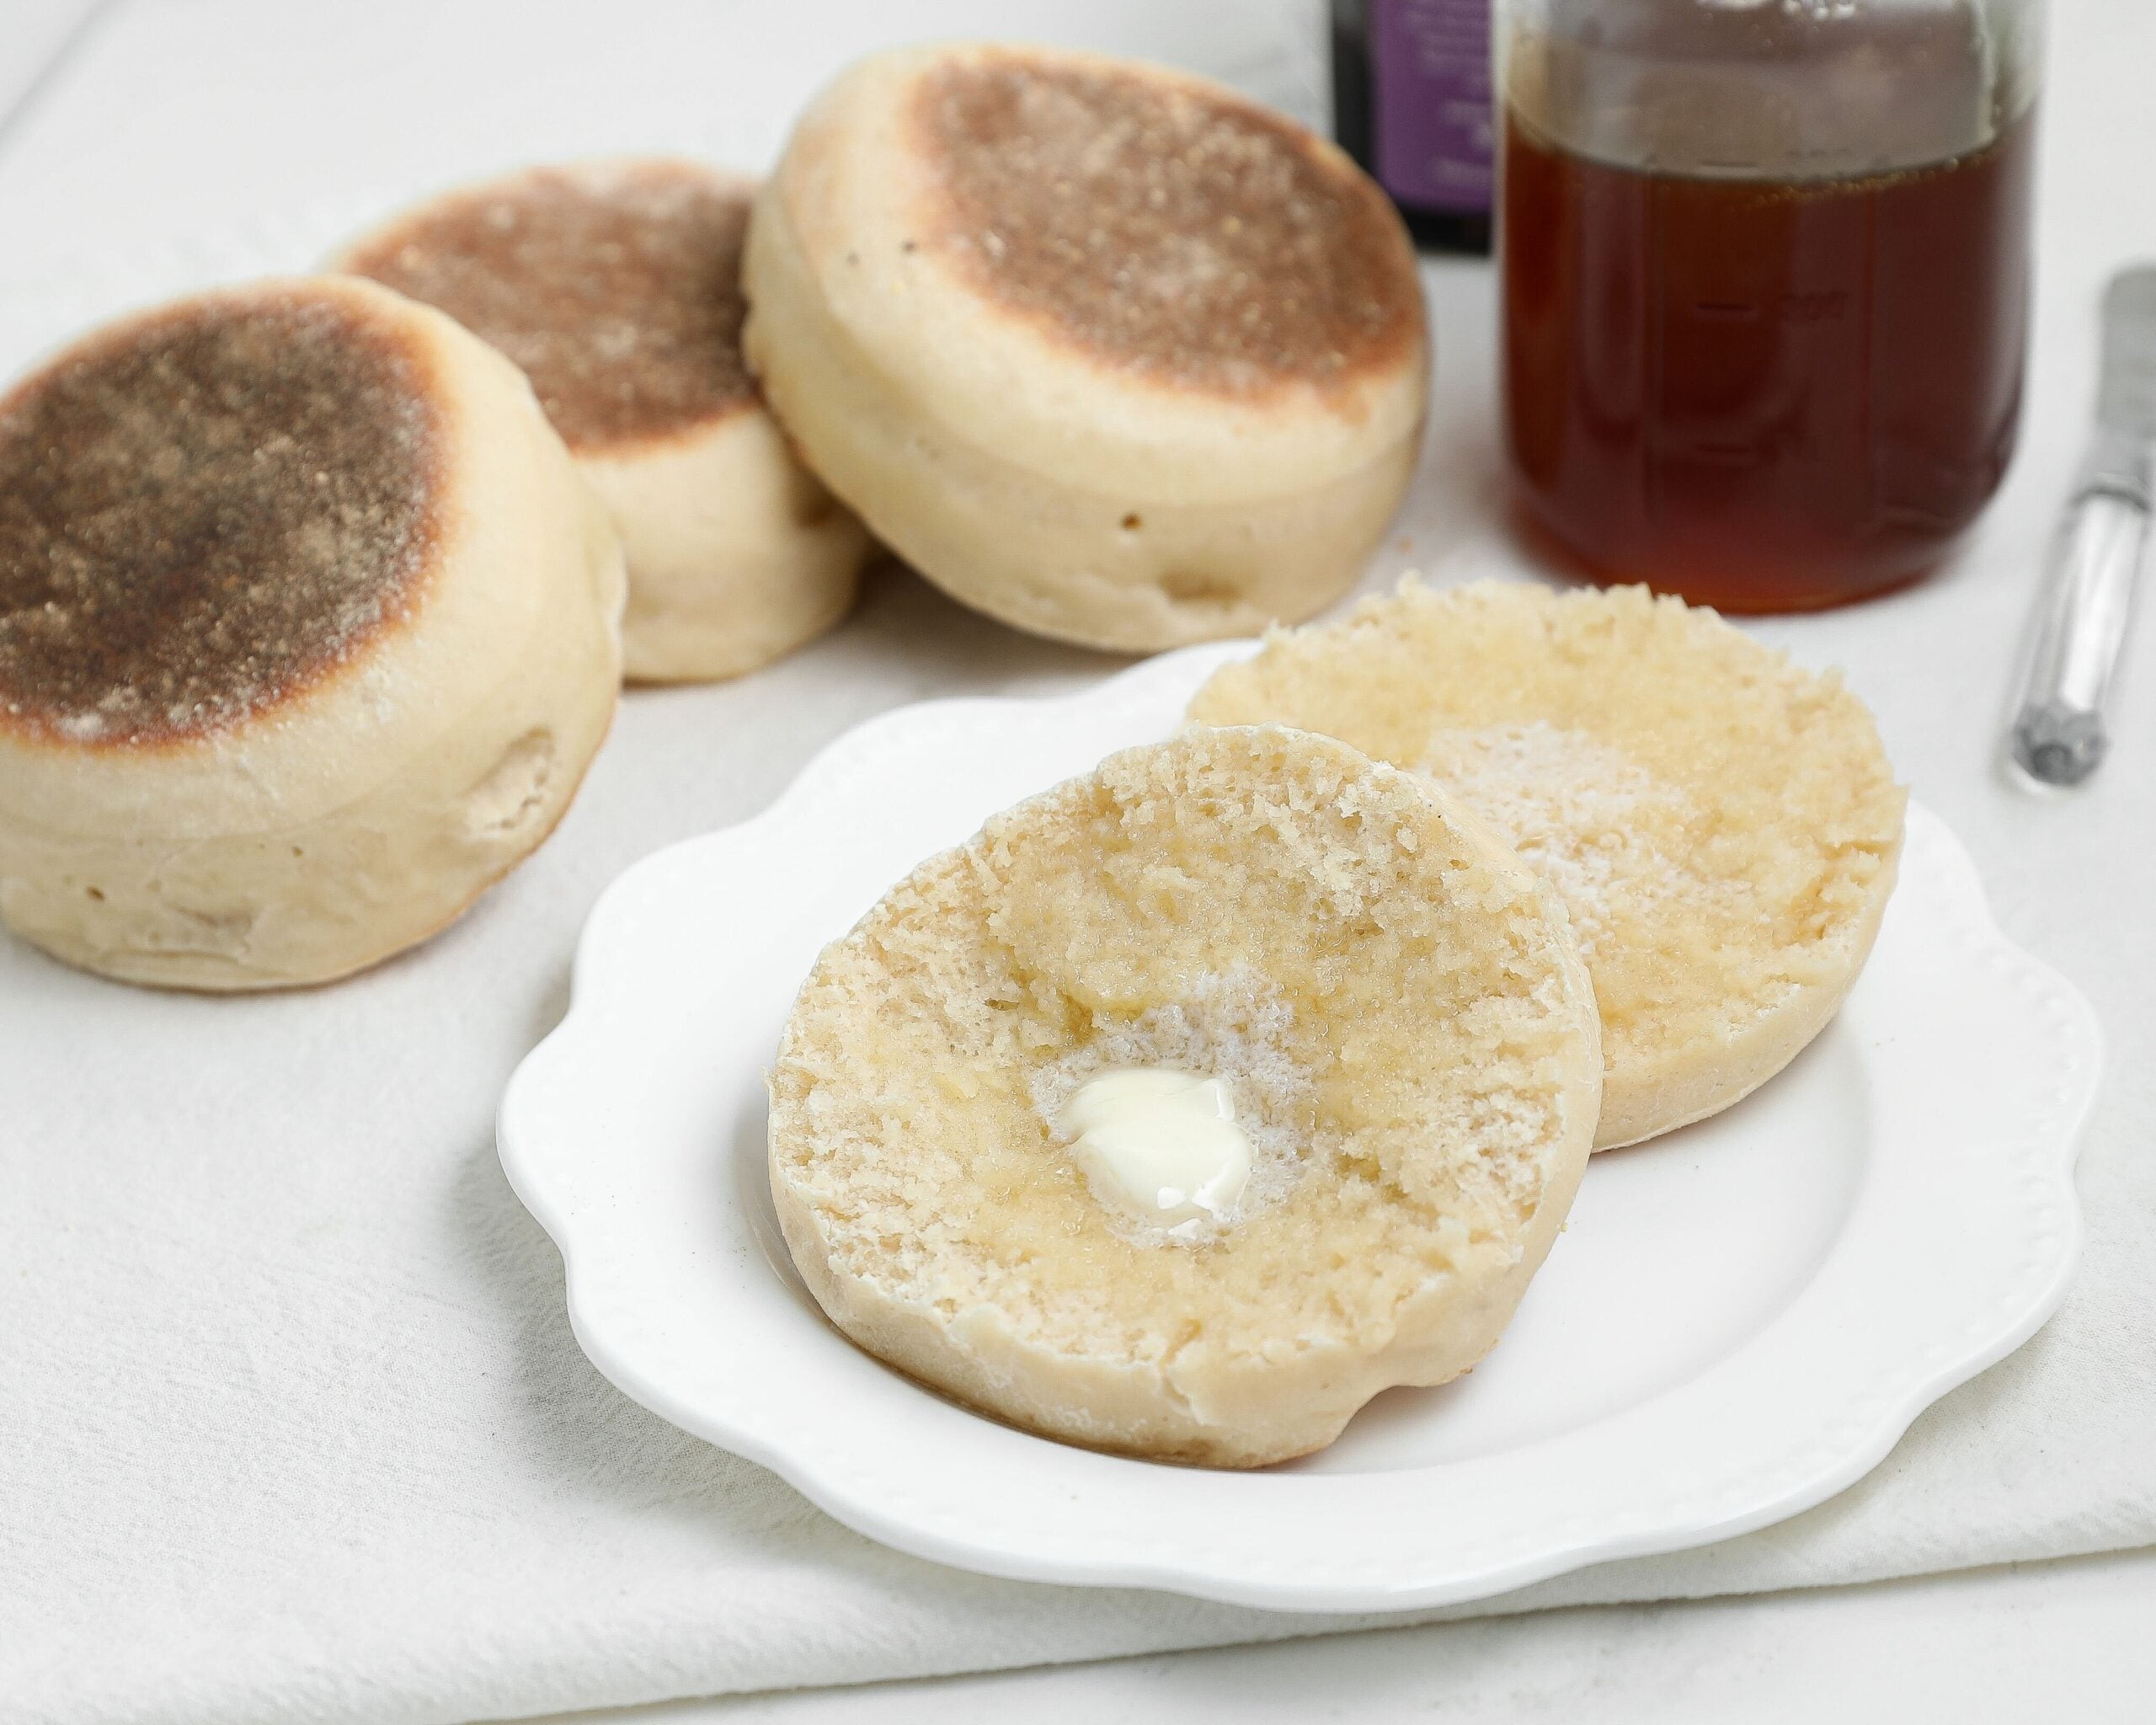
Sourdough English Muffins
Sourdough English Muffins cook up with a soft center, chewy bite, and those classic nooks and crannies that make them so good toasted and buttered. The overnight ferment gives them a light tang, and the stovetop method keeps them simple enough to make again and again.
Equipment
- Kitchen Items Needed:
- Stand mixer with dough hook
- Plastic wrap or clean kitchen towel
- Rolling pin or your hands for pressing dough
- Sharp biscuit cutter or round cookie cutter, 3 to 4 inches
- large skillet or griddle
- Kitchen thermometer
Ingredients
- 3 ¼ cups all-purpose flour (or bread flour)
- 1 ½ tablespoons honey
- ½ cup active sourdough starter (fed and bubbly)
- 1 ½ teaspoons salt (kosher or sea salt)
- 1 tablespoon olive oil (substitute avocado oil or melted butter)
- 1 cup warm milk about 110°F (substitute warm water or unsweetened oat milk)
- ⅓ cup cornmeal
Instructions
- In the bowl of a stand mixer fitted with the dough hook, add the warm milk, active sourdough starter, and honey. Mix briefly to combine.
- Add the flour, salt, and olive oil. Mix on low speed for a couple of minutes, just until the dough comes together and looks smoother. Do not overmix.
- Cover the bowl with plastic wrap and a towel. Let the dough rest for 1 hour.
- Turn the dough out onto a lightly floured surface and knead by hand for about 3 minutes.
- Place the dough back into the bowl, cover, and let it ferment for 8 to 12 hours.
- Transfer the dough to a lightly floured surface. Gently press it out with your fingers until it is about 1/2 inch thick.
- Use a sharp biscuit cutter or cookie cutter to cut out the muffins. A 3-inch to 4-inch cutter works well. Be sure to use a sharp cutter, not a mug or dull edge, so the muffins rise properly.
- Lightly sprinkle cornmeal on both sides of each muffin.
- Place the muffins on a baking sheet or tray, cover with a towel, and let rise for 1 hour.
- Heat a large skillet or griddle over low heat. Place the muffins in the skillet, leaving about 2 inches between each one.
- Cook for 4 to 5 minutes per side, until golden brown and cooked through.
- Transfer to a cooling rack. The internal temperature should read 200°F when done.
Notes
- Use an active sourdough starter for the best rise.
- Keep the skillet on low so the muffins cook through without burning on the outside.
- A sharp cutter really does matter here if you want a better rise and cleaner edges.
- Split them with a fork instead of a knife if you want those classic craggy edges inside.
- These are great for breakfast sandwiches, toast, or meal prep through the week.
Storage
- Store in an airtight container at room temperature for 2 to 3 days, or refrigerate for a little longer.
- You can also freeze them once cooled and reheat as needed.
Nutrition
Calories: 216kcalCarbohydrates: 41gProtein: 6gFat: 3gSaturated Fat: 1gPolyunsaturated Fat: 0.5gMonounsaturated Fat: 1gCholesterol: 3mgSodium: 359mgPotassium: 99mgFiber: 2gSugar: 4gVitamin A: 40IUVitamin C: 0.02mgCalcium: 37mgIron: 2mg
Tried this recipe?Mention @TheSaltyCooker or tag #thesaltycooker!