
Black Forest Cake
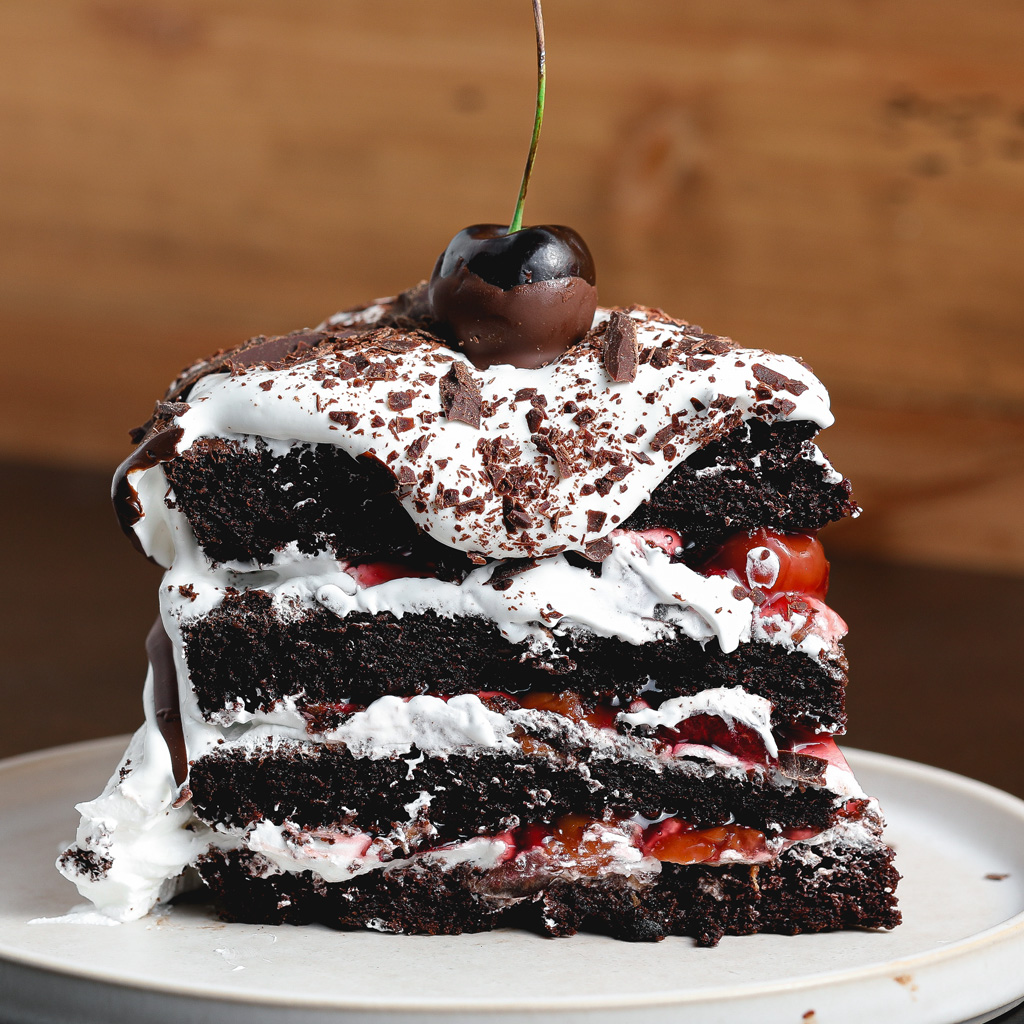
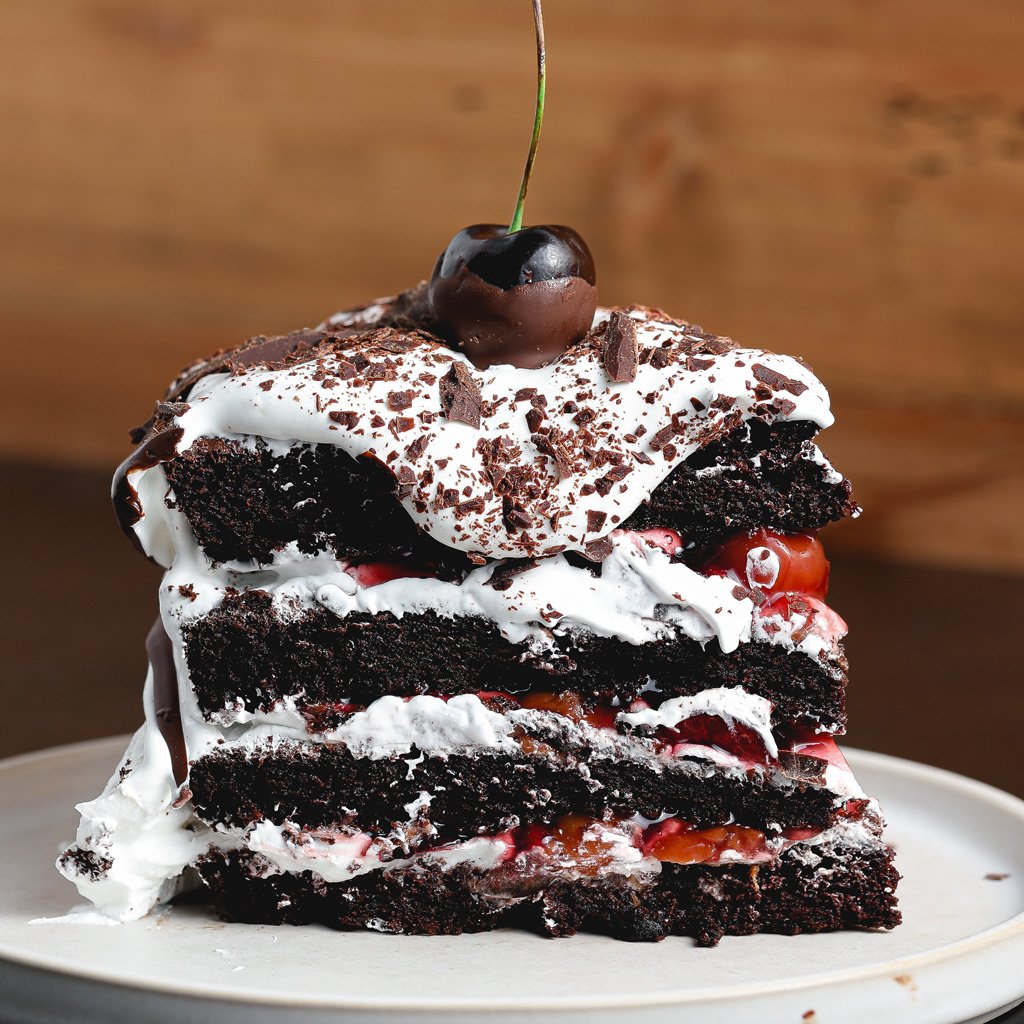
This Black Forest Cake has layers of moist chocolate cake, sweet cherry filling, fluffy whipped cream, and chocolate shavings. Hot coffee brings out the chocolate flavor, while fresh cherries mixed with cherry pie filling make an easy filling for every layer. It’s rich, chocolatey, packed with cherries, and such a fun cake to make for birthdays and celebrations.
As an Amazon Associate I earn from qualifying purchases.
I LOVE HAVING A FAVORITE CAKE FOR EVERYONE.
I love knowing my friends’ favorite foods. There’s just something special about knowing exactly what cake someone wants for their birthday or what meal will make them happy.
Black Forest Cake is one of my girlfriend Jen’s favorites, so naturally, I had to have my own version to make for her. And this one is SO good. The cake is rich and chocolatey, there are cherries tucked into every layer, and the whipped cream keeps everything light and creamy.

I also love making tuxedo cherries for the top when I have a little extra time. Chocolate-covered cherries on top of a chocolate cherry cake? YES PLEASE.

Why You’ll Love This Black Forest Cake
- Super moist chocolate cake. Greek yogurt and oil give the cake a soft, moist crumb, while hot coffee helps bring out the cocoa flavor.
- Chocolate + cherry in every bite. Fresh cherries and cherry pie filling are layered between the chocolate cake with plenty of whipped cream.
- It looks impressive without being complicated. Cutting the two cakes in half gives you four beautiful layers without baking four separate cakes.
- Easy to customize. Sour cream works in place of the Greek yogurt, and the espresso powder is completely optional.
- Made for celebrating. Finish it simply with chocolate shavings and cherries or dress it up with tuxedo cherries for birthdays and special occasions.
Ingredients Needed to Make Black Forest Cake
- All-purpose flour: Gives the chocolate cake layers their structure.
- Cocoa powder: The base of that deep, rich chocolate flavor.
- Sugar: Sweetens the cake and helps keep the crumb tender.
- Baking powder + baking soda: Give the cake layers the lift they need.
- Unsweetened Greek yogurt: Keeps the chocolate cake moist and tender. You can substitute the same amount of sour cream.
- Kosher salt: Balances the sweetness and enhances the chocolate.
- Vegetable oil: Keeps the cake soft and moist, even after chilling.
- Espresso powder: Optional. It adds another layer of depth to the chocolate flavor.
- Fresh brewed coffee: Enhances the cocoa and gives the batter the liquid it needs.
- Eggs: Add structure and richness to the cake.
- Vanilla extract: Rounds out the chocolate flavor.
- Fresh cherries: Add fresh cherry flavor and texture to the filling.
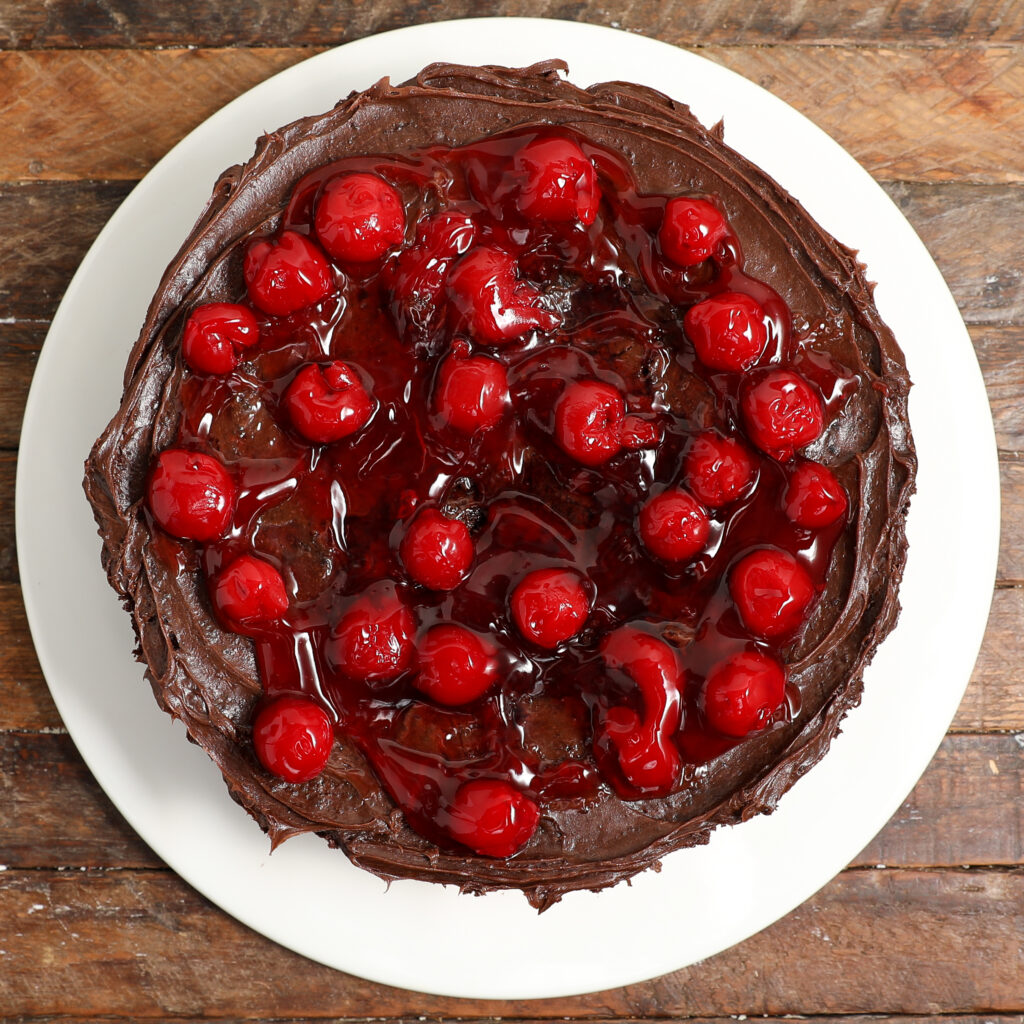
- Cherry pie filling: Makes an easy, thick cherry filling for layering the cake.
- Whipped cream: Keeps the rich chocolate and cherry layers light and creamy.
- Chocolate shavings: The finishing touch for that classic Black Forest Cake look.
How to Make Black Forest Cake
- Make the chocolate cake batter: Beat the eggs and sugar until pale and frothy. Mix in the vegetable oil, Greek yogurt, and vanilla. Whisk the dry ingredients separately, combine with the wet ingredients, then slowly mix in the hot brewed coffee.
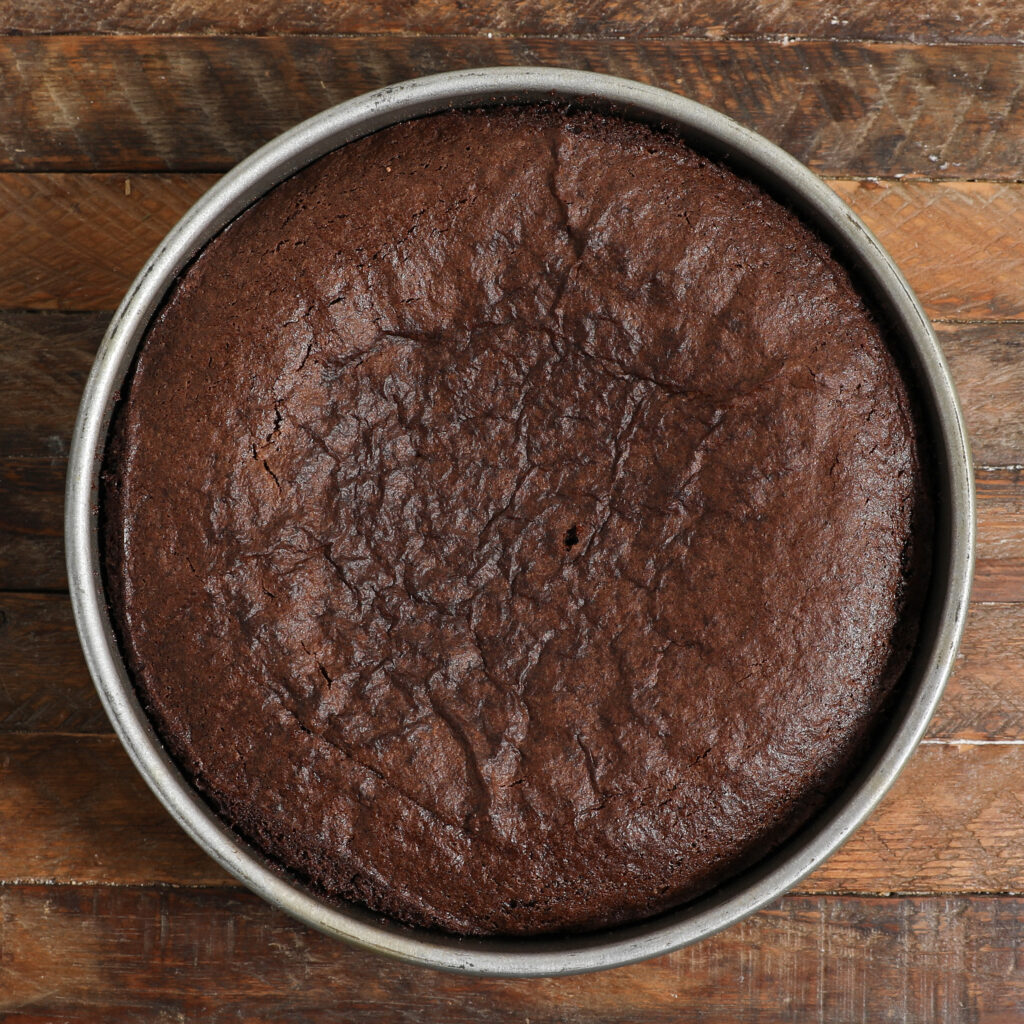
- Bake the cakes: Divide the batter evenly between two greased 8-inch round cake pans. Bake at 350°F for 35–40 minutes, until a toothpick inserted into the center comes out clean or with a few moist crumbs.
- Make the cherry filling: Mix the chopped fresh cherries with the cherry pie filling.
- Create the layers: Cool the cakes completely, then carefully slice each cake horizontally to create four chocolate cake layers.
- Assemble the Black Forest Cake: Layer the chocolate cake with whipped cream and cherry filling. Finish the top with whipped cream, chocolate shavings, and cherries.
Variations & Substitutions
- Sour cream: Substitute 5 ounces of sour cream for the 5 ounces of unsweetened Greek yogurt. No other changes are needed.
- Espresso powder: The 1 teaspoon espresso powder is optional. Leave it out if you don’t have it or don’t want to use it. The brewed coffee will still help deepen the chocolate flavor.
- Frozen cherries: Thaw completely and drain well before chopping and adding to the cherry pie filling.
- Two-layer cake: Skip slicing the two baked cakes horizontally and assemble them as a traditional two-layer cake instead.
- Tuxedo cherries: Dip fresh cherries in chocolate and finish with a contrasting chocolate drizzle for a fun way to dress up the top for birthdays and celebrations.
Make Ahead
- The chocolate cake layers are the best part to make ahead. Bake them, allow them to cool completely, then wrap each cake tightly. Refrigerate for up to 3 days before assembling.
- You can also freeze the unfrosted chocolate cake layers for longer storage. For the best texture and presentation, wait to add the whipped cream and cherry filling until you’re ready to assemble the Black Forest Cake.
- Tip: Chilled cake is also easier to slice horizontally, which can make creating those four even layers much easier.
Storage + Freezing
- Refrigerator: Because this Black Forest Cake is filled and topped with whipped cream, keep the assembled cake covered in the refrigerator. Store for up to 3–4 days.
- Freezer: For the best results, freeze the unfrosted chocolate cake layers rather than the fully assembled cake. Once completely cool, wrap each layer tightly in plastic wrap and place in a freezer-safe bag or container. Thaw in the refrigerator before slicing and assembling with the cherry filling and whipped cream.
- Leftovers: Keep individual slices in an airtight container in the refrigerator so the cake stays moist and the whipped cream remains chilled.
Tips for the Best Black Forest Cake
- Don’t overmix the batter. Once the flour mixture is added, mix only until everything is combined. Overmixing can make the chocolate cake layers denser instead of soft and tender.
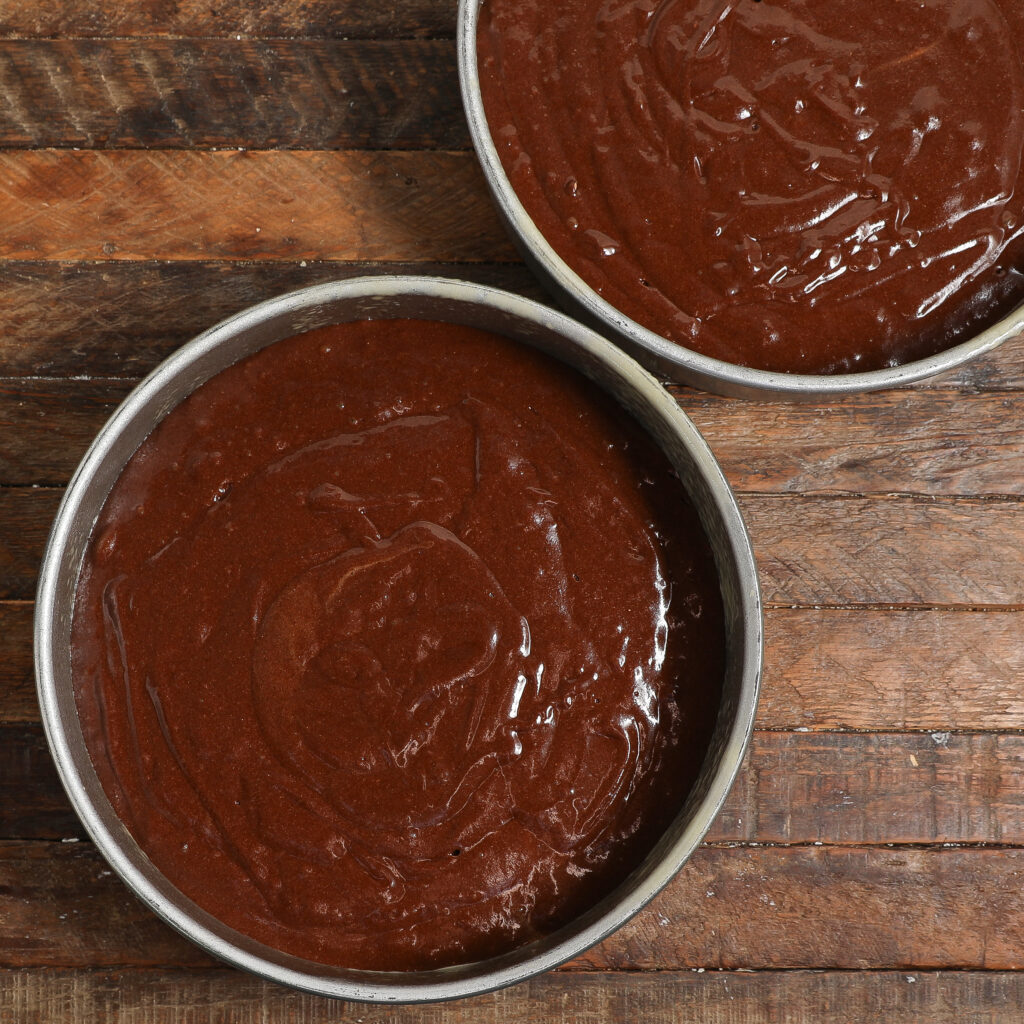
- The batter will be thin. After adding the hot coffee, the chocolate cake batter should be smooth and fairly thin. That’s expected, so don’t add extra flour to thicken it.
- Cool the cakes completely. Don’t try to slice or assemble warm cake layers. The whipped cream can melt, and a warm cake is much more difficult to cut cleanly.
- Chill before slicing into layers. A chilled chocolate cake is easier to cut horizontally without tearing or crumbling. Use a long serrated knife and rotate the cake as you cut to help keep the layers even.
- Drain excess liquid from the cherries. If you’re using frozen or canned cherries, drain them well so the cherry filling doesn’t become watery.
- Don’t overfill the layers. Leave a little space around the outside edge when adding the cherry filling. The weight of the next cake layer will naturally push the filling outward.
- Keep the whipped cream cold. Cold whipped cream holds its shape better when you’re assembling and decorating the cake.
- Give it time to chill. Once assembled, refrigerating the cake before slicing helps the layers settle and gives you cleaner slices.
Black Forest Cake
Equipment
- Medium mixing bowl
- Long serrated knife
Ingredients
Chocolate Cake
- 2 cups all-purpose flour
- 3/4 cup cocoa powder
- 2 cups sugar
- 1 1/2 tsp baking powder
- 1 1/2 tsp baking soda
- 5 ounces unsweetened Greek yogurt (or sour cream)
- 1 tsp kosher salt
- 1/2 cup vegetable oil
- 1 tsp espresso powder (optional)
- 1 cup freshly brewed coffee, hot
- 2 eggs
- 2 tsp vanilla extract
Black Forest Filling
- 1 cup fresh cherries (pitted and chopped)
- 21 ounces cherry pie filling
- 16 ounces whipped cream
- chocolate shavings for garnish
Instructions
- Prepare the Pans: Preheat the oven to 350°F. Grease two 8-inch round cake pans and set aside.
- Beat the Eggs and Sugar: Add the eggs and sugar to a large mixing bowl. Beat for 3–4 minutes, until pale and frothy and the sugar is mostly dissolved.
- Add the Wet Ingredients: Add the vegetable oil, Greek yogurt, and vanilla extract. Mix until just combined.
- Combine the Dry Ingredients: In a separate bowl, whisk together the all-purpose flour, cocoa powder, espresso powder, if using, baking powder, baking soda, and kosher salt.
- Make the Chocolate Cake Batter: Gradually add the dry ingredients to the wet ingredients and mix just until combined. Slowly pour in the hot brewed coffee and gently mix until smooth. The batter will be fairly thin.
- Bake: Divide the batter evenly between the prepared cake pans. Bake for 35–40 minutes, until a toothpick inserted into the center comes out clean or with a few moist crumbs.
- Cool: Allow the cakes to cool in the pans for 10 minutes, then transfer them to a wire rack and cool completely.
- Make the Cherry Filling: Add the chopped fresh cherries and cherry pie filling to a bowl. Mix until combined.
- Cut the Cake Layers: Once completely cool, use a long serrated knife to carefully slice each cake horizontally, creating four cake layers.
- Assemble the Cake: Place one chocolate cake layer on a cake plate. Spread about 1/2 cup whipped cream over the cake, followed by 1/3 of the cherry filling. Continue layering the cake with whipped cream and cherry filling until all four chocolate cake layers are stacked.
- Finish the Cake: Spread whipped cream over the top of the cake and finish with chocolate shavings and cherries. Slice and serve.
Nutrition
Frequently Asked Questions
Black Forest Cake is a chocolate layer cake traditionally paired with cherries and whipped cream. This version combines moist chocolate cake with fresh cherries, cherry pie filling, whipped cream, and chocolate shavings.
No. The brewed coffee is there to enhance the chocolate flavor rather than give the cake a strong coffee taste. You can also leave out the espresso powder since it’s optional.
Overbaking and adding too much flour are two things to watch for. Start checking the cakes toward the end of the baking window and remove them when a toothpick inserted in the center comes out clean or with a few moist crumbs. Also, measure the flour carefully and avoid packing it into the measuring cup.
Make sure the cakes are completely cool first. Use a long serrated knife to lightly mark around the middle of the cake, then slowly rotate the cake while cutting toward the center. The two baked cakes are each cut horizontally to create the four layers used in this Black Forest Cake.
Start with completely cooled cake layers, avoid adding too much filling, and keep the whipped cream cold. If the assembled cake feels soft, refrigerate it before decorating or slicing so the layers have time to set.
Yes. Because the cake contains whipped cream and cherry filling, keep it covered in the refrigerator. The current recipe recommends refrigerating leftovers for about 3–4 days.
Can you use regular flower instead of gluten free
Good Morning Ann,
Sorry about that, yes you can make this with all purpose flour. Fixing the instructions now. Thank you!