How to Make Sourdough Bread for Beginners
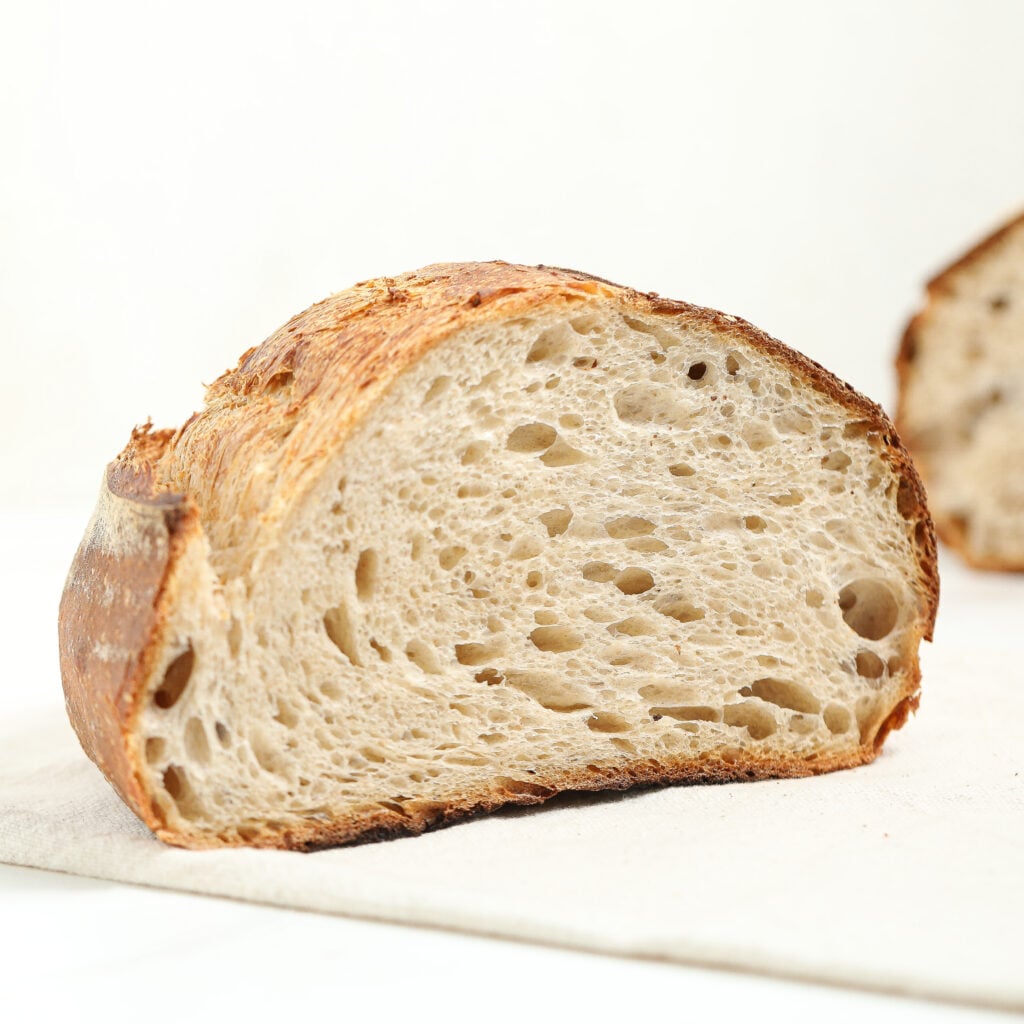
There’s just something about homemade bread that makes everything feel a little cozier, don’t you think? This Sourdough Bread Recipe is one of my absolute favorites because it’s pretty simple, but the end result is so satisfying. The bread has a nice tang, a chewy interior, and a golden, crispy crust that you just can’t get from store-bought loaves. It’s the kind of bread that makes you want to sit down, tear off a piece, and enjoy it with whatever you’ve got on hand.
What I love about this recipe is that it’s not a huge time commitment all at once. Yes, there’s a bit of waiting while the dough rises and ferments (this is where the flavor comes in), but it’s mostly hands-off time. You can let the dough rise overnight or refrigerate it for a day or two, so it fits perfectly into a busy schedule. It’s the kind of recipe you can make and then come back to, no pressure.
I’ve been making this bread for a while now, and honestly, it never gets old. It pairs great with everything, like soups, salads, cheese, or just a simple swipe of butter. Plus, the fact that it’s made with just a handful of ingredients makes it feel extra special. Once you’ve had a slice of this, store-bought bread just won’t cut it anymore! So, grab your starter, roll up your sleeves, and let’s make some delicious sourdough!
As an Amazon Associate I earn from qualifying purchases.
Why You’ll Love Sourdough Bread
- Unbeatable Flavor: The tangy, slightly nutty taste of this sourdough is like nothing you’ll find in store-bought bread. The long rise time gives it that depth of flavor that’s totally irresistible.
- Perfect Texture: It’s got the best of both worlds—chewy on the inside with a crisp, golden crust on the outside. It’s the kind of bread that makes you want to go back for more with every slice.
- Hands-Off Time: While there’s a bit of wait time, it’s mostly hands-off. The dough works its magic while you go about your day, giving you time to relax without the stress of constant attention.
- Impressive Results: Whether you’re making it for yourself or showing off to guests, this bread looks and tastes like something from a bakery. It’s the ultimate “look what I made!” moment.
- Satisfying Process: There’s something so rewarding about making your own bread from scratch. The mixing, the shaping, the waiting, and finally, pulling that beautiful loaf out of the oven. It’s a process that never gets old.
Ingredients Needed To Make Sourdough Bread
Make sure you scroll down to the recipe card to see the full list of ingredients needed for this recipe.
- bread flour
- wheat flour
- olive oil
- fine sea salt
- warm water (not hot)
- active starter
Oven Temperatures
Oven temperatures can vary significantly from one oven to another. To achieve consistent results, it’s crucial to know the exact temperature inside your oven. The safest and most accurate way to determine this is by using an oven thermometer. This simple tool can help you avoid underbaking or overbaking your treats.

How To Make Sourdough Bread
- Initial Mix (No Salt Yet)
In a large mixing bowl, combine bread flour, wheat flour, water, olive oil, and active starter. Mix until a rough dough forms. Cover with plastic wrap and place a kitchen towel over the top. Let rest for 30 minutes. - Incorporate Salt + Begin Folds
Sprinkle salt on top of the dough. Begin your first series of 4 stretch and folds, making sure to work the salt into the dough. Do 1 additional set of 4 folds every 30 minutes, repeating this process 4 times total (over 2 hours).
Note: After the first fold, you may notice water being pulled from the dough. This is normal and will resolve as you continue folding and strengthening the dough.

- Bulk Fermentation
After completing the folds, cover again with plastic wrap and a towel. Let the dough rest at room temperature for 6–12 hours, or until doubled in size.
Do not let it overproof—this can negatively impact your loaf. - Shaping
Gently shape your dough using your preferred method (refer to previous notes if needed). Place into a lightly floured bread bowl or proofing basket.

- Final Proof
Cover and place the bread bowl into a proofing bag. Let sit on the counter for 1 hour, then refrigerate for 24 hours. - Bake
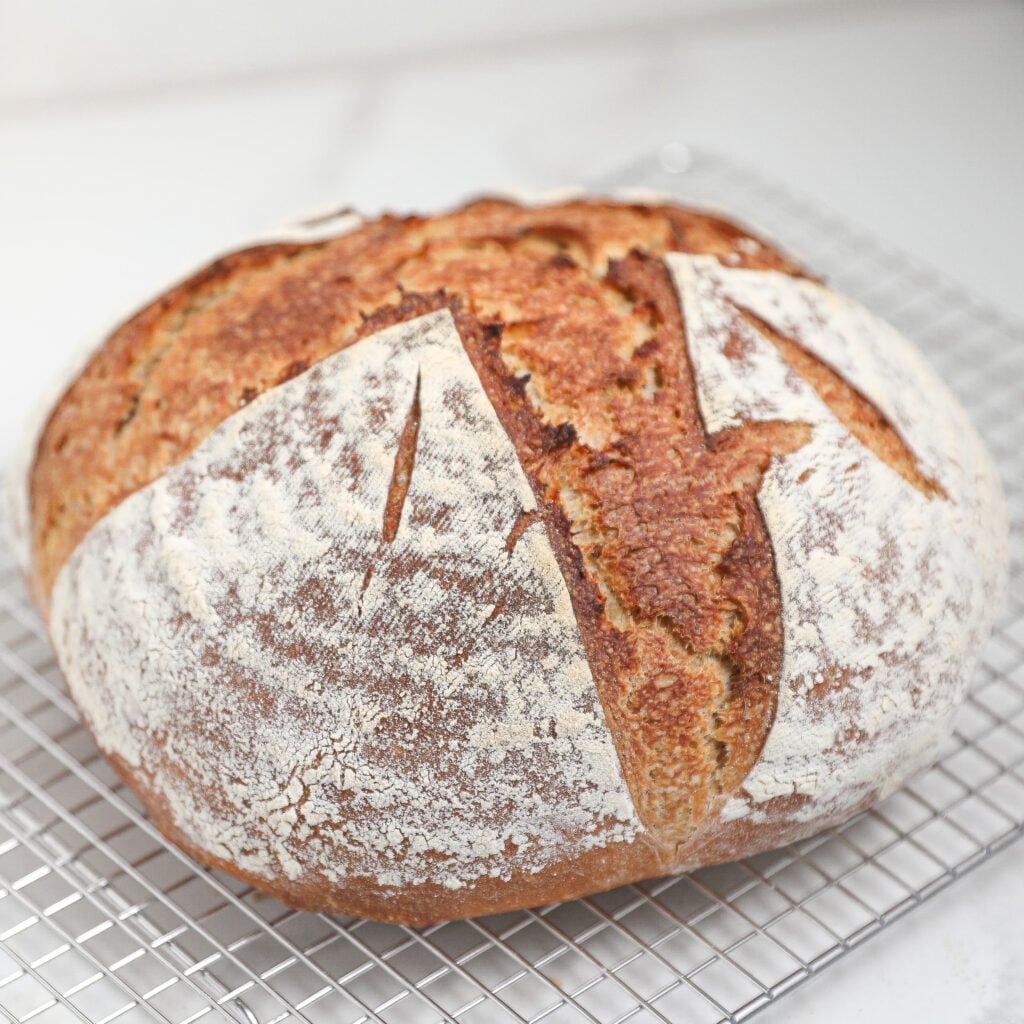
Remove from fridge, score the loaf, and bake according to your baking method (Dutch oven recommended).

- Cool and Slice: Let the bread cool completely before slicing and enjoying!

Commonly Asked Questions
How long does sourdough bread take to make?
Making sourdough bread is a time investment, but it’s mostly hands-off. The process can take anywhere from 14 to 50 hours depending on your method. Whether you’re following an overnight rise or refrigerating the dough for a few days. The active steps, like mixing and shaping, only take a couple of hours, but you’ll be waiting for the dough to rise and develop flavor in between. Patience is key, but it’s worth it when that warm loaf comes out of the oven!
Can I use a different type of flour for sourdough?
While bread flour is ideal for sourdough due to its higher protein content (which gives the bread structure), you can experiment with other flours. Whole wheat flour can add extra flavor and nutrition, but it may change the texture a bit. If you want a lighter loaf, sticking to bread flour will give you the best results, but don’t be afraid to get creative once you’re comfortable with the basics.
What is the best way to store sourdough bread?
Once your sourdough has cooled completely, it’s best stored in a paper bag or wrapped in a clean kitchen towel. This helps the bread breathe and prevents it from getting soggy. If you need to store it for longer, you can wrap it tightly in plastic or foil and freeze it. To reheat, just slice off what you need and warm it in the oven to get that crispy crust back.
How do I know when my sourdough bread is done baking?
The bread is done when the top is golden brown, and the loaf sounds hollow when tapped on the bottom. You can also use a thermometer to check the internal temperature, around 200°F is perfect. The crust should be crispy and the inside should be soft and chewy. If the bread looks too pale or the texture feels dense, it may need a little more time in the oven.
Can I use sourdough starter that’s been in the fridge?
Yes, you can use your sourdough starter straight from the fridge, but it should be fed and allowed to become active before using it. Give it a few hours or overnight to “wake up” and bubble up. The more active your starter, the better your bread will rise and develop flavor.
What’s the best way to shape my dough?
Shaping sourdough can be a little tricky at first, but with practice, it gets easier. After the dough has completed its bulk fermentation, turn it out onto a floured surface, fold the edges over to form a tight ball, and pinch the seam closed. The key is to keep the dough taut, so it holds its shape during the final rise and bakes up beautifully.
Can I make sourdough bread without a Dutch oven?
While a Dutch oven creates the perfect environment for sourdough, trapping steam and producing a crispy crust. It’s not absolutely necessary. If you don’t have one, you can bake the bread on a baking stone or sheet pan. To replicate the steam, place a shallow pan of water at the bottom of the oven to create a similar effect. The result won’t be exactly the same, but you’ll still end up with a delicious loaf.
More Sourdough Recipes You’ll Love


Sourdough Bread Recipe
Equipment
- Dough hook or wooden spoon
- Dutch oven with lid
- Saran wrap & kitchen towel
- Bench scraper (recommended)
- Bread basket or bowl (for proofing)
- Scoring blade or sharp knife
- Plastic bags (for covering/proofing)
- Tea towel (optional, for lining basket)
Ingredients
Instructions
Read First – Tips for the Perfect Loaf
- Starter: Feed your starter about 4 hours before making the dough so it’s active and bubbly.Salt Tip: Always add the salt after the starter and flour. Sprinkle it on top of the flour—never mix it directly into the starter, as salt can kill the natural yeast.Mixing Options: You can mix by hand or use a stand mixer with a dough hook on setting 3. Mix just until the dough is combined, then stop and follow the rising process.Dough Too Dry? If the dough seems too dry at the beginning, add a light sprinkle of water to loosen it up slightly.
Initial Mix (No Salt Yet)
- In a large mixing bowl, combine bread flour, wheat flour, water, olive oil, and active starter. Mix until a rough dough forms. Cover with plastic wrap and place a kitchen towel over the top. Let rest for 30 minutes.
Incorporate Salt + Begin Folds
- Sprinkle salt on top of the dough. Begin your first series of 4 stretch and folds, making sure to work the salt into the dough. Do 1 additional set of 4 folds every 30 minutes, repeating this process 4 times total (over 2 hours).Note: After the first fold, you may notice water being pulled from the dough. This is normal and will resolve as you continue folding and strengthening the dough.
Bulk Fermentation
- After completing the folds, cover again with plastic wrap and a towel. Let the dough rest at room temperature for 6–12 hours, or until doubled in size.Do not let it overproof—this can negatively impact your loaf.
Shaping
- Gently shape your dough using your preferred method (refer to previous notes if needed). Place into a lightly floured bread bowl or proofing basket.
Prepare the Proofing Basket
- Line a bread basket (round or oval) with a clean tea towel. Lightly flour the towel if needed to prevent sticking. Place the dough seam-side up into the basket and gently pinch the seam to seal. Wrap the towel loosely over the dough.
Final Proof
- Cover and place the bread bowl into a proofing bag. Let sit on the counter for 1 hour, then refrigerate for 24 hours.
Bake
- Remove from fridge, score the loaf, and bake according to your baking method (Dutch oven recommended).
Final Notes
- Letting the bread cool fully is essential—although hard to resist! Cutting too early can affect the texture of both the crust and crumb. Working with wet hands during shaping helps prevent sticking and preserves the dough’s structure. The 48-hour cold proof creates a soft, rich interior and deep sourdough flavor—a perfect hybrid of sandwich bread and traditional sourdough.
Notes
- 1 tbsp seasoning mix (e.g., herbs de Provence, za’atar)
- 1 tsp single herbs (e.g., rosemary, thyme)
- 1 cup chocolate chips (fold in during stretch/fold phase)
- ½ tsp cinnamon + 2 tbsp sugar
- Freeze-dried fruit (e.g., strawberries, blueberries)
- 2–3 tbsp dried yuzu or other finely chopped dried fruit
Nutrition
Making sourdough at home can seem like a big project, but once you get the hang of it, it becomes such a rewarding experience. There’s nothing quite like the smell of freshly baked bread filling your kitchen, and the flavor of homemade sourdough just can’t be beat. Whether you’re new to baking or a seasoned pro, this recipe is one of my favorites and a go-to whenever I want a homemade loaf that’s both simple and full of flavor.