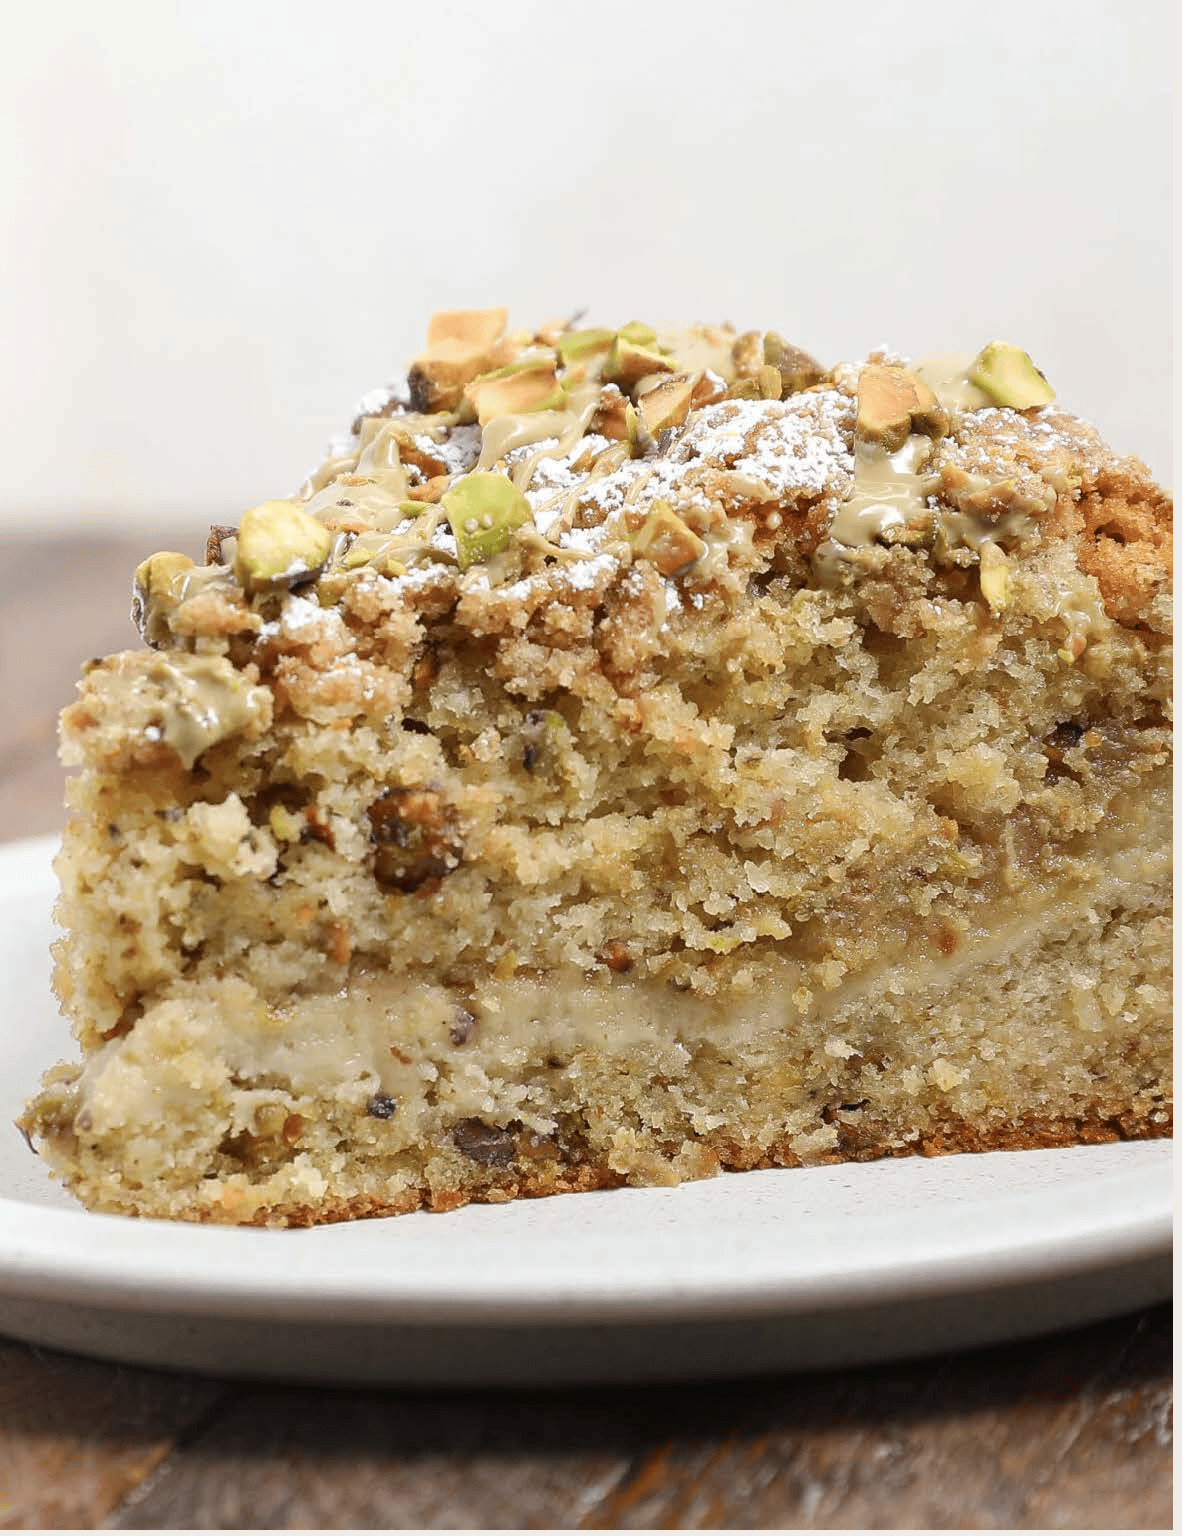
Boston Cream Pie Sliders

If you’re a fan of easy, delicious, and downright sweet treats, then these Boston Cream Pie Sliders are a game-changer. Perfect for any dessert table, this recipe turns simple sweet rolls into a heavenly experience, filled with creamy vanilla pudding and crowned with a tempting chocolate glaze.

As an Amazon Associate I earn from qualifying purchases.
Why You’ll Love Boston Cream Pie Sliders
- Easy: These sliders are incredibly easy to make, requiring only a handful of steps. No need to stress over complicated techniques or fancy equipment – just simple and straightforward.
- Sweet: The combination of sweet rolls, vanilla pudding, and chocolate hazelnut spread creates a flavorful dessert that’s simply irresistible. It’s a sweet tooth’s dream come true!
- Versatile: Whether you’re planning a family gathering, a potluck, or a weekend treat, these sliders are a versatile choice. They work wonders as a delightful dessert option for various occasions.
- Kid-Friendly: Get the kids involved in the kitchen! The easy-to-follow steps make it a fantastic cooking activity for the whole family.
- No-Fuss Ingredients: With just a handful of common ingredients, you can whip up this delightful dessert without making a trip to the specialty store.
Ingredients Needed To Make Boston Cream Pie Sliders
- Sweet rolls
- Chocolate hazelnut spread
- Instant vanilla pudding
- Dairy-free milk
- Sugar
- Egg
- Water
How To Make Boston Cream Pie Sliders
- Preheat your oven to 375 degrees.
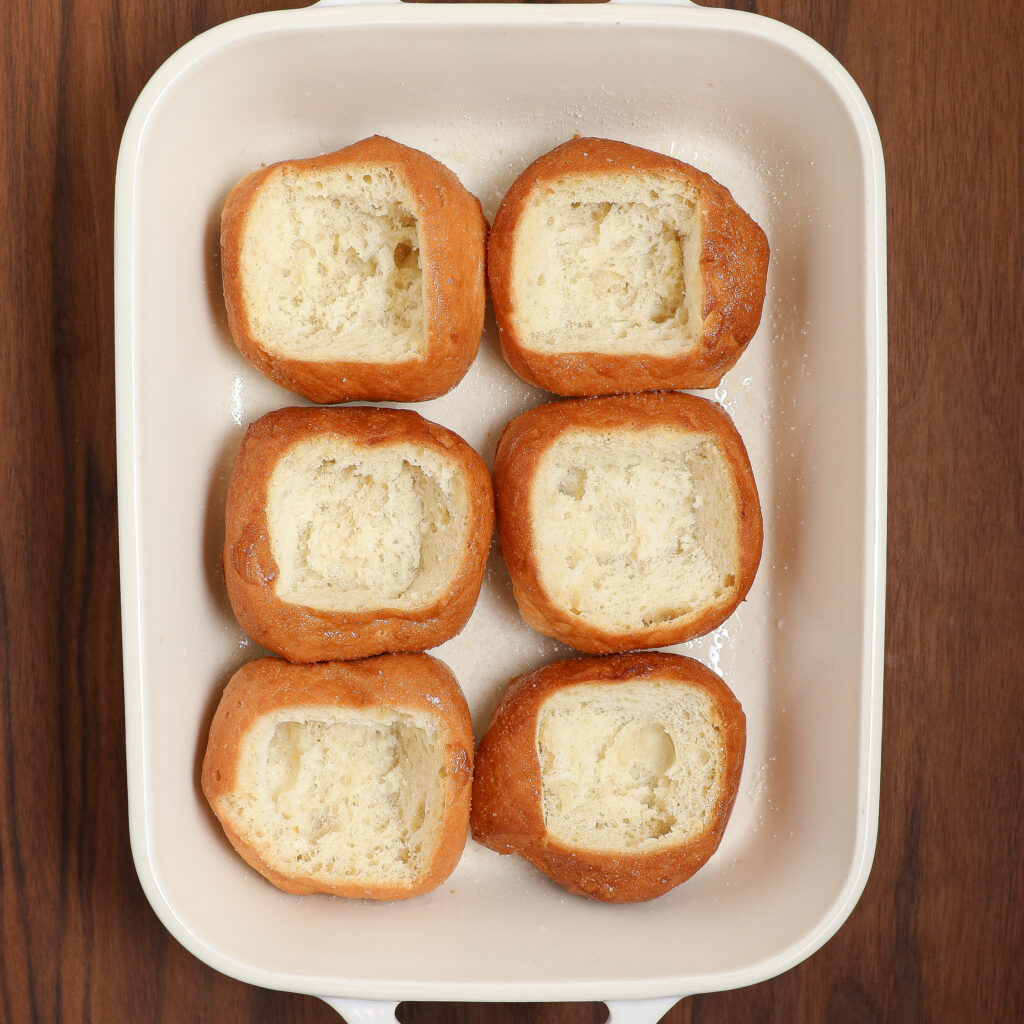
- Hollow out the center of each sweet roll to create a cavity.
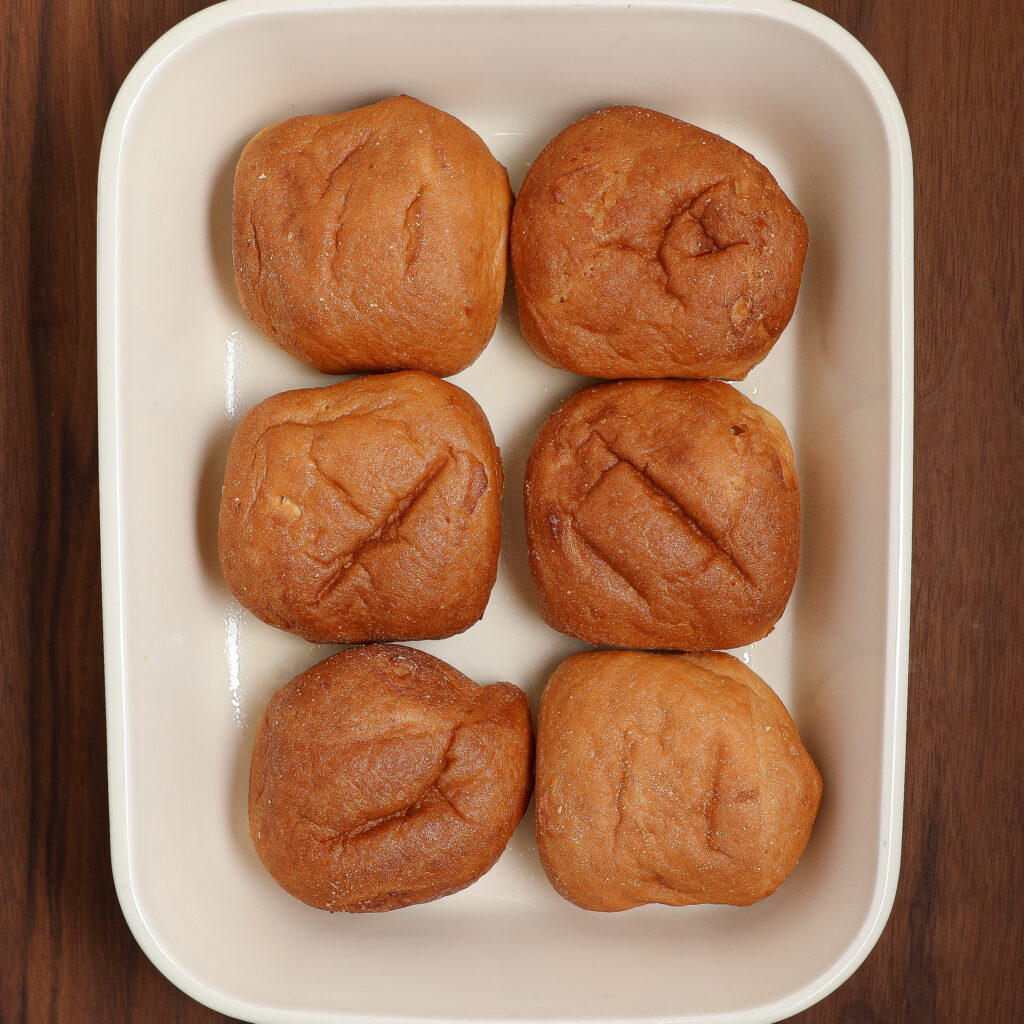
- Whisk together the egg and water to form an egg wash.
- Brush the buns all over with the egg wash. Sprinkle them with sugar.
- Allow the rolls to bake for 12-15 minutes. They should be lightly golden. Remove from the oven and allow to cool completely.

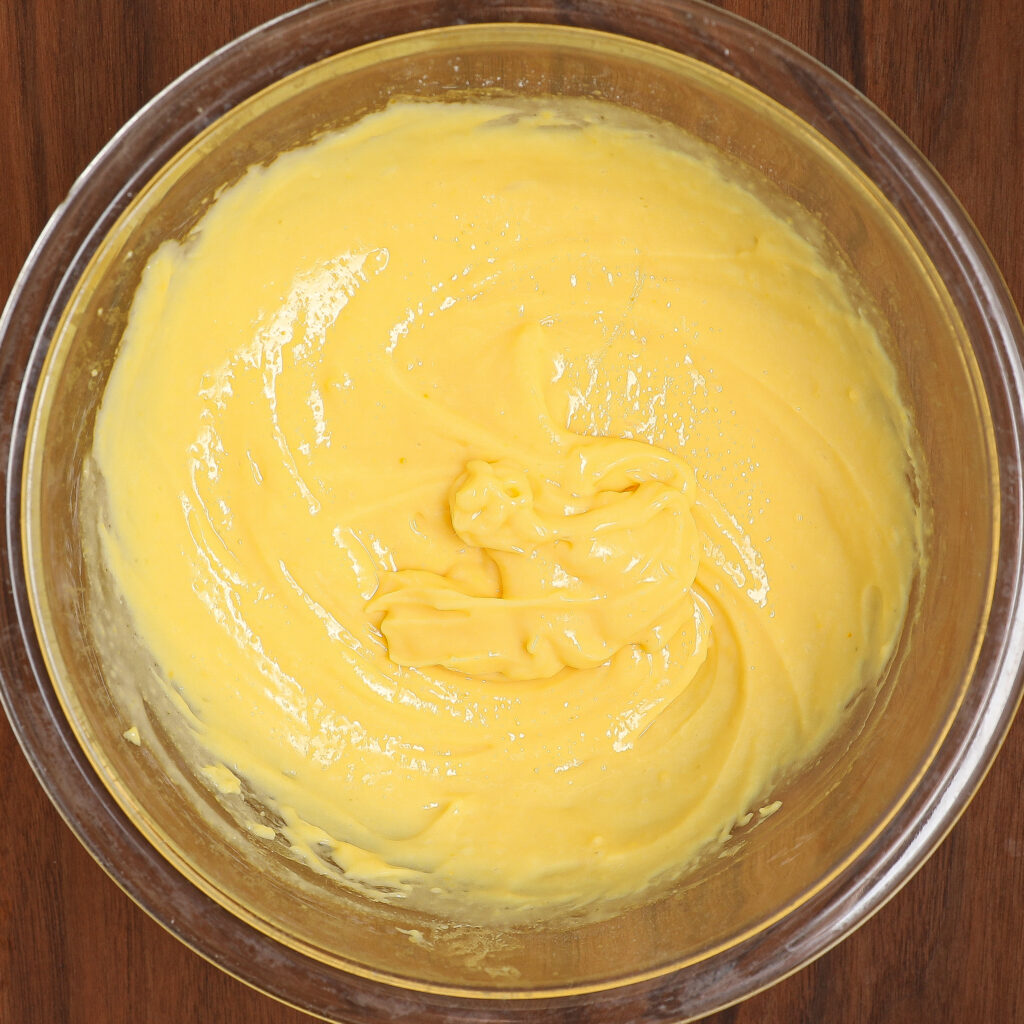
- While the rolls are cooling, prepare the pudding. Beat the dairy-free milk and pudding mix with a hand mixer on high until it thickens.
- Microwave the chocolate hazelnut spread for 10-15 seconds until it’s easy to drizzle.
- Fill each roll with the vanilla pudding and drizzle the chocolate hazelnut spread over the top.
- Enjoy your delectable Boston Cream Pie Sliders!
Variations & Substitutions
- If you prefer, you can use regular milk instead of dairy-free milk for the pudding.
- Experiment with different flavors of sweet rolls for a unique twist.
Commonly Asked Questions
Can I make these Boston Cream Pie Sliders ahead of time?
Absolutely! Prepare the sweet rolls and pudding in advance, and assemble them just before serving to maintain their freshness.
Can I use regular milk instead of dairy-free milk?
Yes, you can. The choice between dairy-free and regular milk depends on your dietary preferences or restrictions.
Are there other variations for the chocolate glaze?
Feel free to experiment with various chocolate spreads or even melted chocolate for a personalized touch.
Can I use store-bought pudding instead of making it from the mix?
Certainly! If you’re short on time, using store-bought vanilla pudding is a convenient alternative.
How do I store these sliders?
These sweet treats beg to be devoured immediately! However, they can be stored for several days. Keep them in an airtight container in the refrigerator. Allow them to sit out for a few minutes to come to room temperature when ready to serve.
How long does it take to bake these sliders?
The bake time will vary by oven. They should bake between 10-15 minutes. You are looking for them to be lightly golden.

Boston Cream Pie Sliders
Equipment
- 1 Hand mixer
Ingredients
- 6 sweet rolls or 12 mini slider rolls
- 1/4 cup chocolate hazelnut spread or semi sweet or milk chocolate melted.
- 3.4 ounces instant vanilla pudding
- 1 1/2 cups milk
- 1 tbsp sugar
- 1 egg
- 1/4 cup water
Instructions
- Preheat oven to 375 degrees.
- Hollow out the center of each sweet roll, creating a cavity that can be filled.
- Whisk together the egg and water to form an egg wash.
- Brush the buns all over with the egg wash. Sprinkle them with sugar.
- Allow the rolls to bake for 12-15 minutes. They should be lightly golden. Remove from the oven and allow to cool completely.
- While the rolls are cooling, make your pudding. Add the milk to a bowl with the pudding mix. If using Dairy Free milk use a hand mixer and beat it on high until it has thickened.
- Microwave the chocolate hazelnut spread for 10-15 second or until it is easy to drizzle.
- Fill each roll with vanilla pudding.
- Drizzle the chocolate hazelnut spread over the top.
- Enjoy!