Flourless Red Velvet Cake (Rich, Gluten-Free, Make-Ahead Dessert)
As an Amazon Associate I earn from qualifying purchases.
Why I Love This Cake
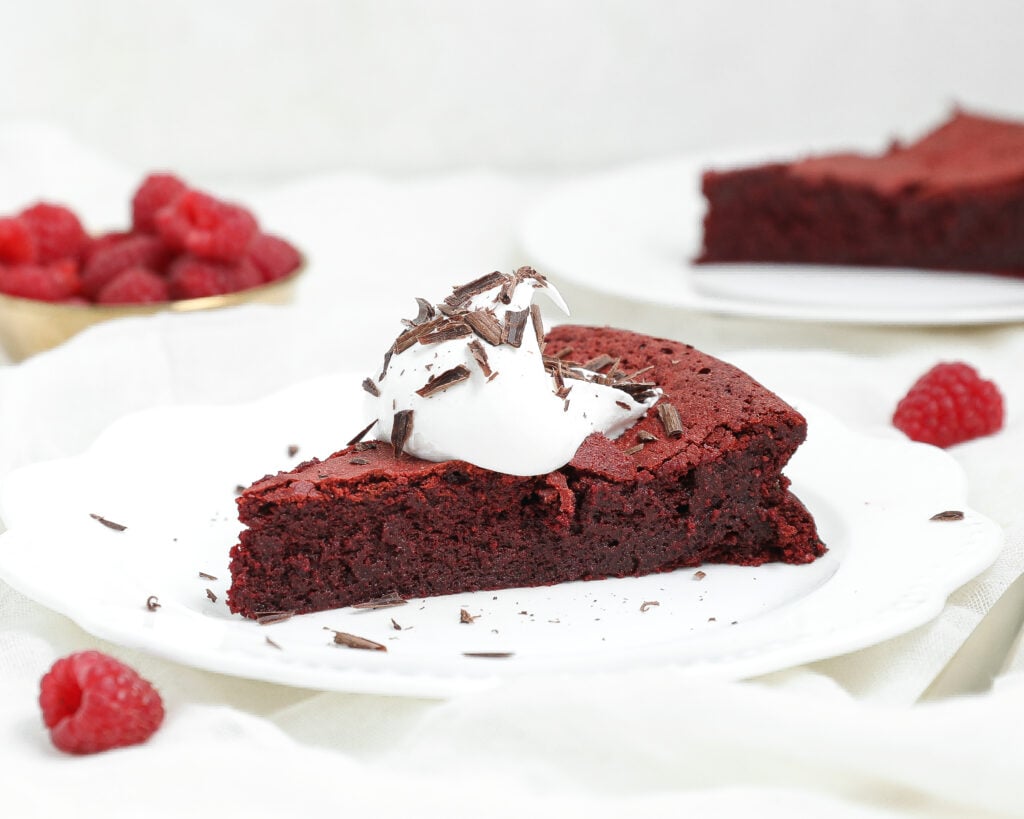
Red velvet cake is so elegant, and this one is a personal favorite. Because it’s flourless, you don’t have to worry about gluten or gluten-free swaps at all. It’s completely gluten free, rich, and chocolatey, and everyone loves it. It’s also a great make-ahead dessert. Serve it with whipped cream, ice cream, or a dusting of powdered sugar.
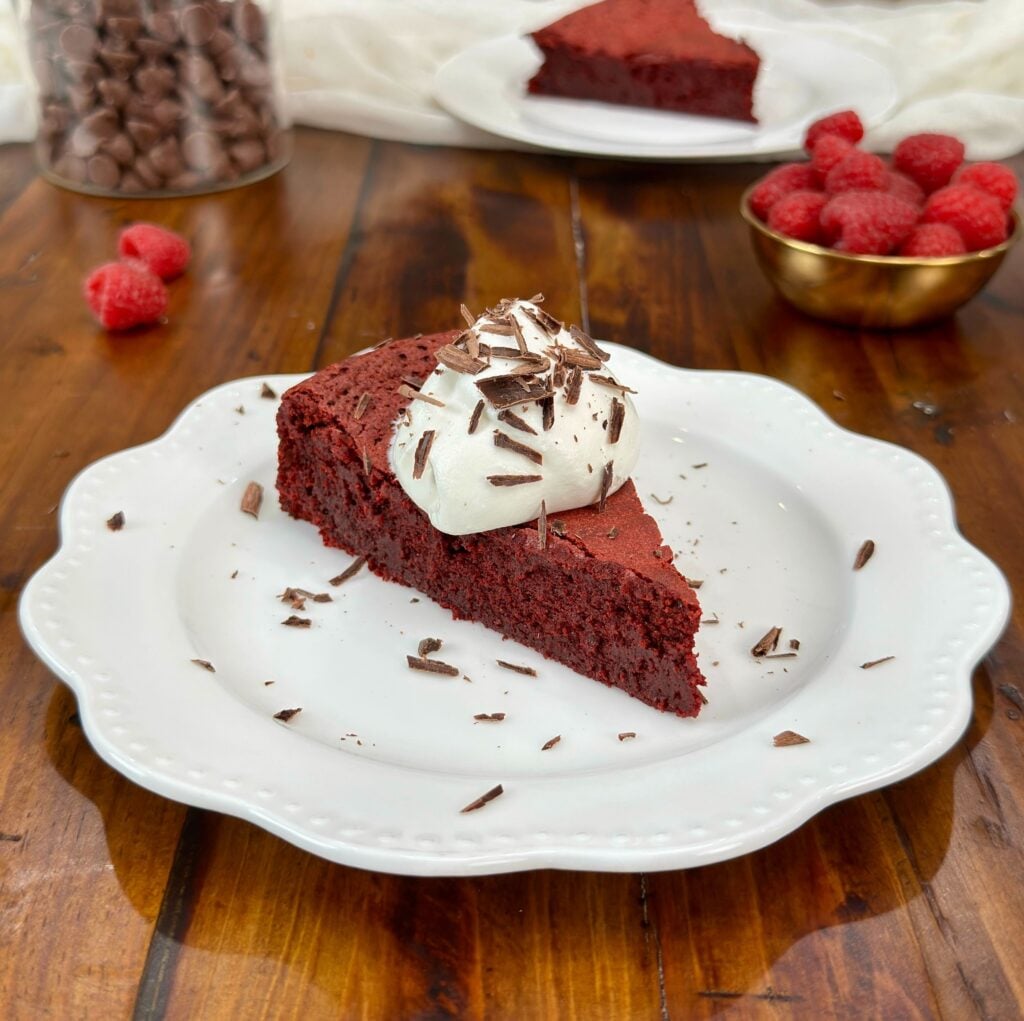

The thick chocolate base gives the cake structure, while the whipped egg whites create lift without drying it out. As it bakes, the cake rises dramatically and then settles as it cools, leaving that classic crack across the top. That texture is intentional and exactly what you want in a flourless cake.
This is also a great make-ahead dessert. Once cooled, the cake slices cleanly and holds its shape beautifully. Serve it with whippe

Here’s how it comes together:
- Melt chocolate and butter until smooth
- Stir in cocoa powder, sugar, salt, espresso powder, food coloring, and egg yolks
- Beat egg whites until stiff peaks form
- Gently fold the egg whites into the chocolate batter
- Pour the chocolate mixture into a lined springform pan without disturbing the air
- Bake in the oven until risen, cracked, and just set
- Cool completely before serving

Flourless Red Velvet Cake
Equipment
- 9-inch springform pan with 3-inch sides
- Microwave-safe bowl or double boiler
Video
Ingredients
- 8 ounces milk chocolate chopped (or semi-sweet chocolate)
- 5 large eggs separated, room temperature
- ¾ cup granulated sugar
- ½ tsp espresso powder optional
- 6 tbsp butter
- 3 tbsp cocoa powder
- ½ tsp salt
- 1 tbsp red food coloring optional
Topping (Optional)
Instructions
- Preheat the oven to 325°F. Spray a 9-inch springform pan with nonstick spray and line the bottom with parchment paper. The pan should be at least 3 inches deep since the cake will rise and then fall.
- Melt the chocolate and butter together using a double boiler or the microwave in 30-second intervals, stirring until smooth.
- Add the cocoa powder, sugar, salt, espresso powder, food coloring, and egg yolks to the melted chocolate and mix well. The batter will be very thick.
- In a separate bowl, beat the egg whites until stiff peaks form. Gently fold the egg whites into the chocolate mixture, being careful not to deflate the batter.
- Pour the batter into the prepared pan. Do not tap or shake the pan. Keeping the air in the batter is important.
- Bake for 40–45 minutes. The cake will rise, then fall as it cools. A round crack in the center is normal and a sign the cake is done.
- Let cool completely at room temperature. Serve with whipped cream, ice cream, or a dusting of powdered sugar.