
Cheesecake Danish Sliders
As an Amazon Associate I earn from qualifying purchases.
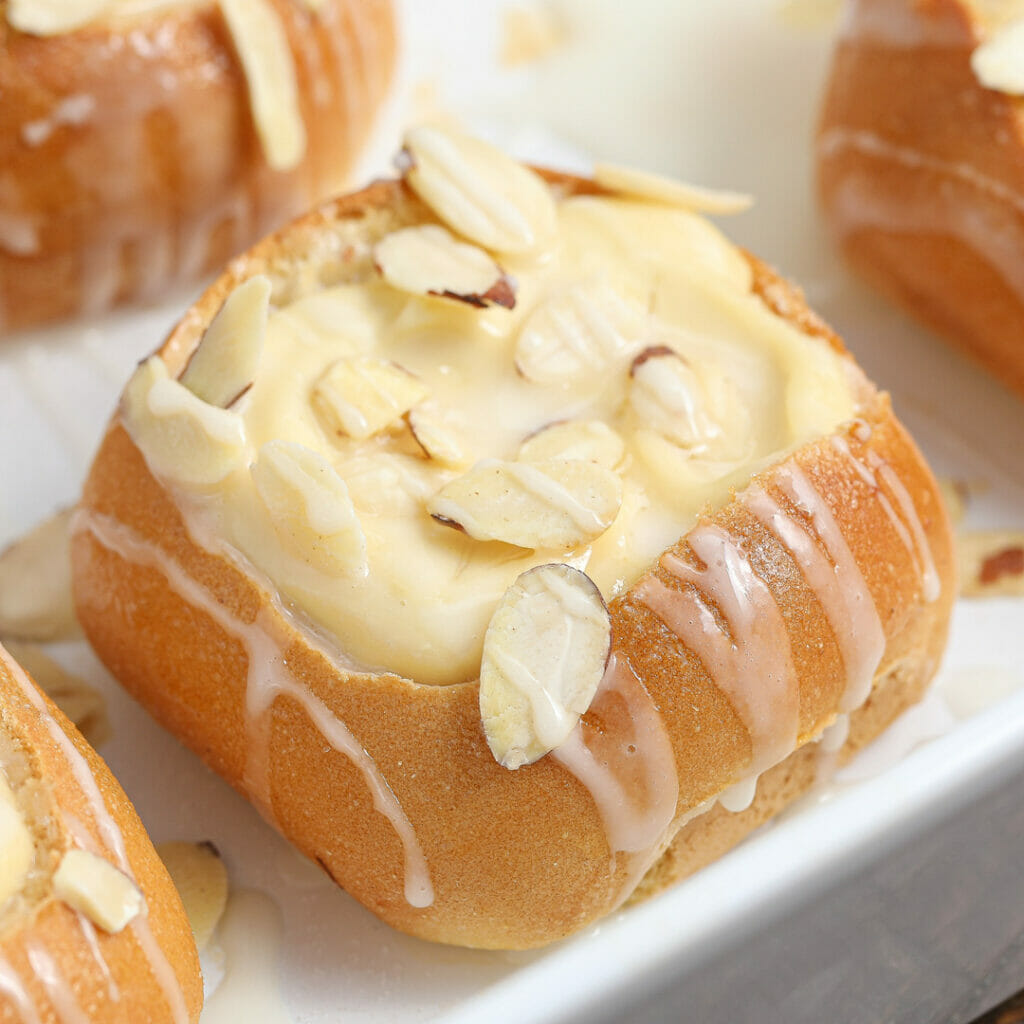
Are you ready to elevate your breakfast game with a simple yet irresistible treat? Say hello to Cheesecake Danish Sliders – a delightful fusion of sweet slider buns and a luscious lemon cream cheese filling that’s not only easy to make but also guaranteed to satisfy your sweet tooth. Whether you’re a breakfast enthusiast or simply looking for a delicious treat to share, these sliders are the perfect addition to your morning routine.
Why You’ll Love Cheesecake Danish Sliders
- Quick and Easy: These sliders come together in no time, making them perfect for busy mornings or when you’re craving a sweet treat without the fuss.
- Deliciously Sweet: With a creamy lemon-infused filling and a sugary glaze, these danish sliders are a sweet indulgence that hits all the right notes.
- Versatile Delight: Not just limited to breakfast, these sliders make for a delightful snack or dessert option. Share them at brunch, picnics, or even as a surprise treat for friends and family.
- Perfect for Recipes: Need a crowd-pleaser for your next gathering? Cream Cheese Danish Sliders are your go-to option – easy to make in batches and guaranteed to leave everyone asking for the recipe.
- Kid-Friendly: If you have young ones at home, they’ll love helping out with creating these sliders, from cutting out the bun centers to filling them with the delicious cream cheese mixture.
Ingredients Needed To Cheesecake Danish Sliders
- Sweet bread slider buns
- Cream cheese (room temperature)
- Powdered sugar
- Lemon juice
- Egg yolk
- Sugar
- Sliced almonds
- Egg
- Water
- For the Glaze: Powdered sugar, Milk
How To Make Cheesecake Danish Sliders
- Preheat the oven to 375 degrees.
- Cut the centers out of the slider buns to create a cavity for filling.
- In a mixing bowl, combine cream cheese, egg yolk, lemon juice, and powdered sugar until smooth.
- Whisk together egg and water to form an egg wash. Brush the outside of the slider buns with the egg wash and sprinkle with sugar.
- Fill the cavity of the slider buns with the cream cheese mixture and place them in a baking dish.
- Bake for 12 to 15 minutes until the edges of the bread are golden brown.
- Remove from the oven and sprinkle with sliced almonds.
- Whisk together the ingredients for the glaze until smooth and drizzle over the top of the cheese Danishes.
- Enjoy your delightful Cream Cheese Danish Sliders!
Variations & Substitutions
For a fruity twist, add a spoonful of your favorite jam or preserve to the cream cheese filling before baking.
Commonly Asked Questions
Can I make Cheesecake Danish Sliders ahead of time?
Absolutely! Prepare the sliders, refrigerate overnight, and bake in the morning for a fresh and delightful breakfast.
Can I use a different type of nut for the topping?
Certainly! Feel free to experiment with your favorite nuts like chopped pecans or walnuts.
Is it okay to skip the glaze?
While the glaze adds an extra touch of sweetness, you can skip it if you prefer a less sugary option.
Can I freeze the Cheesecake Danish Sliders?
Yes, you can freeze them after baking. Just ensure they are tightly wrapped to maintain their freshness.
How do I store these sliders?
These cream cheese Danish sliders are a perfect make ahead treat. They can be kept for 3-5 days in an airtight container in the refrigerator. Simply reheat them in the oven on a low temperature until warm when ready to serve.
How long should I bake the sliders for?
The bake time will vary by ovens. They should bake between 10-15 minutes. You are looking for the center to be set and the rolls to be a light golden color.

Cheesecake Danish Sliders
Equipment
- 1 Knife
Video

Ingredients
Cheese Danishes
- 6 sweet bread slider buns
- 8 ounces cream cheese, room temperature
- 1/4 cup powdered sugar
- 1 tsp lemon juice
- 1 egg yolk
- 2 tsp sugar
- 1/4 cup sliced almonds
- 1 egg
- 1/4 cup water
Glaze
- 1 cup powdered sugar
- 2 tsp milk may need an additional teaspoon
Instructions
- Preheat the oven to 375 degrees.
- Cut the centers out of the slider buns to create a cavity for filling.
- Mix together the cream cheese, egg yolk, lemon juice, and powdered sugar until smooth.
- Whisk together the egg and water to form an egg wash. Brush the outside of the slider buns with the egg wash and sprinkle them with sugar.
- Fill the cavity of the slider buns with the cream cheese mixture and place into a baking dish.
- Let them bake for 12 to 15 minutes. The edges of the bread should be golden brown.
- Remove from the oven and sprinkle with almonds.
- Whisk together the ingredients for the glaze until smooth.
- Drizzle over the top of the cheese Danishes.
- Enjoy!
Have you frozen these?
I have not yet. I feel like this could be done. Make sure they are airtight and bring to room temperature prior ot warming them in the oven.