
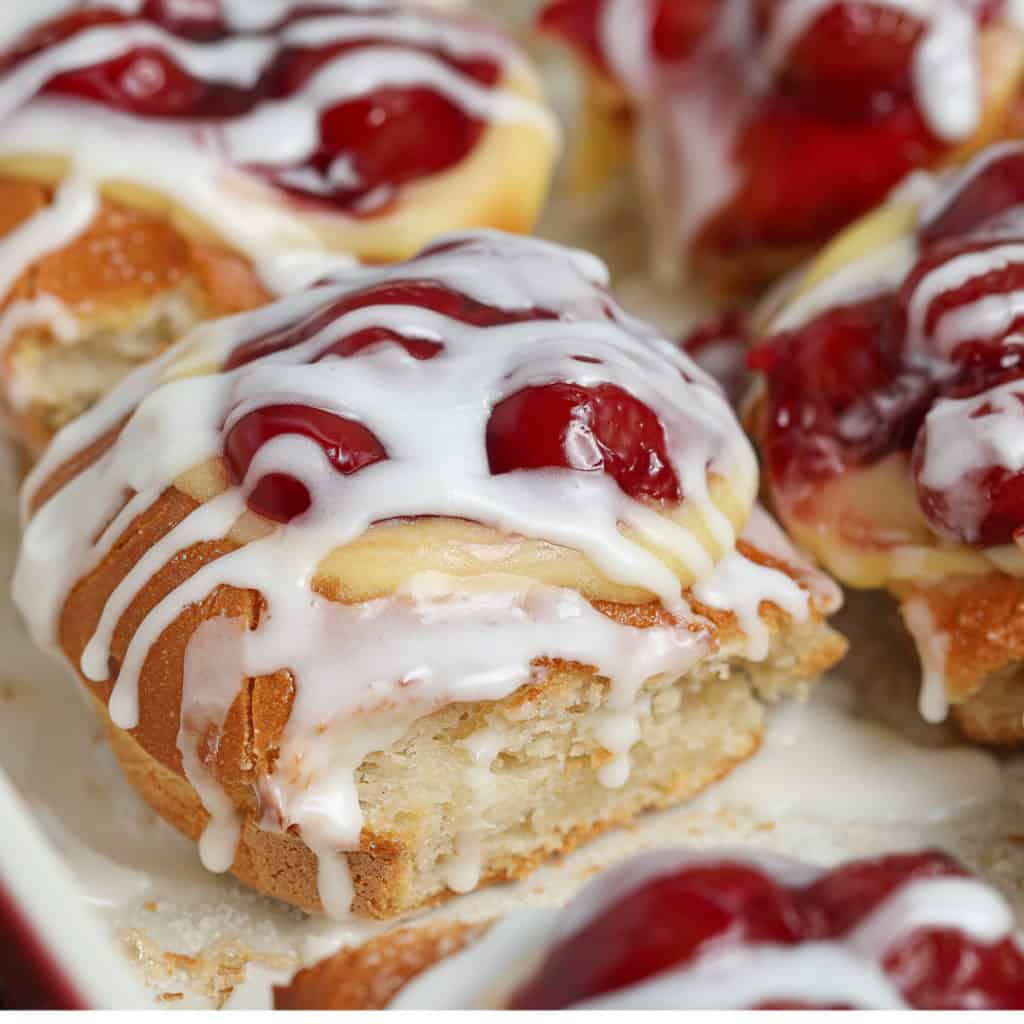
Cherry Cheesecake Danish Sliders
Cherry Cheesecake Danish Sliders are not just your average breakfast treat. They are a burst of sweetness, perfect for any occasion. Whether you’re craving a quick and easy morning indulgence or planning a brunch with friends, these sliders are here to make your taste buds dance with joy. The combination of tangy cream cheese filling, sweet cherry pie topping, and a sugary glaze is hard to resist.
Why You’ll Love Cherry Cheesecake Danish Sliders
- Quick and Easy: These sliders come together in no time, making them a perfect choice for busy mornings or when you need a sweet fix in a hurry.
- Deliciously Sweet: The cream cheese filling, combined with the cherry pie topping and sugary glaze, offers a heavenly sweetness that satisfies your sweet tooth cravings.
- Perfect for Any Occasion: Whether it’s a lazy weekend breakfast, a brunch gathering, or a dessert treat, Cherry Danish Sliders add a touch of indulgence to any occasion.
- Versatile and Adaptable: You can easily customize these sliders by trying different fruit fillings or tweaking the glaze to suit your taste preferences.
- Kid-Friendly Fun: Kids love the sweet combination of cherries and cream cheese, making this recipe a family favorite.
Ingredients Needed To Make Cherry Cheesecake Danish Sliders
- Sweet bread slider buns
- Cream cheese
- Powdered sugar
- Lemon juice
- Egg yolk
- Cherry pie filling
- Sugar
- Egg
- Water
- Powdered sugar (for glaze)
- Milk (for glaze)
How To Make Cherry Danish Sliders
- Preheat the oven to 375 degrees.
- Use a paring knife to cut a well in each slider roll, being careful not to cut all the way through.
- Mix cream cheese, powdered sugar, lemon juice, and egg yolk until smooth.
- Whisk together water and egg. Brush the egg wash onto the sides of the sweet rolls.
- Sprinkle the sides with sugar.
- Pipe the cream cheese filling into the hollowed-out slider buns.
- Top each bun with cherry pie filling.
- Bake for 12-15 minutes until lightly golden and warmed through.
- Remove the Cherry Danish Sliders from the oven and allow to cool slightly.
- Whisk together powdered sugar and milk. Drizzle over each Danish.
Variations & Substitutions
Feel free to experiment with different fruit fillings or adjust the sweetness of the glaze according to your preference.
Commonly Asked Questions
Can I use a different fruit filling?
Absolutely! Try using blueberry, apple, or any other fruit filling you love.
Can I make these Cherry Cheesecake Danish Sliders in advance?
While they’re best fresh, you can prepare the components ahead and assemble just before baking.
What if I don’t have a paring knife?
Any small, sharp knife will do the trick for cutting the well in the slider rolls.
Can I freeze Cherry Cheesecake Danish Sliders?
It’s recommended to enjoy them fresh, but if you have leftovers, they can be frozen and reheated later.
How long should I bake these sliders for?
The bake time will vary by oven. You want them to bake between 10-15 minutes. They should be lightly golden and warmed through.

Cherry Cheesecake Danish Sliders
Equipment
- 1 Mixing Bowl
- 1 baking sheet or baking dish
Ingredients
Cherry Cheese Danishes
- 6 Sweet bread slider buns
- 8 oz cream cheese
- 1/4 cup powdered sugar
- 1 tsp lemon juice
- 1 egg yolk
- 1 cup cherry pie filling
- 2 tsp sugar
- 1 egg
- 1/4 cup water
Glaze
- 1 cup powdered sugar
- 2 tsp milk may need 3 tsp depending on how thick it is
Instructions
- Preheat the oven to 375 degrees.
- Using a paring knife to cut a well in each of the slider rolls, careful not to cut all the way to the bottom and to also leave the sides intact.
- Add the cream cheese, powdered sugar, lemon juice, and egg yolk to a bowl. Mix until smooth and silky.
- Whisk together the water and egg. Brush the egg wash onto the sides of the sweet rolls.
- Sprinkle the sides with the sugar.
- Pipe the cream cheese filling into the hollowed-out slider buns.
- Top with each bun with cherry pie filling.
- Bake the cherry Danishes for 12-15 minutes. You are looking for them to be lightly golden and warmed through.
- Remove from the oven and allow to cool slightly.
- Whisk together the powdered sugar and milk. Drizzle over each Danish.
- Enjoy!
Just made these with regular ingredients that I had. They are wonderful! I highly recommended this recipe.
Thank you so much!!! Happy you enjoyed them! There will be a new slider recipe coming soon too!
I made these delicious pieces of Heaven, but with dairy (not the dairy free version) and I had to actively stop myself from eating the entire batch. My family who aren’t gluten free LOVED them and are anxiously awaiting when I will make more.
Yay!! so happy you and your family loved it!
I’ve tried many of The Salty Cooker recipes by Danielle. One of my favorites are Cheesecake Sliders. I made two batches for a family picnic: some were topped with blueberry pie filling; others with cherry pie filling.
Love the creativity of using Hawaiian sweet rolls as the base. What could be easier than that? This recipe is so delicious! I dare you to find any cheesecake recipe that could even compare to these cheesecake sliders!
Thank you Donna!!!
I have made these 4 times in the last 4 months and they are amazing! My family and friends who can eat gluten absolutely love when I make these. I use dairy in mine because I am not dairy free FYI. I was missing danishes so much until I found this recipe on Instagram and the best part is how easy they are to make!
I love this!!!